
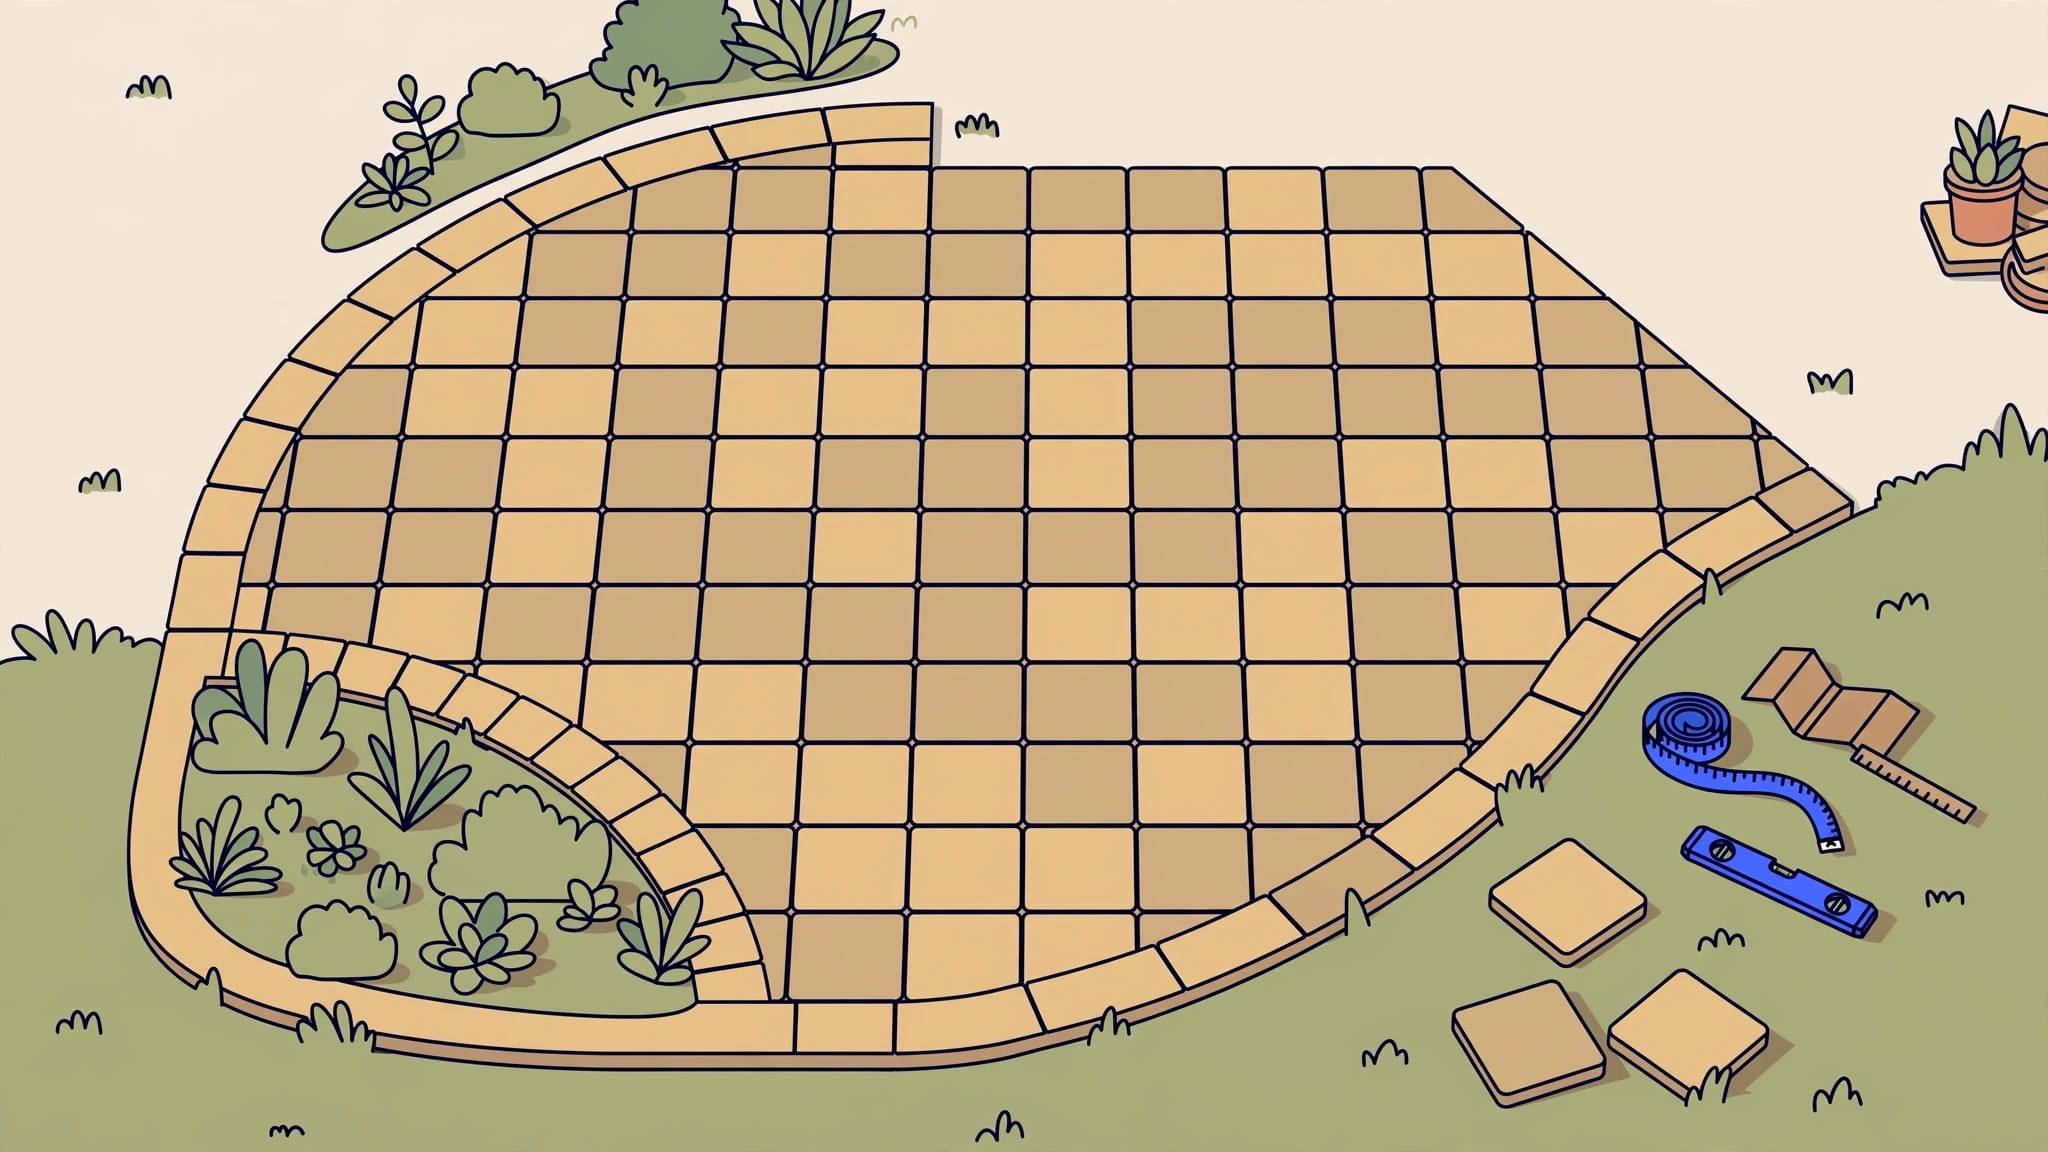
To estimate pavers for an irregular patio, measure the actual paved area, divide by the paver’s coverage, and add an allowance for cuts. A reliable paver quantity estimate starts with your patio’s shape, not its longest length multiplied by its widest point.
Curves, clipped corners, planting beds, and borders all affect the order. I recommend keeping those measurements on one sketch so your calculations stay organized.
Start with the footprint, then calculate the materials needed to complete it.
Key Takeaways
- Divide an irregular patio into smaller shapes, then subtract openings and unpaved areas.
- Use the exact manufacturer’s coverage figure when available, especially for mixed-size patterns.
- Allow 10% extra for straightforward layouts and 15% to 20% for cutting-heavy designs.
- Calculate supporting materials separately, then round your paver purchase up to available bundles or pallets.
Measure the Actual Patio Footprint
Divide straight-sided areas into simple shapes
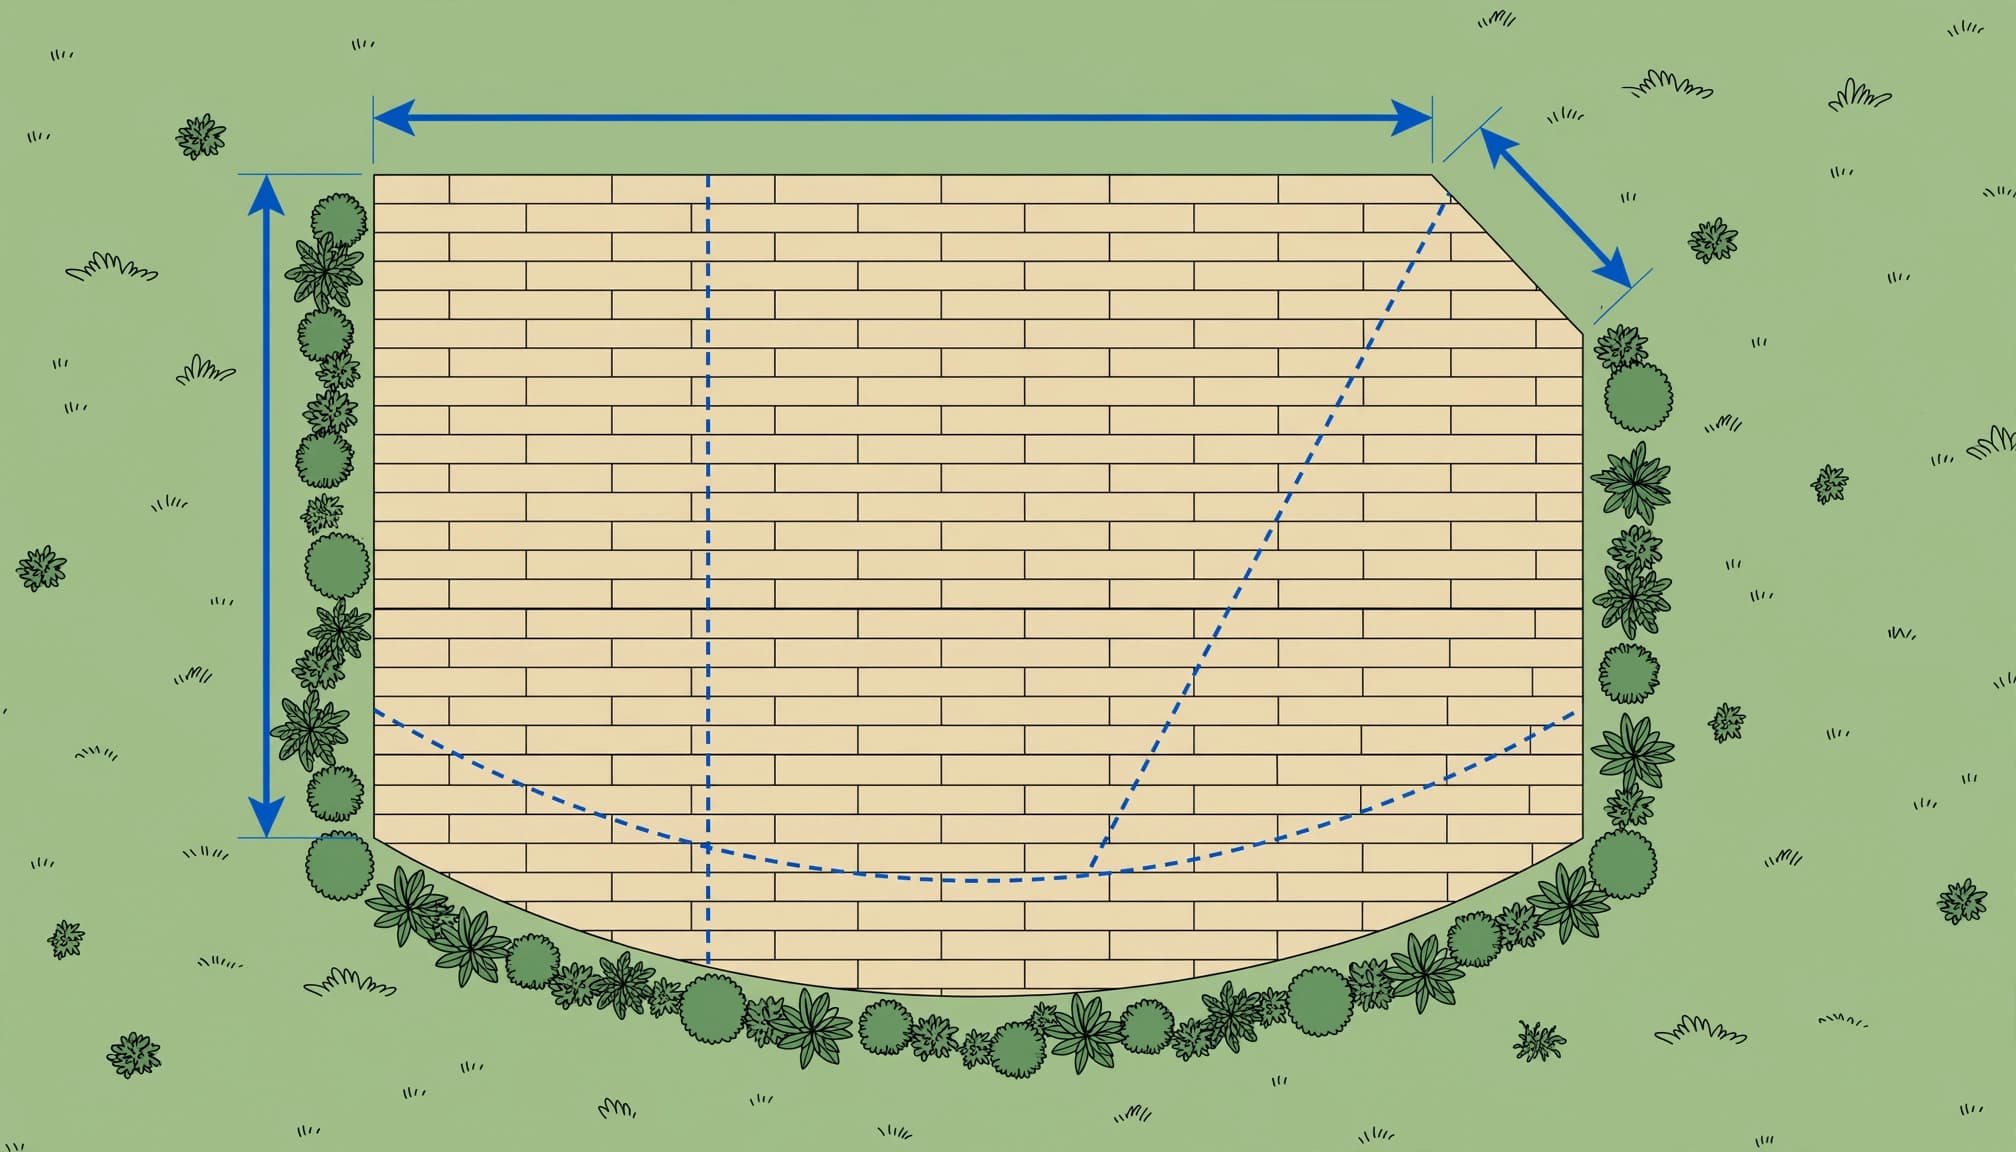
Sketch the patio boundary to prepare a paver quantity estimate, and record the length and width of each measurable section in feet. Include paved borders, but leave out planting beds, pools, and other openings.
For a rectangle, area = length × width. A 20-by-15-foot rectangle contains 300 square feet.
Divide an L-shaped patio into adjoining rectangles without overlapping them. For a clipped corner, calculate the surrounding rectangle and subtract the missing triangle.
A triangle’s area equals base × perpendicular height ÷ 2. Measure straight across the triangle’s height, not along its sloping edge.
I recommend numbering each section on your sketch. Add the areas together only after each section has its own calculation.
Measure circles and uneven curves separately
For a circle, area = 3.14 × radius². A patio with a 7-foot radius contains:
3.14 × 7 × 7 = 153.86 square feet
Use half that area for a semicircle or one-quarter for a quarter-circle.
For a free-form edge, divide the outline into narrow strips. Measure each strip’s width and its length at both ends. Multiply the strip width by the average of those two lengths, then add the strips together.
Smaller strips follow changing curves more closely. Waste allowance covers cutting losses, so don’t use it to compensate for a rough measurement.
Convert Patio Area Into a Paver Quantity Estimate
Calculate coverage for a single paver size
When dimensions are in inches, use this formula:
Paver area in square feet = length × width ÷ 144
A 6-by-6-inch paver covers 36 ÷ 144 = 0.25 square feet. That means four pavers cover one square foot before waste.
A 4-by-8-inch paver covers approximately 0.2222 square feet, or 4.5 pieces per square foot. Avoid rounding its area to 0.22 before calculating a large order.
Nicolock lists approximately 2.7 pieces per square foot for a 6-by-9-inch paver. The manufacturer’s published coverage takes priority over arithmetic based on nominal dimensions, since spacing and actual dimensions affect coverage.
Keep mixed sizes and borders separate
For a mixed-size pattern, use the manufacturer’s pattern coverage and required size proportions. Don’t divide the entire patio by the face area of whichever paver is largest.
Where different products cover separate areas, calculate each area independently. Subtract a contrasting border’s area from the interior field before estimating either product.
I recommend using Unilock’s paver calculator after measuring the footprint. It also calculates supporting materials. Enter the net paved area, rather than the oversized rectangle surrounding your irregular patio.
Choose a Waste Allowance That Fits the Layout
Western Interlock and Nicolock use about 10% extra for straightforward paving work. Western Interlock recommends 15% to 20% for diagonal, herringbone, or curved layouts.
Treat the percentage as a “waste factor”: choose it according to the pattern, edge cuts, openings, and expected breakage.
| Layout | Extra pavers | Main source of waste |
|---|---|---|
| Straight running bond or stack bond | 10% | End cuts and breakage |
| Diagonal or herringbone | 15% to 20% | Angled perimeter cuts |
| Curved or heavily interrupted layout | 15% to 20% | Repeated cuts around edges and openings |
For an irregular patio, the boundary matters as much as the pattern. Straight rows inside a curved outline still require curved-edge cutting.
Muthler Landscaping uses lower allowances: 7% for running bond and stack bond, and 12% for herringbone and angled layouts. Those figures reflect different estimating assumptions. Herringbone generally requires more cutting.
I recommend the higher ranges when your design includes tight curves, several openings, or limited opportunities to reuse offcuts.
A cut piece counts as useful material only when it fits another location. Two partial pieces don’t automatically replace one full paver.
An aligned basketweave pattern can use a straight-layout allowance. Rotating it diagonally increases perimeter cutting.
Carry the Calculation Through to the Order
Calculate the base count and cutting allowance
Use 300 square feet as the reference area. A 20-by-15-foot rectangle reaches that total, and an irregular patio totaling 300 square feet follows the same calculation.
With 6-by-6-inch pavers:
300 ÷ 0.25 = 1,200 pavers before waste
For a straightforward layout, add 10%:
1,200 × 1.10 = 1,320 pavers
For a curved or herringbone layout, the purchasing allowance becomes:
1,200 × 1.15 = 1,380 pavers
At 20%, the total becomes 1,440 pavers. Select the allowance that matches the actual cutting work, rather than automatically choosing the smallest order.
Round once more for full packages
Your calculated count and your purchase quantity can differ. Round up to full bundles or pallets because partial pallets often carry a surcharge.
The calculation is:
Packages needed = adjusted paver count ÷ pieces per package, rounded up
Western Interlock’s straight-layout example rounds the 1,320-piece requirement to approximately 1,350 pavers. That isn’t a universal pallet size. Package quantities vary by product.
Keep usable leftovers organized by size and color blend. They can make matching replacement pavers easier later.
Save the final order quantity alongside your measured area. The ordered quantity includes waste, while the measured area describes the finished patio.
Calculate Base Stone Beyond the Paved Edge
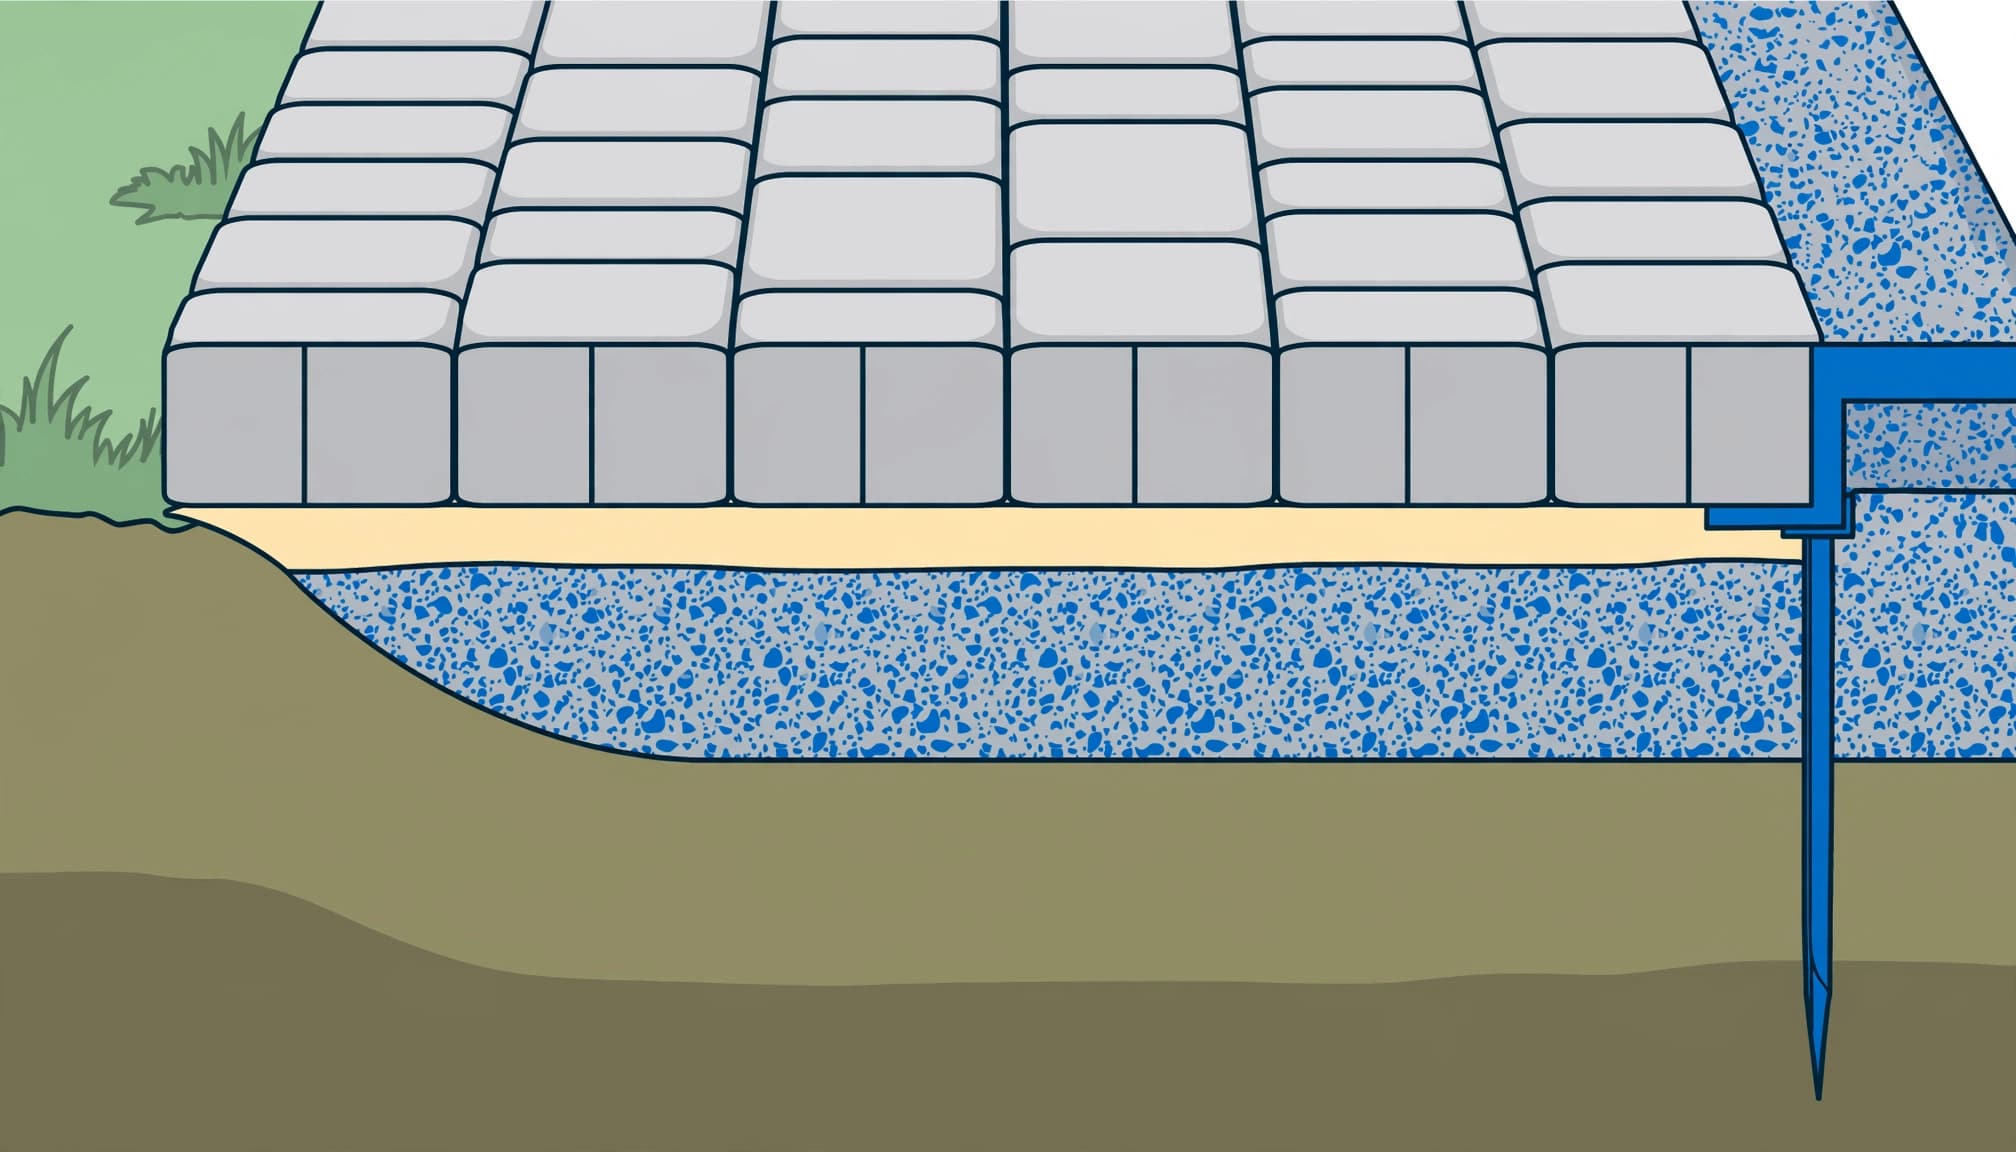
Paver area and base area aren’t always equal. Unilock’s base installation guidance calls for support beyond exposed paving edges by a distance equal to the base depth.
For a 12-by-16-foot patio with its 12-foot side against the house, a 6-inch base extends 0.5 foot beyond the other three sides:
Base area = 13 × 16.5 = 214.5 square feet
Calculate compacted base volume with:
Cubic yards = base area × depth in inches ÷ 324
Here, 214.5 × 6 ÷ 324 equals approximately 3.97 compacted cubic yards.
The base and sand calculator uses 1.85 tons per compacted cubic yard. Wisconsin DOT measurements range from approximately 1.78 to 1.98 tons, putting this example near 7.1 to 7.9 tons.
Those are compacted-volume estimates. Loose delivered volume changes during compaction, and moisture affects delivered weight.
For an irregular patio, offset each exposed edge before calculating the base footprint. My guide to brick paver base preparation explains why bedding sand and structural aggregate need separate allowances.
Include Bedding Sand, Joint Sand, and Edging
Bedding sand is measured by volume. Use paved square feet × bedding depth in inches ÷ 324 for cubic yards. At 1 inch deep, 300 square feet needs approximately 0.93 cubic yard before handling losses.
Joint sand uses product-specific coverage. Alliance Gator Maxx Sand lists roughly 65 to 85 square feet per 50-pound bag for narrow joints. A 300-square-foot patio therefore needs about four to five bags under those conditions.
Wider or deeper joints increase consumption. Don’t estimate joint sand using the bedding-sand formula.
Measure edge restraint in linear feet along every open side. The 12-by-16-foot patio with a 12-foot side against the house has 44 linear feet of exposed perimeter.
A common starting allowance is one spike about every 12 inches, with additional fastening where the restraint system requires it. Flexible tape follows curves more accurately than measuring straight across them.
Frequently Asked Questions
How far down should a patio be excavated?
Excavation must accommodate the full assembly. Four inches of compacted base, 1 inch of bedding sand, and 2 3/8-inch pavers require 7 3/8 inches below finished elevation.
Pine Hall Brick’s estimator uses a shallow light-duty assembly: 1 inch of crushed stone, 1 inch of sand, and the paver within a 4-inch bed depth. That estimator assumption isn’t a universal patio specification.
I recommend choosing the assembly for the soil, drainage, and intended use before calculating excavation. Before digging, call 811 for utility marking.
How many pavers cover one square meter?
Divide 1,000,000 by the paver’s length multiplied by its width in millimeters. That gives pieces per square meter before joint adjustments and waste.
A 200-by-100-millimeter paver calculates to 50 pieces per square meter. The manufacturer’s installed coverage remains the better ordering figure.
Can the same measurements be used for maintenance?
Yes. Keep the net paved area for future pressure washing and sealing estimates. Don’t use the larger purchase quantity, which includes cutting waste.
For estimating paver sealer coverage, absorption, joint dimensions, and application requirements also affect the quantity.
Order Enough Without Losing Track of the Area
A dependable estimate keeps three figures separate: finished patio area, pavers needed with waste, and the rounded purchase quantity. Supporting materials need their own calculations.
I recommend saving your sketch and order details together. That record helps with installation, replacement pieces, and future maintenance.
When your patio needs professional cleaning or sealing in Southwest Florida, Get a Quote for care matched to your pavers and their condition.