
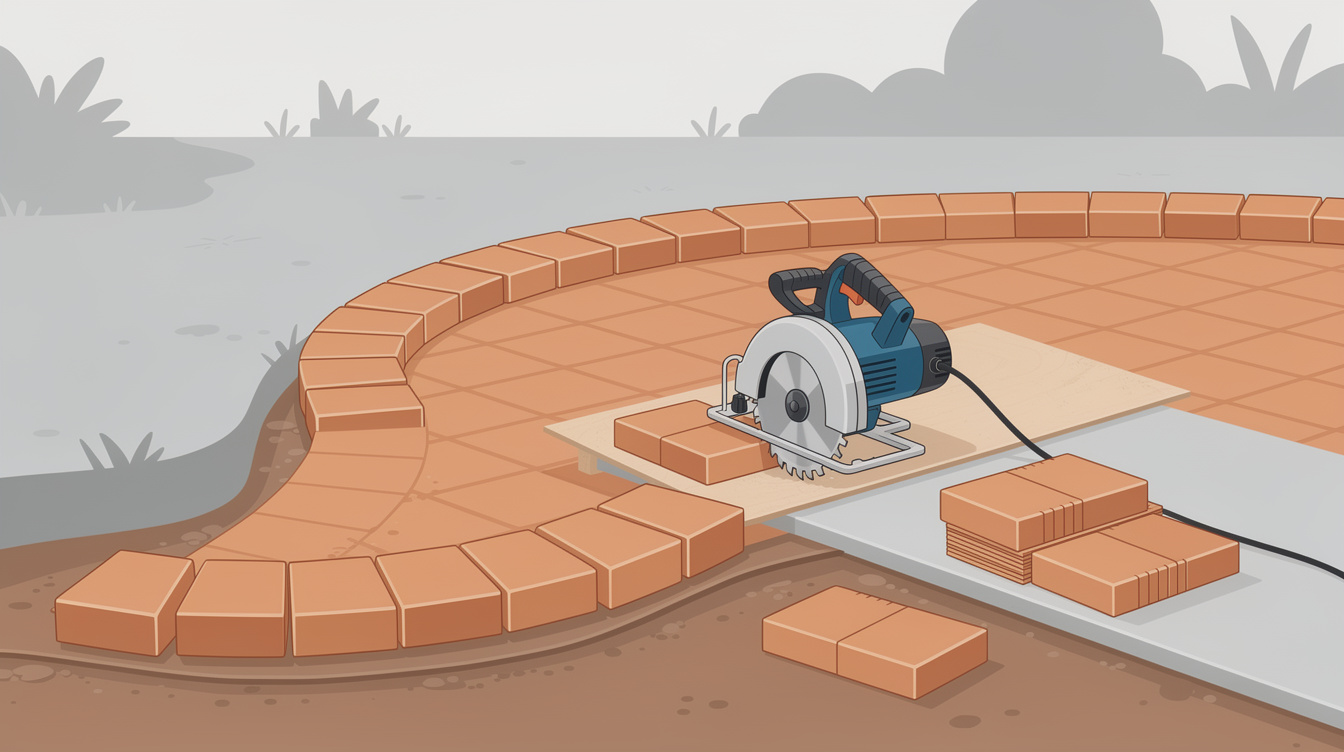
To shape a brick border around a curved patio, mark the fitted curve, score the line, and remove the waste with controlled straight cuts. A diamond blade produces a cleaner edge than splitting alone, especially where the cut remains visible.
I recommend planning the entire border before starting. Good spacing and solid support matter just as much as the cutting tool.
The goal is a smooth, supported border without fragile slivers or oversized joints. Start with the layout, then choose equipment that suits the work.
Key Takeaways
- Mark each paver in position, allowing for the surrounding joint spacing.
- Use a suitable diamond blade, dust controls, and protective equipment.
- Score about 1/4 inch deep before making deeper passes.
- Keep cuts straight, adjust tight layouts, and restore support before sealing.
Choose the Right Tool for Cutting Pavers
I prefer equipment that gives you control without requiring you to force the blade. Blade diameter matters, but the guard, cutting capacity, material rating, and work support matter too.
These options suit different parts of a curved-border project.
| Tool | Suitable work | Main limitation |
|---|---|---|
| 4.5-inch angle grinder | Short cuts and controlled trimming | Limited cutting reach |
| Disc cutter | Repeated cuts through substantial masonry | Greater weight and torque |
| Wet masonry saw | Accurate, supported straight cuts | Cannot follow a curve directly |
| Circular saw | Straight cuts with an approved masonry blade | Requires proper support and dust control |
| Block splitter | Rough, straight splits | Poor choice for thin slivers |
A curved border usually consists of several short cuts across individual pavers.
Compact grinders offer easier handling
A 115mm grinder (4.5-inch angle grinder) is generally easier to manage than a large cutter. However, its blade may not reach through the brick.
A 9 inch grinder has substantial torque and demands more control. I wouldn’t recommend moving up to a larger grinder simply because the smaller tool won’t finish in one pass. A supported wet masonry saw may be more suitable. Keep the brick secure and avoid twisting the tool, since a binding blade can cause kickback.
Match the blade to the material
Use a new, good-quality diamond blade rated for concrete or fired-clay brick, whichever you’re cutting. Its diameter, arbor, speed rating, and wet or dry designation must match the machine.
A worn blade makes cutting harder and less accurate. Small wet cutting saws can also lack sufficient capacity for substantial pavers. Never remove a guard or fit an oversized blade to gain reach.
Protect Yourself From Silica Dust and Flying Chips
Cutting concrete and brick releases silica dust. Working outside helps disperse dust, but it doesn’t make uncontrolled dry cutting safe.
Wear protection that suits masonry cutting
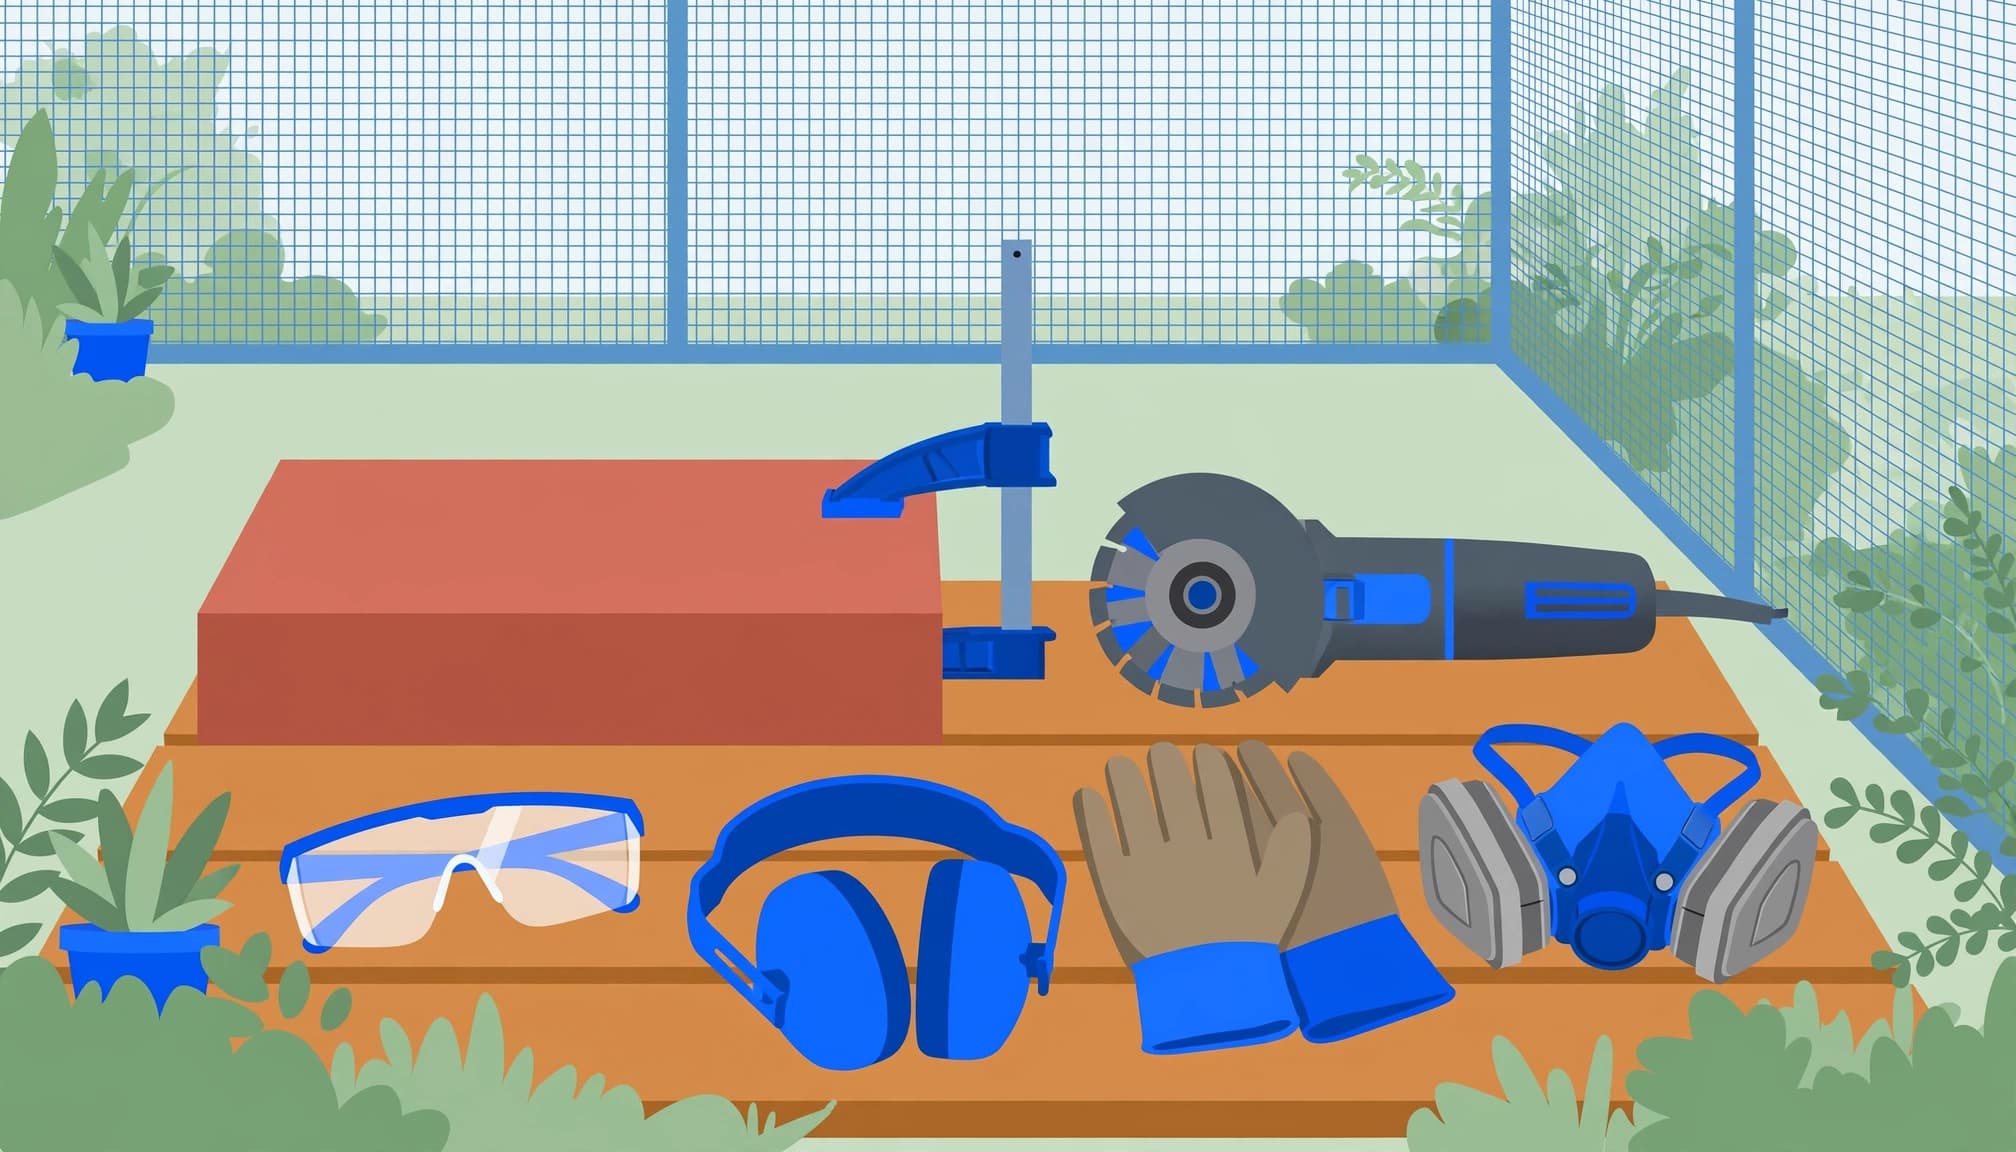
Wear safety glasses, hearing protection, work gloves, sturdy footwear, and appropriate respiratory protection. A face shield adds protection from fragments but doesn’t replace safety glasses.
Use a properly fitted, NIOSH-approved respirator suitable for silica exposure. A loose nuisance dust mask isn’t adequate protection. Respiratory protection supplements dust control; it doesn’t replace it.
Keep children, pets, and other people away from the cutting area. Position the work so dust and slurry stay away from doors, vehicles, the driveway, and neighboring properties.
Control dust at the blade
OSHA’s guidance on silica dust explains that water applied during masonry cutting substantially reduces airborne dust.
Use a purpose-built wet saw or a manufacturer-approved dust-extraction setup. Never spray water onto an ordinary electric grinder or circular saw. Wet equipment needs its specified electrical protection and water supply.
I also recommend a stable cutting station away from the finished patio. Collect slurry before it dries. Don’t use a leaf blower or dry broom to spread cutting dust through the yard.
Plan the Curve Before You Mark Individual Pavers
A clean border starts with a consistent layout before you cut brick pavers. Trying to correct the curve one brick at a time often leaves uneven joints and small pieces.
Establish a smooth border line
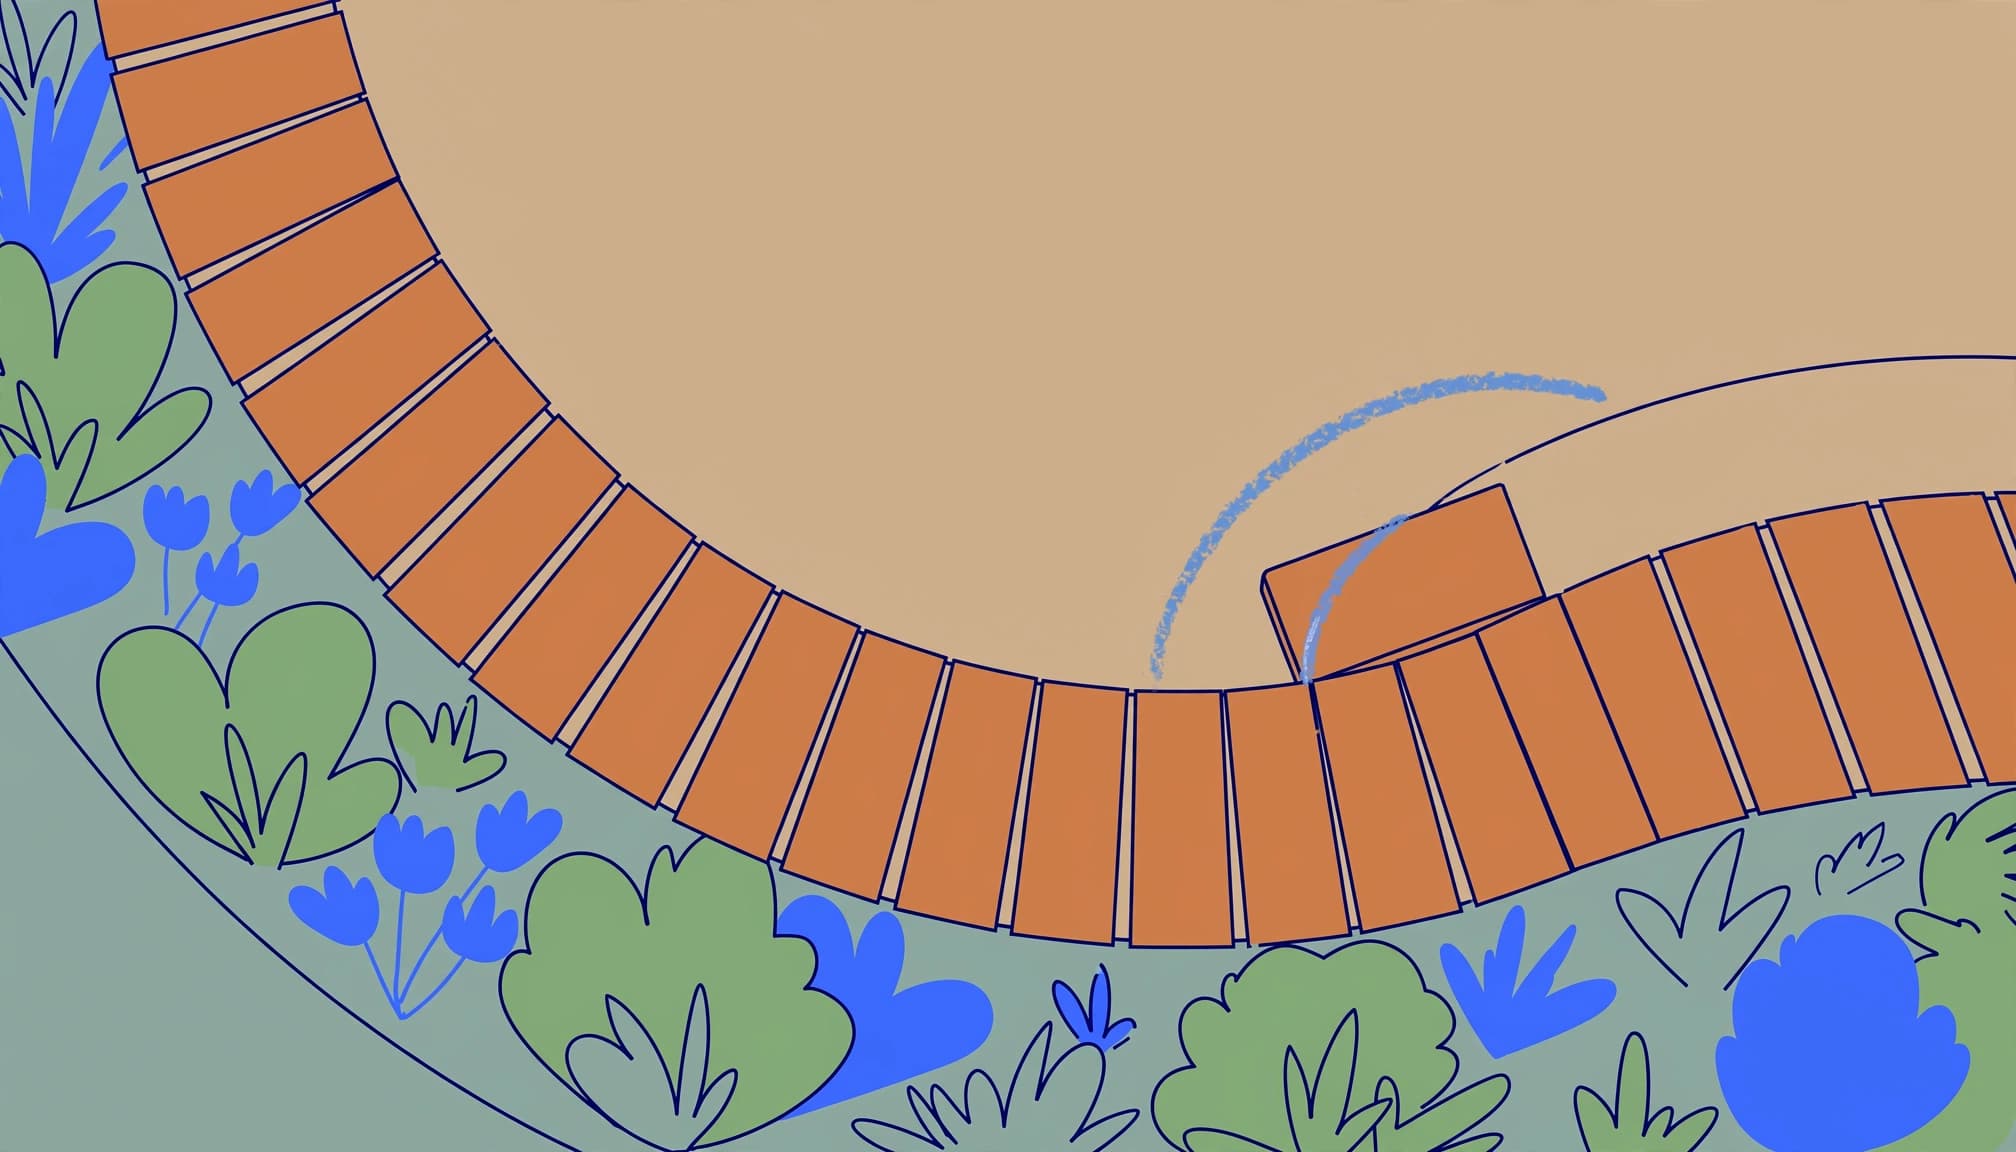
Lay a garden hose along the proposed edge. Adjust it until the curve flows smoothly without abrupt changes.
Clear grass and loose debris so you can see the border. Trim thick overgrowth first rather than pulling rooted mats against the pavers. Pulling hard can disturb the soil supporting the edge.
For a new curved layout, allow extra material for repeated cuts and breakage. A 15% to 20% allowance suits cutting-heavy designs. Keep usable offcuts, but don’t count scraps as replacements unless they fit.
Transfer the shape accurately
Place the uncut brick in its intended position or over the opening. Measure the gap, preserve the surrounding joint width, and transfer the dimensions with pencil, chalk, or permanent marker.
Use a straight edge for straight references. For the curve itself, transfer several points or make a cardboard template.
Mark the waste side and number adjoining pieces. I recommend marking the sides too, especially if you’ll turn the brick over. This helps keep opposite cuts aligned.
How to Cut Brick Pavers Along the Marked Border
Move each marked brick to a stable cutting station. Secure it against movement, support the retained section, and leave clearance beneath the blade. Never hold a paver in your hand while cutting.
- Score the marked line. Make the first pass about 1/4 inch deep to score a shallow line. Keep both hands on the tool’s designated grips. Use light pressure and let the blade reach operating speed before contacting the brick.
- Deepen the straight cuts. Make additional passes without forcing the blade. Keep the blade aligned with each straight section. Don’t twist it sideways or steer it around a tight curve while it’s buried in the material.
- Remove curved waste in sections. For a concave cut, make short relief cuts into the waste, stopping short of the finished line. Remove small waste sections carefully, then trim remaining high spots with straight cuts. Don’t grind with the blade’s side.
- Stop and test-fit. Let the blade stop completely before setting the tool down. Return the piece to its opening and inspect the curve, joint spacing, and retained width. Remove small amounts where needed rather than forcing the piece into place.
A sweeping curve can usually be formed with short straight segments that blend across neighboring pavers. Tight inside curves require more trimming.
If wet cutting produces visible dust, stop and correct the water delivery. OSHA’s silica standard calls for sufficient water flow to minimize visible dust.
My priority is a clean fit without weakening the remaining brick. If the piece becomes fragile, change the layout before continuing.
Handle Thin Slivers Without Weakening the Border
A narrow curved sliver is difficult to cut and easy to break. I recommend shifting the adjoining layout or changing the border arrangement so the remaining piece has more material.
If a cut leaves a fragile strip, adjusting the layout is more reliable than trying to preserve it with mortar.
A hired block splitter works for some straight cuts, but it isn’t well suited to small, accurate curved pieces.
Scoring matching grooves on both faces and splitting with a masonry chisel is another option. It takes more work and can leave a rough or unpredictable edge. Reserve it for suitable pieces where the finish is less visible.
Mortar can close a gap, but an improvised mortar patch in a sand-set patio is generally less durable than a properly fitted brick. It also needs a close color match and doesn’t restore missing support.
Reset the Cut Pavers and Protect the Finished Edge
Cutting is only part of the job. A well-cut brick paver can still rock or settle when the base, bedding, or edge restraint is weak.
Restore support and maintain drainage
Remove fragments before resetting the brick paver. Repair failed support rather than hiding a cavity under extra sand. My guide to repairing sunken brick pavers covers that base-first approach.
Restore an even bedding layer and seat the piece without rocking. The guidance on bedding sand beneath pavers explains why this layer shouldn’t replace structural base material.
Match the existing drainage grade and joint spacing. Restore a compatible edge restraint so the cut border cannot spread outward.
Clean before sanding and sealing
Remove cutting residue promptly with a surface-safe method. Aggressive pressure washing can wash out joint sand, so cleaning needs to suit the pavers and their condition.
Restore compatible joint material after the pavers are properly seated. Complete repairs and preparation before applying sealer. Sealing won’t secure loose pieces or correct poor drainage.
If roof or driveway cleaning, or a soft wash service, is also scheduled, complete that work before sealing. This keeps cleaning runoff away from the fresh finish. During later lawn maintenance, keep metal edger blades off the new border.
Frequently Asked Questions
How do you cut 12-by-12-inch pavers?
Use equipment that supports the entire unit and accepts its size. Mark the cut, score first, and deepen it gradually. Large-format pieces are vulnerable to cracking when part of the paving unit hangs unsupported. Don’t balance one across an unstable gap.
Can you cut a curved sliver without a disc cutter?
A suitable wet masonry saw can make several straight cuts that approximate the curve. However, a very thin retained piece may still break. For a visible border, I recommend changing the layout rather than relying on a rough split or wide filler joint.
Is an angle grinder safer for a beginner?
A compact grinder is generally easier to handle, but it can still kick back. Blade binding, poor support, and twisting increase the risk. Choose equipment you can control. Professional cutting is a sensible option when the work requires large tools or difficult inside curves.
A Clean Curve Needs a Stable Border
A neat curved patio starts with careful marking, controlled cuts, and pieces wide enough to remain sound. Support beneath the border matters just as much as the finished cut.
I recommend completing repairs before cleaning and applying sealer. That order protects the appearance without covering up movement or drainage problems.
For professional paver cleaning or driveway sealing in Southwest Florida, Get a Quote from Kingsway Paver Sealing.