
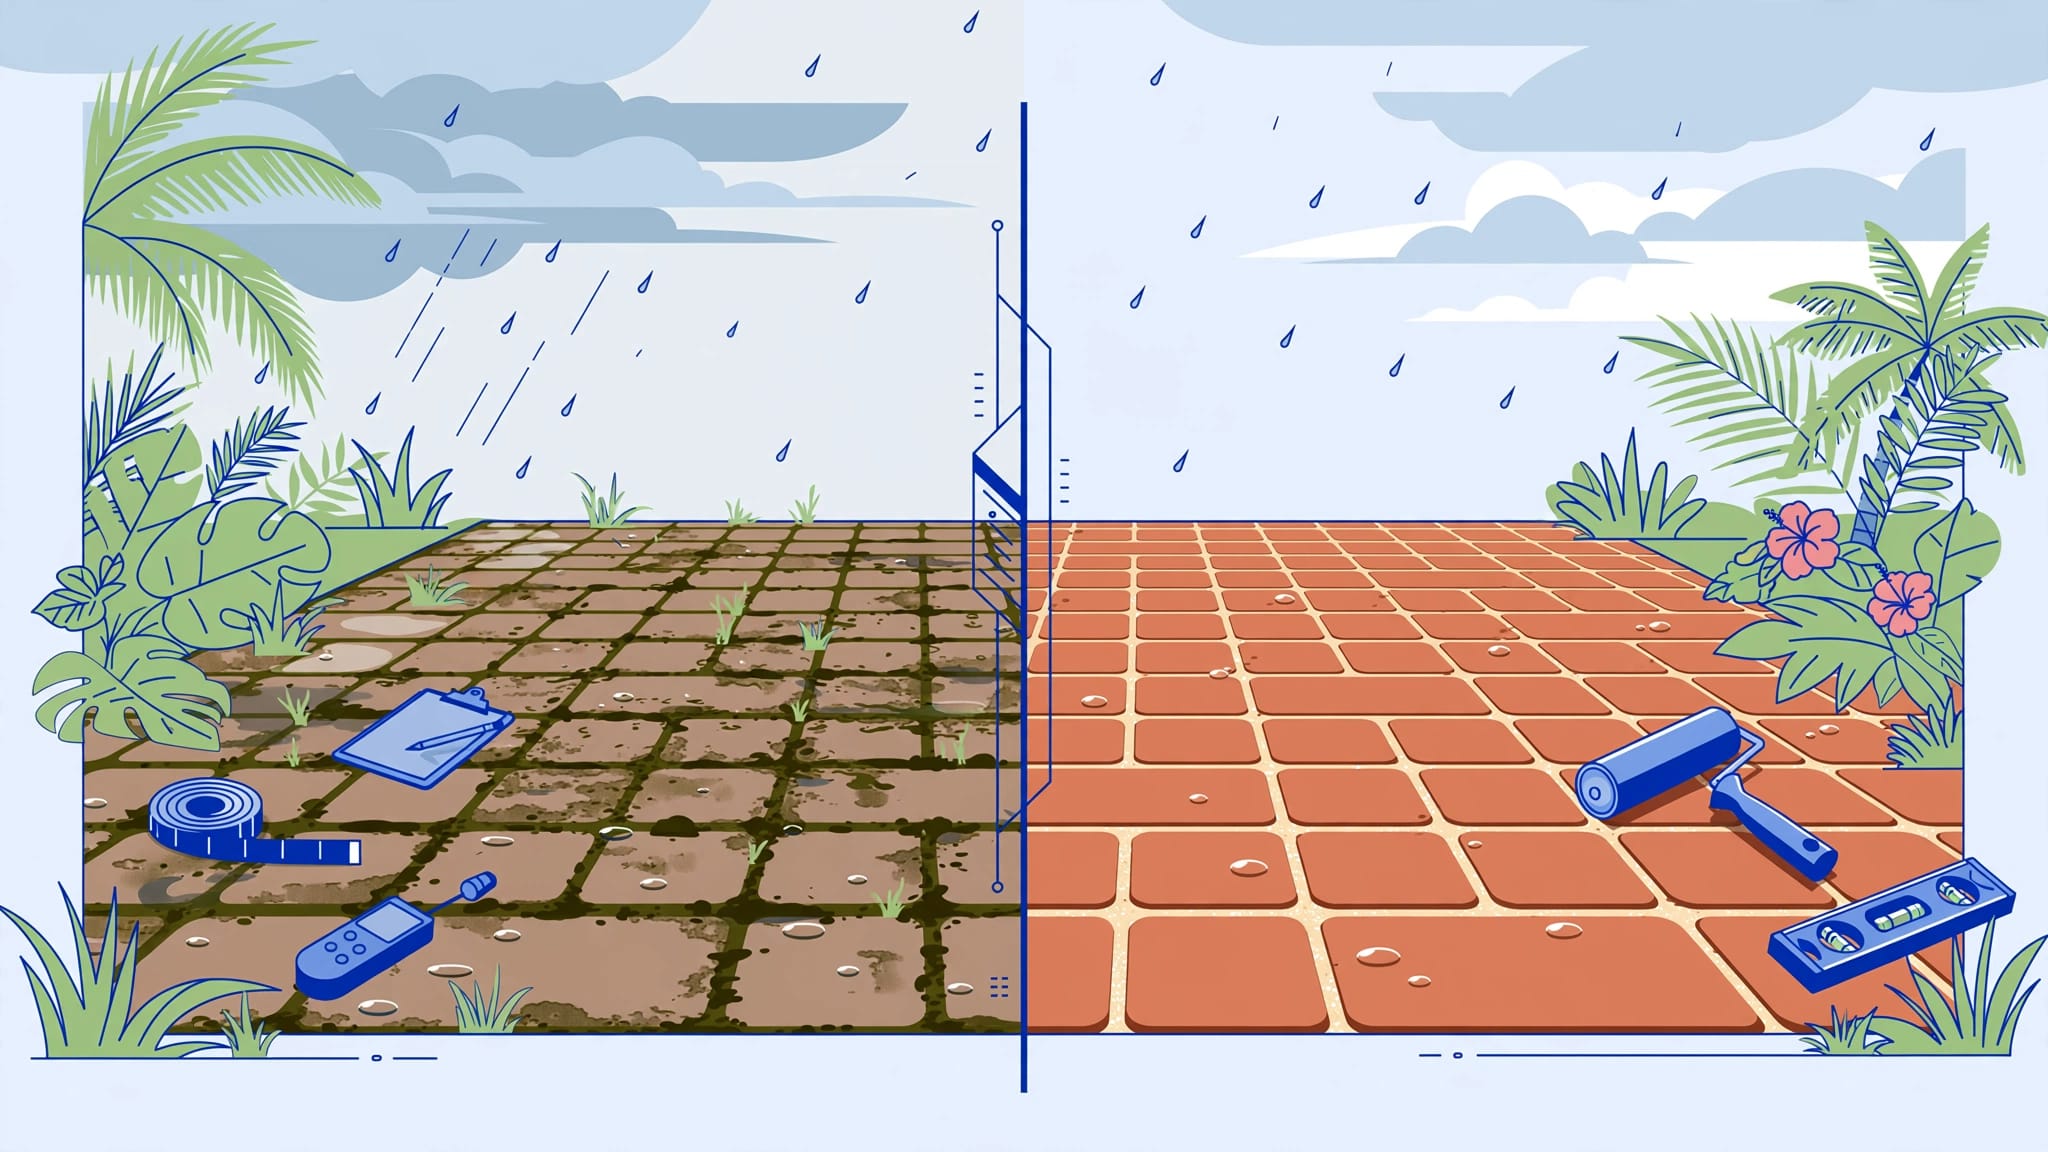
A faded driveway or stained pool deck can make the whole property look worn down, even when the rest of your home is well cared for. In Southwest Florida, sun, rain, irrigation, leaves, algae, and pool water steadily take a toll on brick and travertine.
A proper paver restoration Florida service is more than a quick wash and a coat of sealer. Driveway sealing is one example of the full process, from inspection through final curing. Sun, humidity, irrigation, rain, and afternoon storms vary across South Florida, Central Florida, and Tampa Bay, so drying and curing times can change.
I treat restoration as a step-by-step process because skipping repairs, joint sand, or dry time can leave you with a patchy finish that doesn’t last.
Here is what should happen from the first inspection through the final protective coat.
Key Takeaways
- A complete paver restoration Florida process starts with a detailed inspection to identify stains, failing sealer, loose sand, drainage issues, damaged pavers, and areas needing repair.
- Proper preparation includes controlled cleaning, sealer stripping when necessary, paver repair, resetting sunken areas, and complete polymeric sand installation before sealing.
- Dry time and weather conditions are essential in Florida, since humidity, shade, rain, dew, and storms can cause haze, poor bonding, or early sealer failure.
- Final sealing should match the paver material and intended use, while regular sweeping, spill cleanup, inspections, and maintenance help extend the restored finish.
Paver Restoration Florida Starts With a Full Inspection
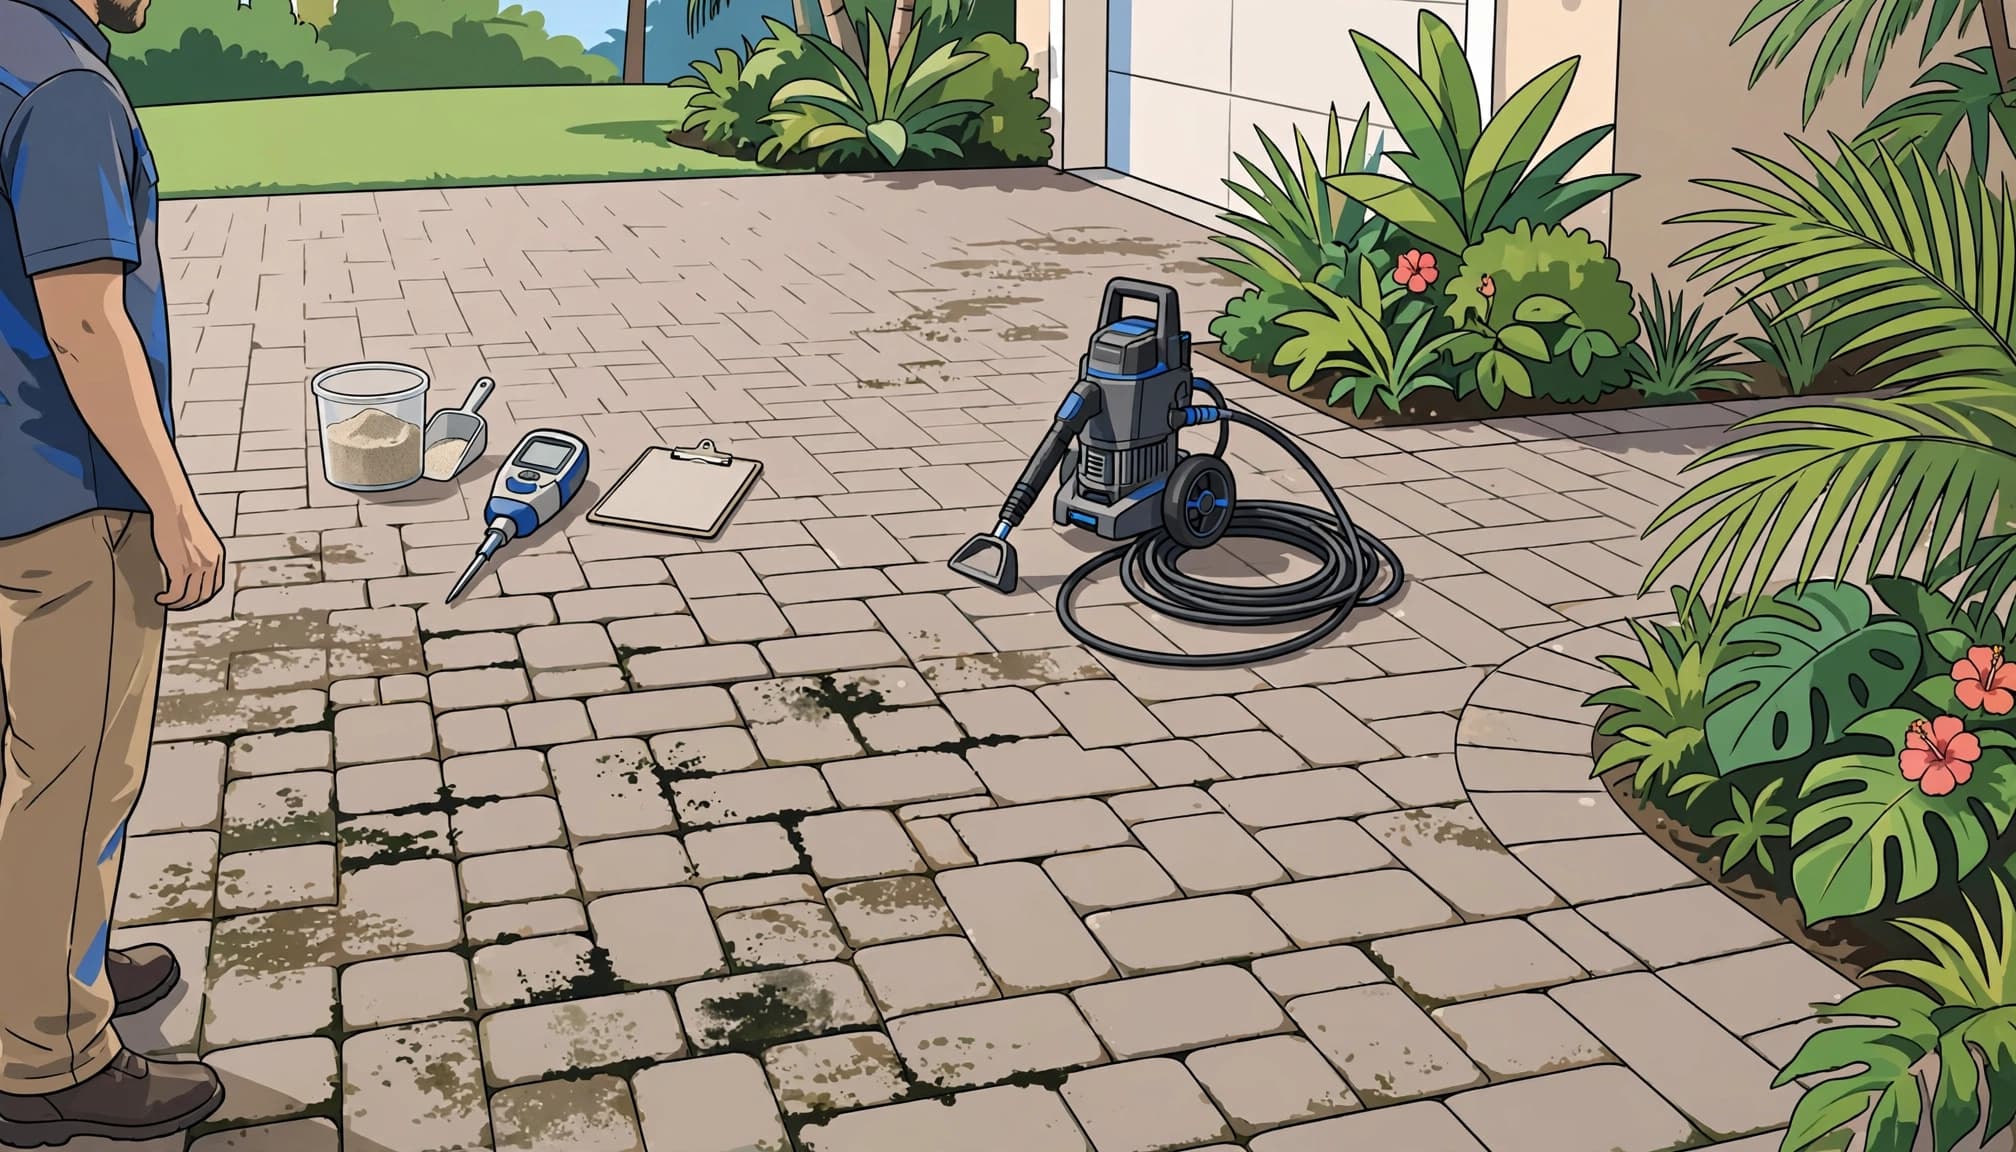
I don’t start cleaning until I know what’s happening beneath the dirt. The inspection sets the schedule by identifying surface stains, failing sealer, loose sand, sunken areas, broken pavers, and drainage concerns. It also shows whether paver repair is needed and whether sealer stripping may extend preparation.
Florida pavers deal with hard use. Driveways carry vehicle weight. Pool decks get wet often. Patios collect leaf stains, pollen, grill grease, and mildew. Florida’s heat, rain, and UV exposure can also fade color over time, as explained in this South Florida paving climate guide.
Problems That Show Up During the Walkthrough
I look closely at the joints first. Missing joint sand allows pavers to move, weeds to grow, and water to reach the base more easily. Ants also like open joints, especially around driveways and walkways.
Then I check for movement. A low paver can hold water after rain. A raised edge can become a tripping hazard. Cracked pavers, rocking stones, and loose borders should be repaired before sealing to protect structural integrity.
Stains matter too. Irrigation rust, tire marks, oil spots, organic marks, soot, and old coating residue each require a suitable method of rust and stain removal. One cleaner won’t solve every problem.
A sealer can improve the appearance of clean pavers, but it cannot repair a loose base, hide a broken paver, or remove a stain trapped beneath the coating.
Deep Cleaning Removes the Old Layer of Grime
Once I know the condition of the surface, I prepare the work area. Furniture, planters, and loose items should be moved. Nearby landscaping, walls, screens, doors, and pool equipment need protection.
Paver cleaning and sealing work together, but they shouldn’t be rushed into one step. Cleaning, coating removal, and drying are separate stages.
The cleaning stage removes loose sand, surface dirt, mold and mildew, and residue that blocks a new sealer from bonding. I use controlled pressure washing to protect the joints and surface texture, rather than aiming a high-pressure blast into every joint.
A professional setup may include a surface cleaner for broad flat areas, a wide fan-tip rinse, stain treatments, and measured water pressure. The goal is even cleaning without striping the pavers or tearing out more sand than needed.
When Sealer Stripping Is Needed
Not every job needs full removal of the old coating. If it remains bonded well and the surface looks even, cleaning may be enough. A cloudy, peeling, blotchy, or overly glossy finish often signals the need for sealer stripping.
White or milky haze under sealer usually points to moisture trapped below the coating, a failed old sealer, or a new product that didn’t bond correctly. Applying another coat over the haze only locks in the problem.
I remove failed material first. After sealer stripping, I clean the surface again. This takes longer than a basic wash, but it gives the final sealer a clean surface to bond to.
Why Aggressive Washing Can Create More Repairs
A rental machine can make a driveway look clean fast, but too much pressure can leave permanent lines. Holding a narrow nozzle too close can etch brick, chip concrete pavers, or strip sealer in uneven patches.
The joints are part of the installation. When excessive force removes the sand, the pavers have more room to shift. That can lead to weeds, ant hills, low spots, and water getting below the surface.
For buildup on nearby stucco, screens, or painted exterior surfaces, I use a soft wash approach rather than forcing high pressure where it doesn’t belong. The right method depends on the material in front of me.
The paver repair and polymeric sand installation stage comes before sealing
Cleaning makes damage easier to see. After the pavers dry enough for a clear look, I repair areas needing attention. This may mean lifting pavers, correcting the base, adding bedding sand, and resetting units level. Together, cleaning, resetting, replacement, and joint work form a complete brick paver restoration.
A sunken driveway section needs paver repair before sealing, not a coat of sealer and neglect. Water will keep pooling there, and movement will usually get worse. Cracked pavers and unstable pool deck or patio edges also need timely paver repair.
Resetting Sunken or Loose Pavers
I remove the affected pavers carefully so they can be reused when possible. Then I inspect the bedding layer and base beneath them for issues that could affect structural integrity. The pavers are reset level with the surrounding area and checked for proper fit.
This work helps remove trip points and keeps the surface looking consistent. It also avoids the obvious patchwork look that can happen when repairs are rushed.
Severely faded pavers can often look much better after cleaning and sealing. Still, sealer won’t reverse deep surface wear or turn a damaged paver into a new one. Replacement is often the cleaner choice for badly chipped, cracked, or permanently stained units.
Replacing Missing Joint Sand
After cleaning and repairs, the joints need fresh sand. Standard joint sand fills the gaps, but it can wash out more easily in heavy rain. Polymeric sand includes binding material that firms up after proper installation and activation.
Proper polymeric sand installation means sweeping the material fully into the joints, compacting it, and activating it according to product directions. I use joint sand that matches the paver and job requirements. If a contractor mentions ASTM certification, ask which standard or test applies to that product. The label alone doesn’t tell you whether it fits your pavers, joint width, or drainage conditions. The polymeric sand installation must be complete before the final dry-time check.
Good sand installation helps reduce weed growth, ant activity, paver movement, and erosion.
Dry Time Is Part of the Restoration Schedule
This is where many paver restoration jobs go wrong. A surface may feel dry after a few hours, but moisture can remain in the joints and pores.
I wait for the pavers to dry fully before sealing. Florida climate conditions affect evaporation and curing. Humidity, shade, morning dew, rain, and temperature shifts can all extend the timeline.
After polymeric sand installation, activation and drying must be complete before sealer is applied. A sun-exposed driveway often dries sooner than a shaded, landscaped pool deck, so pool deck sealing may require a longer drying window.
Planning Around Southwest Florida Weather
I watch the forecast before scheduling the final sealing day. Storm patterns in South Florida, Central Florida, and Tampa Bay can vary, and local shade and humidity may change the clear-weather window. Rain too soon can affect the coating, while wind can carry leaves and debris onto a fresh finish.
If you are planning house washing, gutter cleaning, or roof cleaning, complete those services before the final paver seal. Runoff and debris from above can land on the hardscape and create extra cleanup. Sealer stripping, extra rinsing, or moisture trapped beneath an old coating can lengthen the schedule.
The timeline may feel slower when weather changes, but rushing sealer onto damp pavers can cause haze, whitening, poor bonding, and early failure. Product instructions control the final foot-traffic and curing period.
Final Sealing Protects the Restored Surface
The final sealer protects the restored surface, not the repair work. By then, pavers should be clean, repaired, level, properly sanded, dry, and ready for application.
For paver restoration Florida homes, I choose the sealer based on the material, surface condition, and desired finish. I confirm any required paver repair, polymeric sand installation, and sealer stripping are complete before applying a product with the right cure period.
Brick paver sealing and brick paver restoration may call for a different product or finish than travertine sealing. Travertine needs natural-stone-appropriate preparation, especially when the work involves natural stone restoration.
For commercial paver sealing, concrete sealing, and other high-use surfaces, I select commercial-grade sealers based on traffic, material, and use.
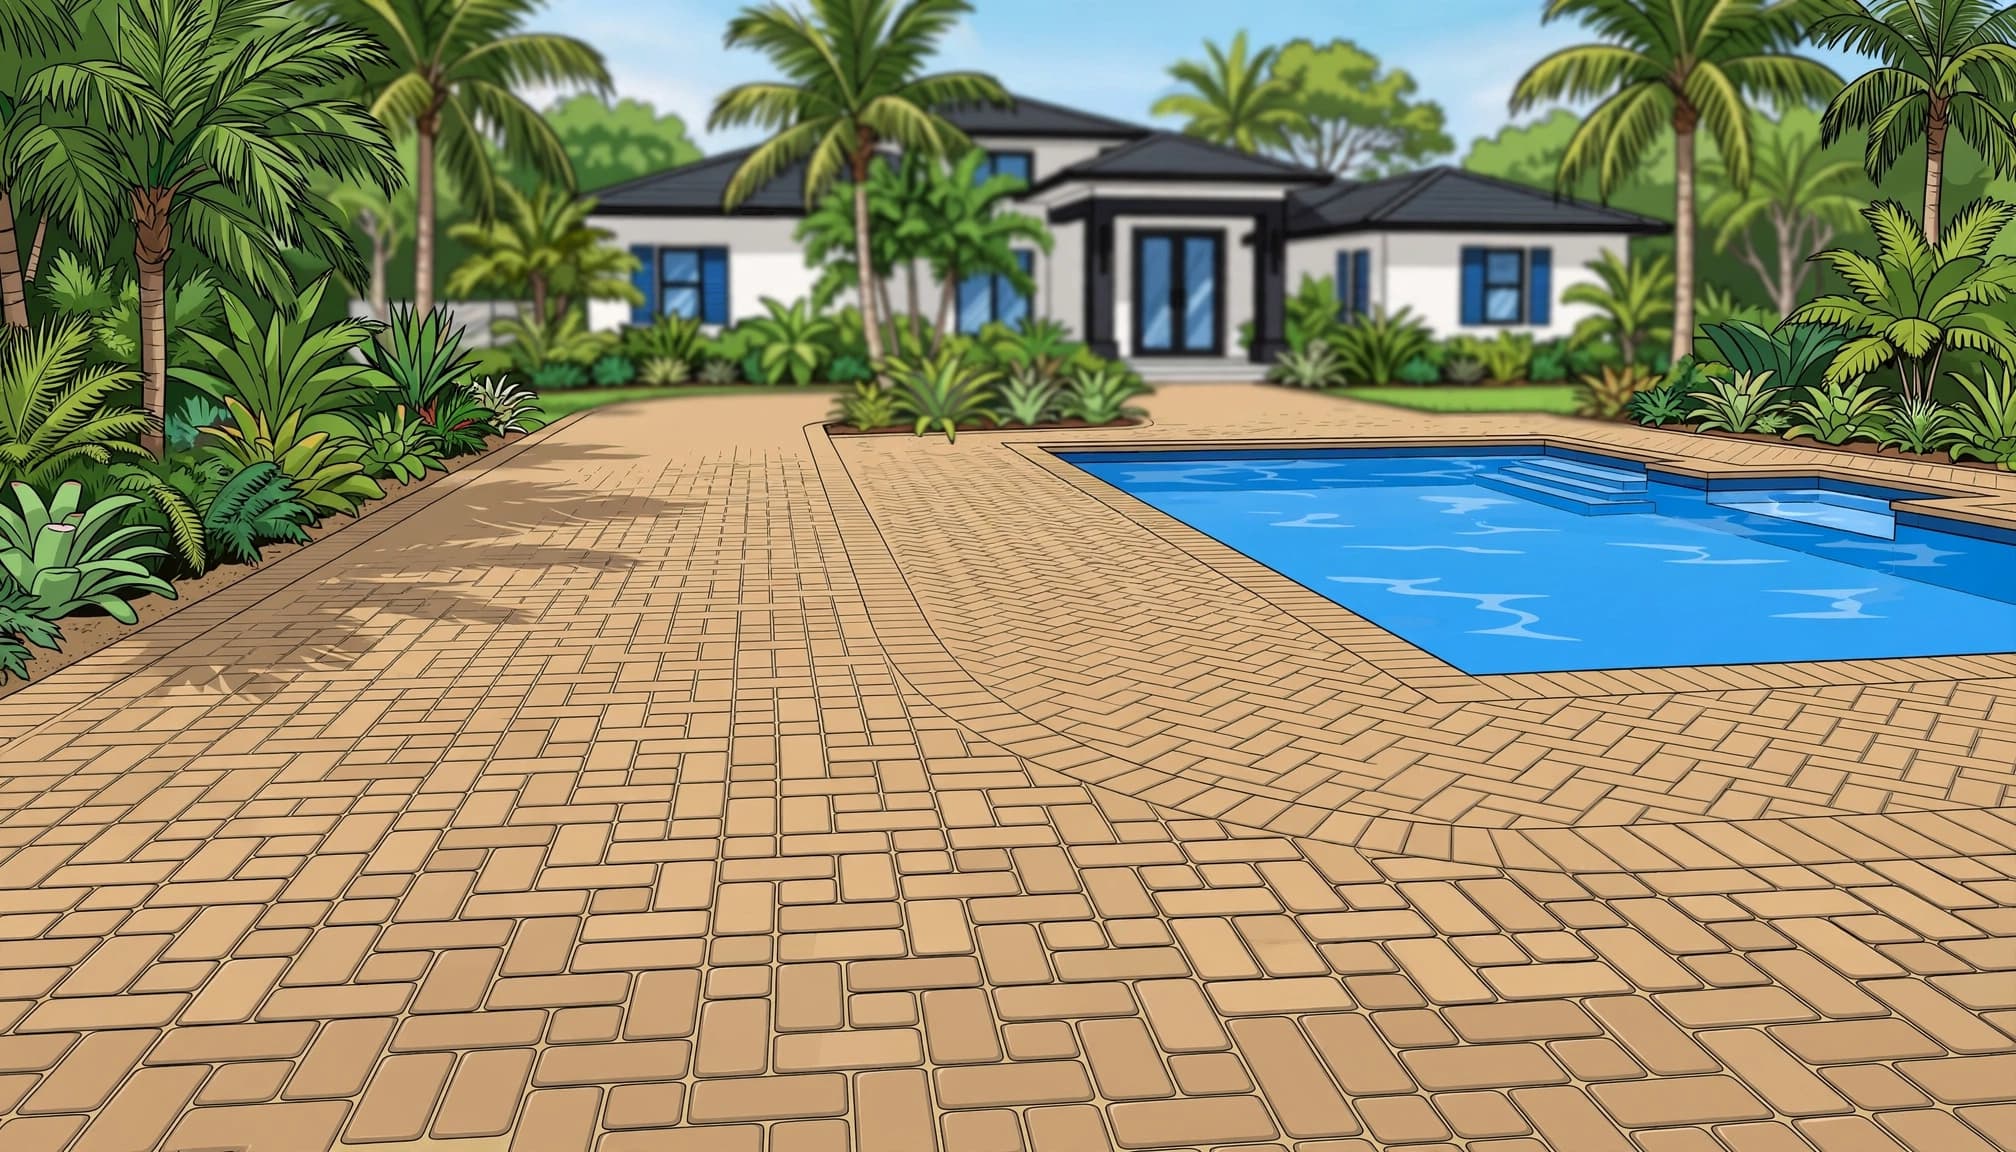
Some homeowners prefer a natural look, while others want richer color with a mild sheen. A suitable sealer can improve color consistency, reduce water absorption, make routine cleanup easier, and slow stains from spills and organic growth.
What Happens on Sealing Day
I apply the product in controlled, even coats. Too much sealer can leave puddling, tackiness, or a plastic look, while too little may not cover the surface.
Keep the area clear while the coating cures, especially after driveway sealing. Shut down irrigation and avoid foot traffic, furniture, pool equipment, and vehicles until the product-specific cure period ends.
Driveway sealing requires a product and finish suited to tires, turning wheels, spills, rain, and sun. Pool deck sealing and patio sealing follow the same order, but preparation and product selection must match the material.
If your pavers are faded, uneven, slippery, stained, or losing sand, Get a Quote for a surface-specific assessment and free estimate from our owner-operated company.
Maintaining the Finish After Restoration
Once the final sealer has cured, maintenance helps keep the restored surface looking its best. Sealing doesn’t make pavers maintenance-free, but it gives you a cleaner, more protected surface that’s easier to keep up with.
Regular sweeping is a practical part of HOA paver maintenance, keeping leaves, palm berries, dirt, and mulch from sitting on pavers for weeks. Clean spills early, especially oil, grease, paint, fertilizer, and food stains, since porous brick or stone can hold a shadow.
Watch for areas where sand washes out after storms. Small joint failures or movement are easier to correct with paver repair before pavers begin shifting. A routine professional cleaning can also remove algae and grime before the surface turns dark and slippery.
Most Florida pavers benefit from periodic cleaning and resealing. Follow-up after driveway sealing or pool deck sealing depends on vehicle loads, foot traffic, water exposure, sun exposure, shade, pool use, salt air, and current sealer condition. I inspect and document the surface, then schedule work according to community requirements for HOA paver maintenance.
Frequently Asked Questions
How long does paver restoration take in Florida?
The timeline depends on the surface condition, repairs, sealer stripping, joint sand installation, and weather. Shaded areas, high humidity, rain, and moisture in the joints can extend the drying and curing period.
Can pavers be sealed immediately after pressure washing?
No, pavers must dry fully before sealing, including the joints and pores. Applying sealer to damp pavers can cause haze, whitening, poor bonding, and premature failure.
Is paver repair necessary before sealing?
Yes, loose, sunken, cracked, or rocking pavers should be repaired before the final coat is applied. Sealer can protect a prepared surface, but it cannot correct movement, drainage problems, broken pavers, or an unstable base.
Does every paver restoration project require sealer stripping?
No, stripping is generally needed when the old coating is peeling, cloudy, blotchy, overly glossy, or no longer bonded properly. If the existing sealer is stable and the surface is even, thorough cleaning may be enough preparation.
How can I maintain restored Florida pavers?
Sweep regularly, clean spills promptly, and watch for washed-out joint sand, algae, stains, or shifting pavers. Periodic professional cleaning and resealing can help protect driveways, patios, pool decks, and shared HOA hardscape.
A Better Finish Starts With the Right Order
A strong paver restoration job follows a simple order: inspect, clean, repair, re-sand, dry, seal, and cure. Each step supports the next.
When paver restoration Florida work is rushed, moisture gets trapped, stains remain, and pavers may continue to move. Proper paver repair and re-sanding must come before sealing, helping the surface stay stable and protected.
The same orderly process helps homeowners and communities protect shared hardscape through HOA paver maintenance. Your pavers add to your home’s curb appeal and outdoor living space, so proper preparation helps them handle South Florida weather.
