
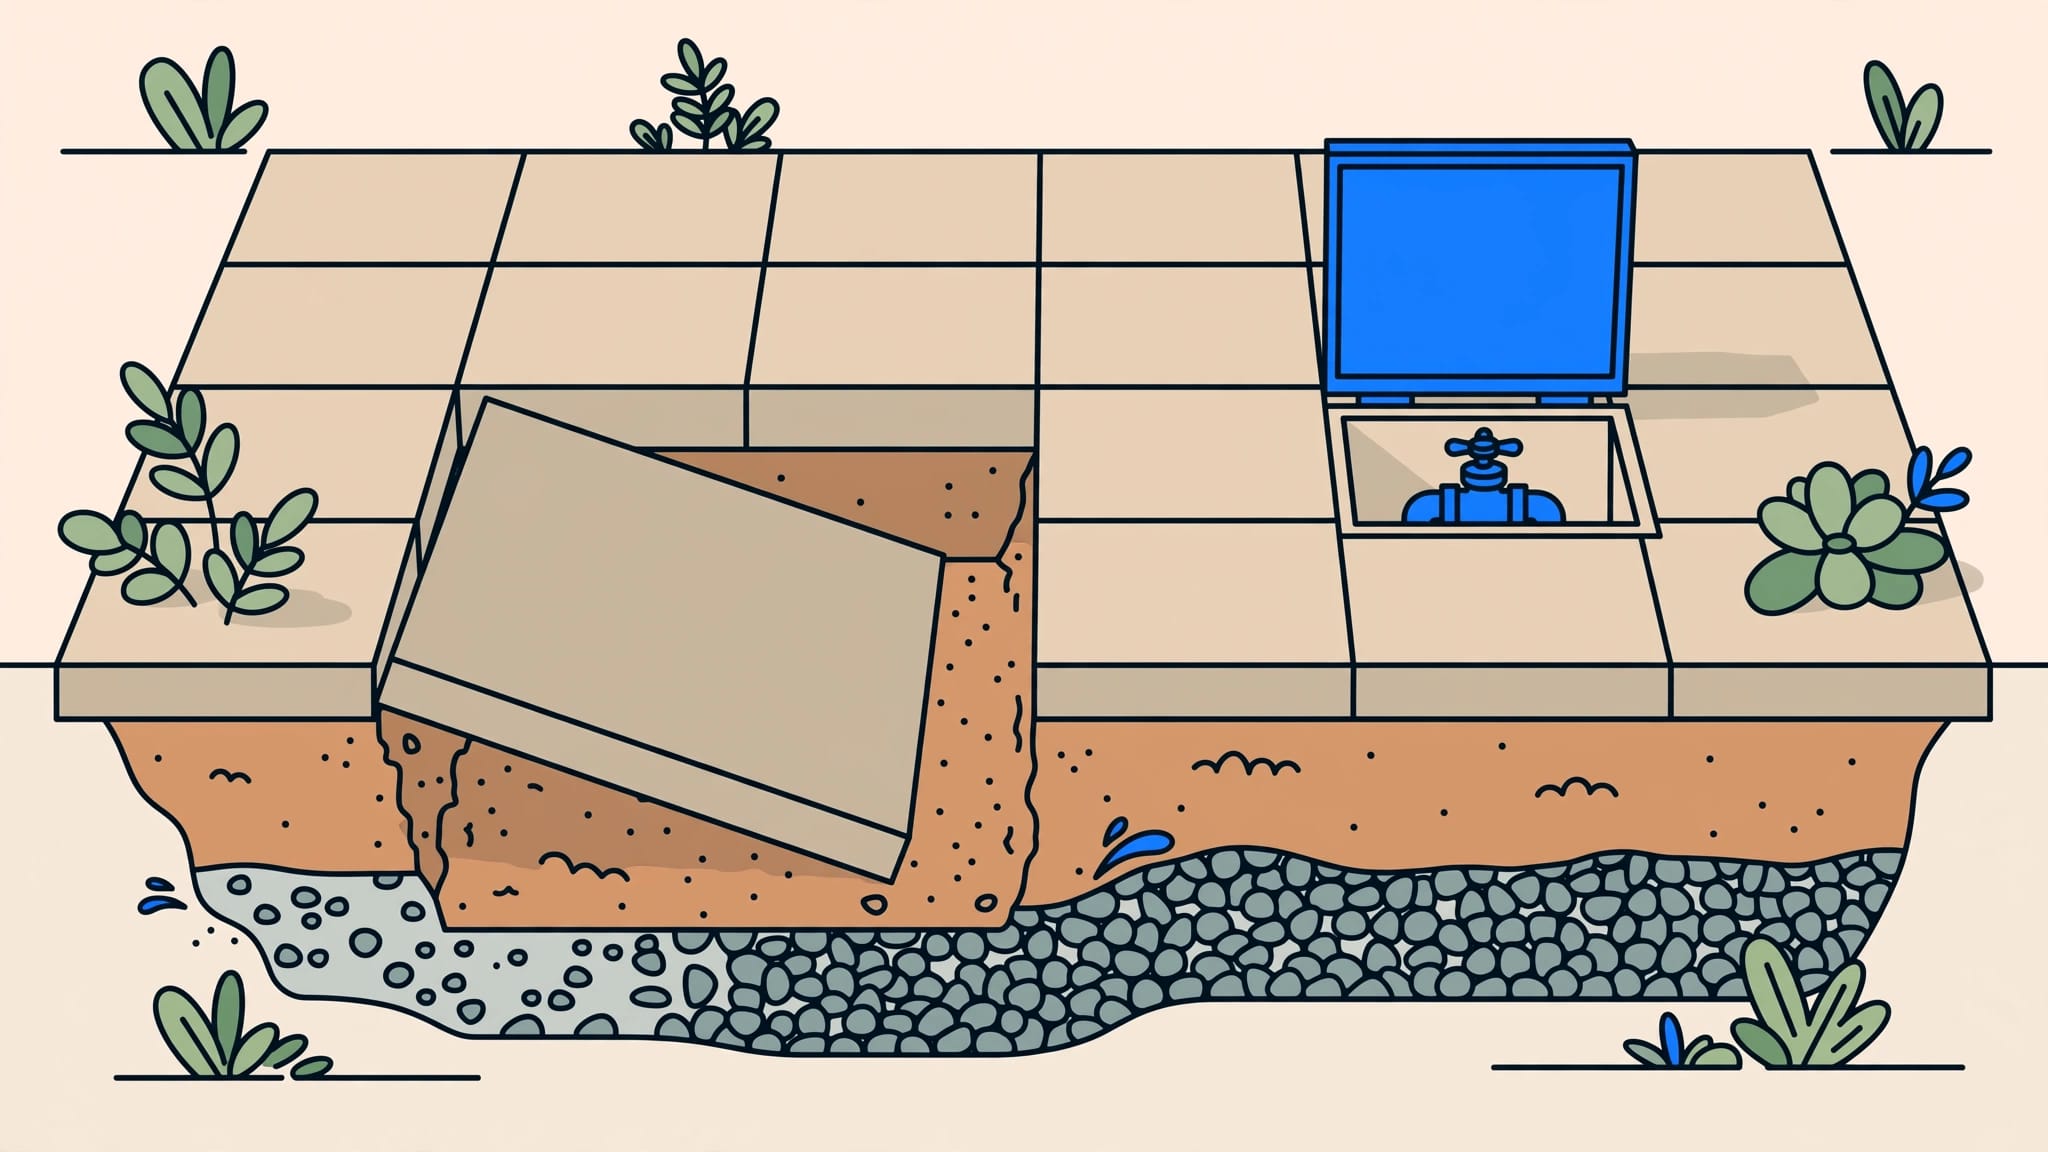
Pavers sink around irrigation valve boxes when the soil or base beside the box loses support through settling, loss of compaction, or washout. The box interrupts the pavement base, and sinking pavers often reveal weak support around that opening.
I recommend finding the cause before topping up the surface or resetting it, because a level-looking patch can sink again. Start with the support below the pavers, then follow the water.
Why Sinking Pavers Develop Beside Valve Boxes
Excavated backfill can settle differently
Installing irrigation equipment requires digging around pipes and valves. Soil placed back into the opening can compress later if it wasn’t compacted properly.
The narrow space beside a valve box can also be difficult to compact. A solid patio may develop a small dip where that backfill meets the original ground. The problem can follow an irrigation trench beyond the box.
A shallow gravel base makes movement more likely. An overly thick bedding layer can also leave pavers without dependable support, especially under vehicle loads. Structural aggregate provides a more stable base.
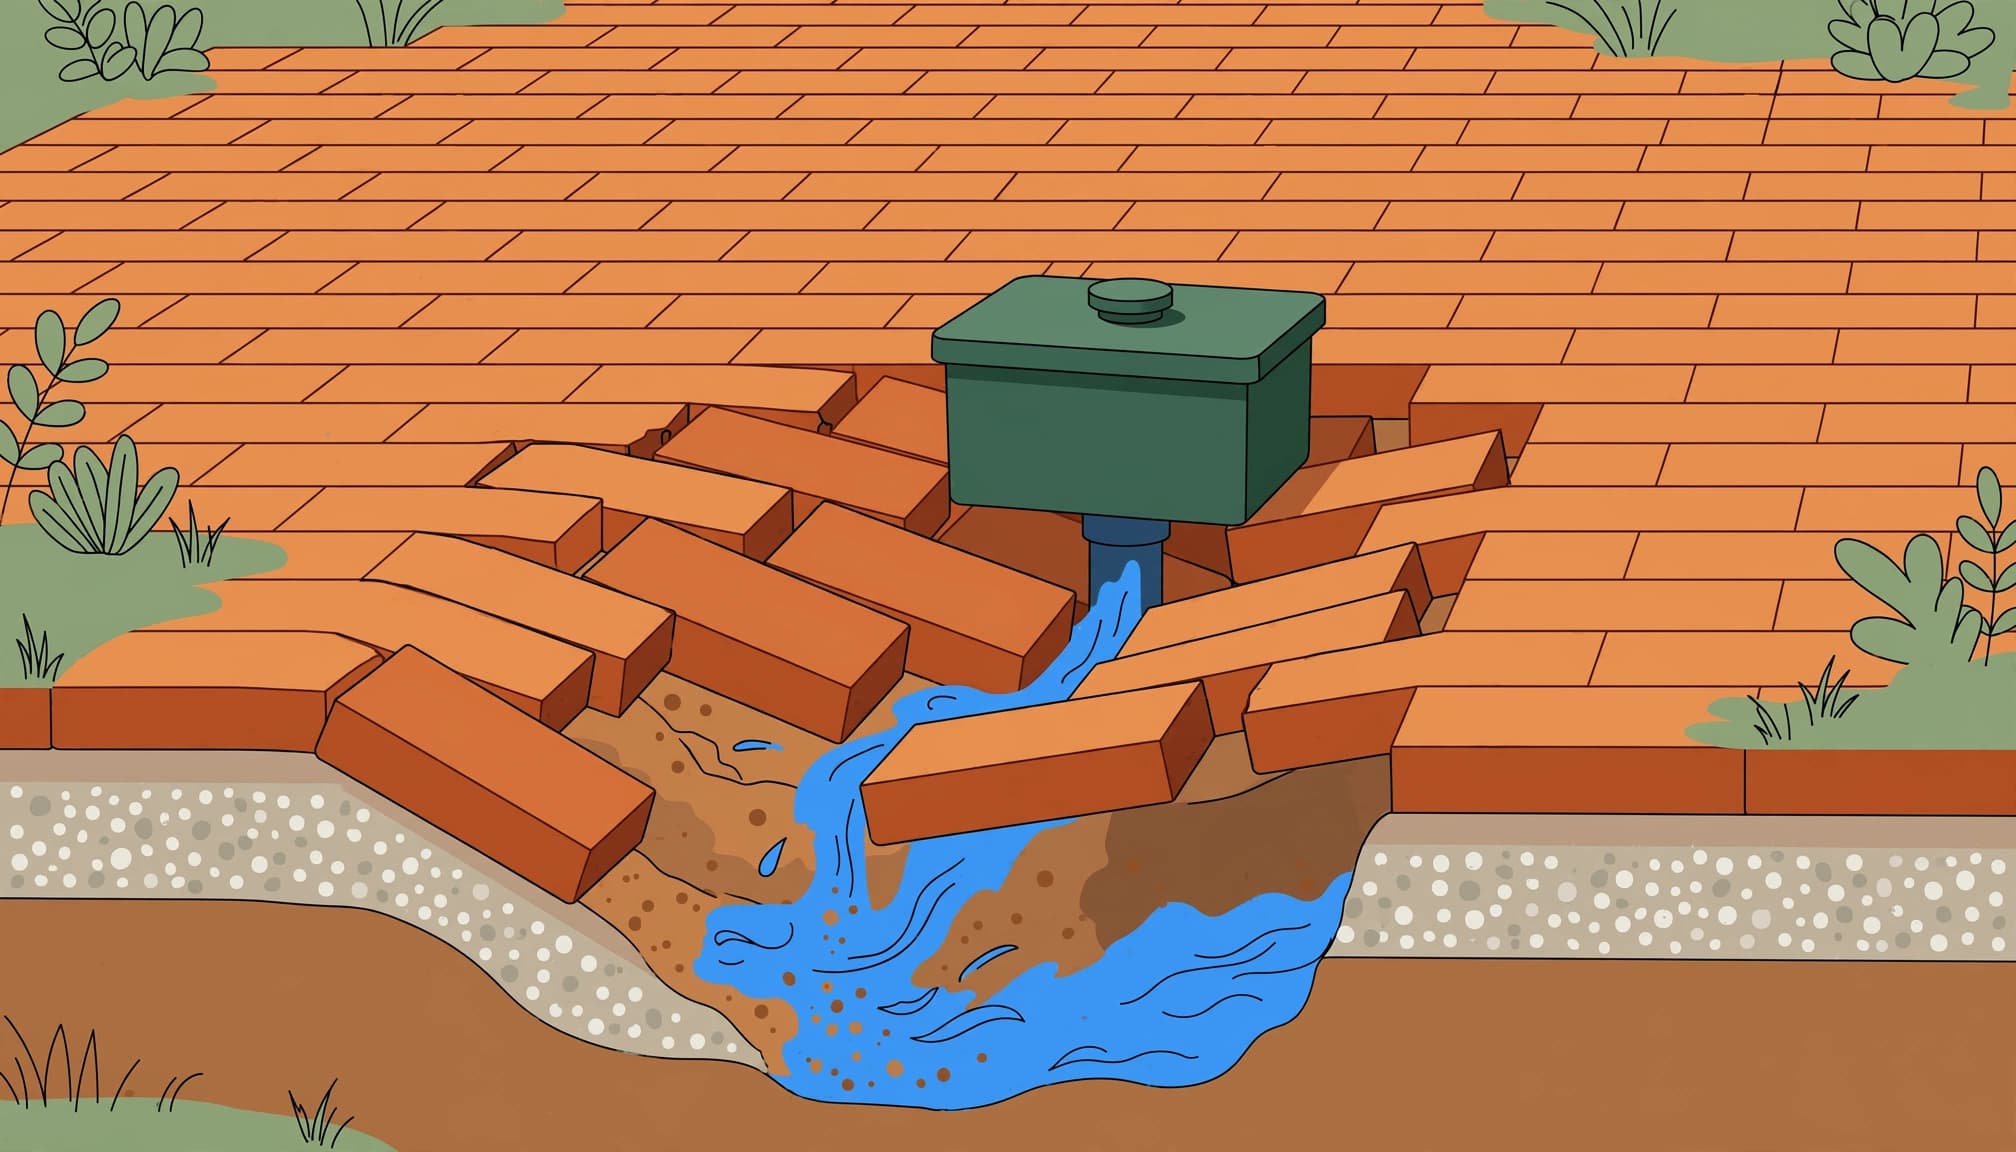
Water can remove the support
Poor drainage, irrigation pipe leaks, plumbing leaks, and gutter discharge can cause soil erosion or leave soil unstable. This ground movement can remove support beneath nearby pavers, causing them to drop or tilt.
Water inside a valve box doesn’t establish that the irrigation equipment is leaking. Rainwater and surrounding runoff can enter the opening too.
I look for the pattern: settlement after irrigation, washout after storms, empty joints, or damp ground that stays wet longer than nearby areas. These clues help distinguish loose backfill from an ongoing water-management problem.
Find the Cause Before Lifting Pavers
Compare the box with the surrounding surface
Use a straightedge across stable pavers to compare the grading and see how far the depression extends. Note whether nearby pavers rock, tilt, or sit unevenly, and whether the box itself has moved or surrounding pavers have dropped.
Photograph the low area, joint gaps, and nearby edges. A narrow depression following a pipe route suggests trench settlement. Several disconnected low spots suggest a broader installation problem.
Keep people and vehicles away from rocking pavers or a sharply sunken section. Our guide to finding hidden gaps beneath pavers covers warning signs that deserve closer inspection.
Follow irrigation and stormwater separately
Observe the area during a normal irrigation cycle without reaching into electrical connections or adjusting unfamiliar equipment. Then compare conditions after rainfall.
Wetness that appears with irrigation warrants an irrigation-system inspection. Sand deposits, overflowing gutters, and runoff crossing the same corner suggest a drainage problem.
Trace water upstream rather than focusing only on the dip. Our guidance on redirecting roof runoff away from pavers explains how concentrated discharge undermines an otherwise stable edge.
Stop excavation if you uncover a deep cavity, damaged pipe, or widespread soft ground.
How to Fix Sinking Pavers Around a Valve Box
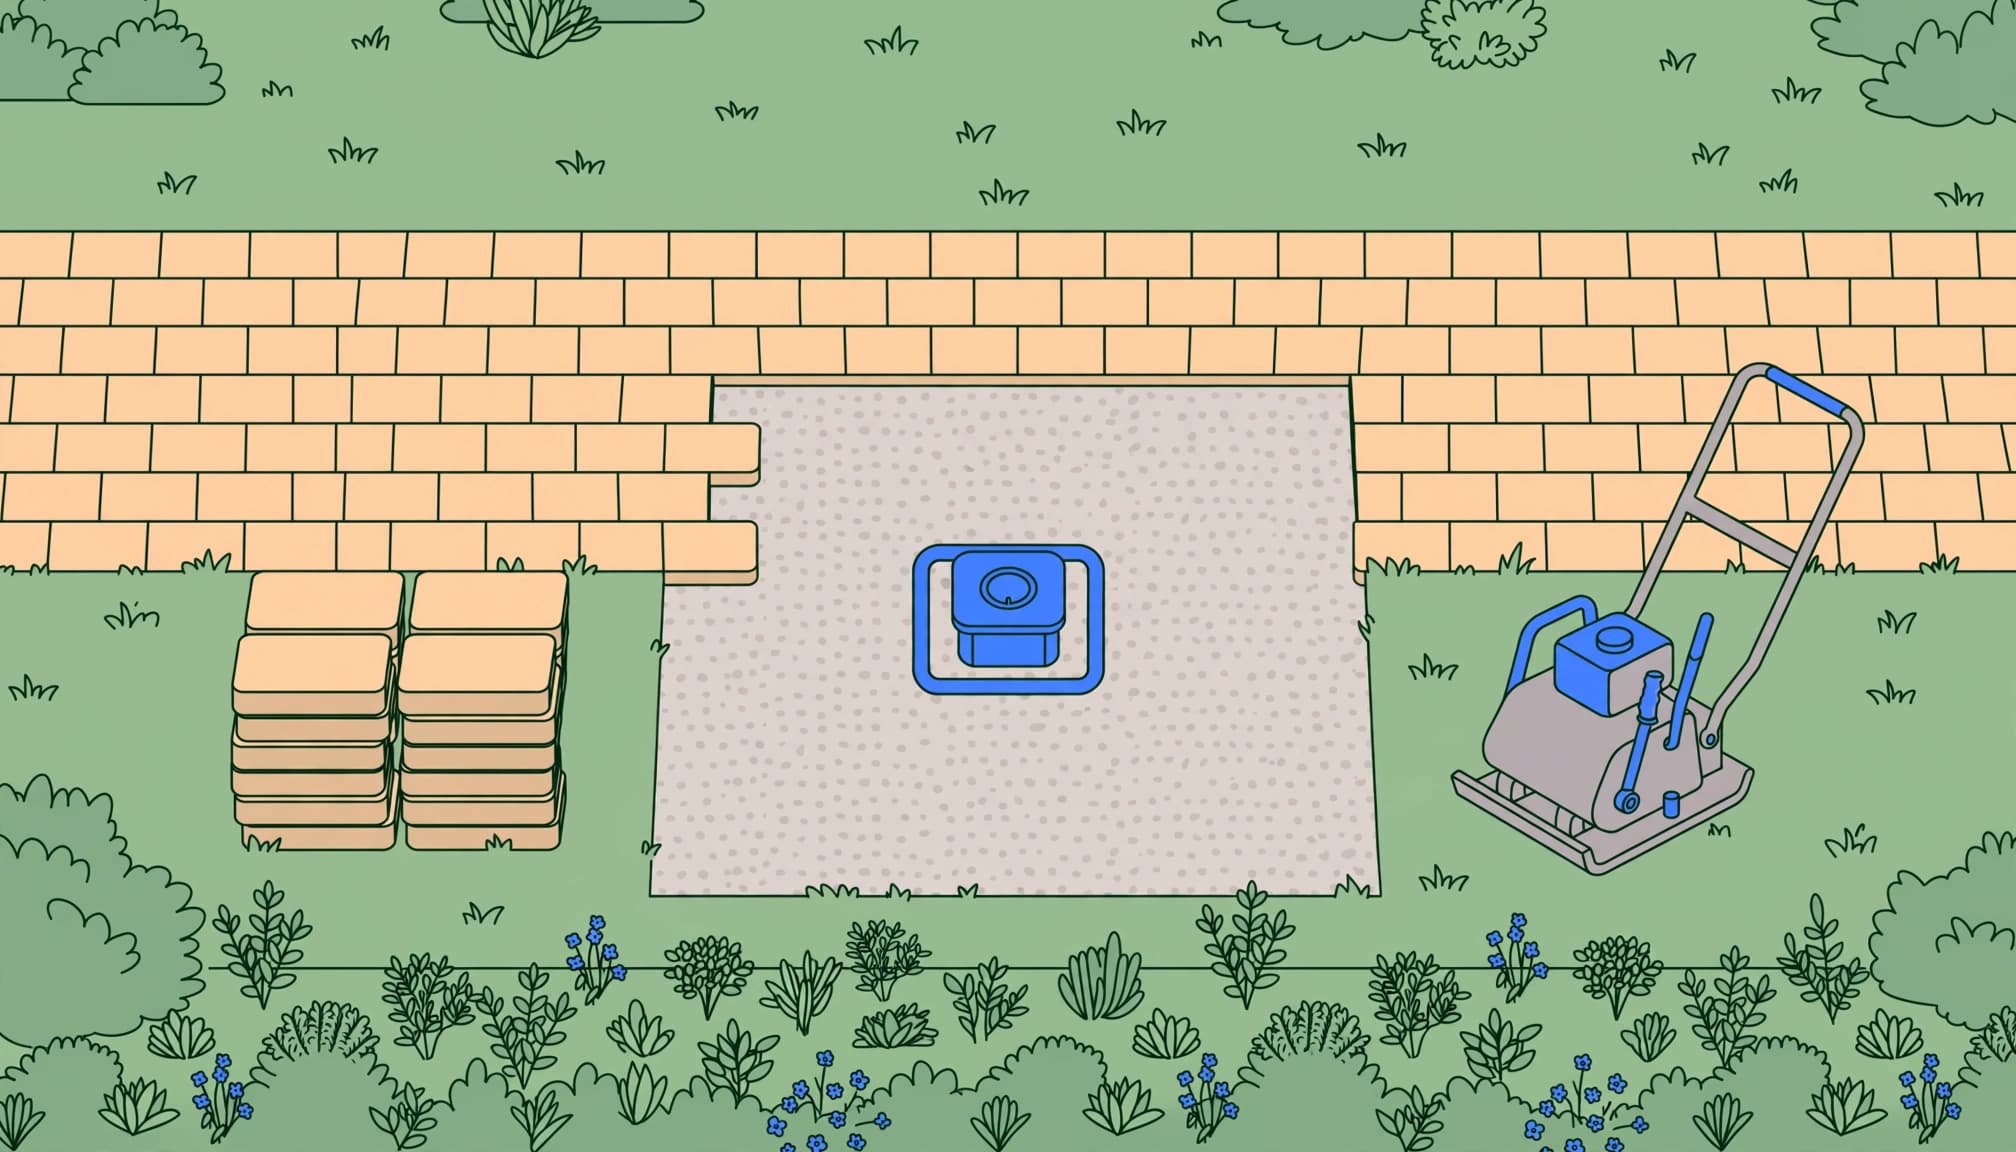
A dependable repair starts with careful base preparation and rebuilds support without damaging irrigation equipment or blocking access.
- Lift beyond the dip. Remove affected pavers and enough surrounding units to expose firm support. Save sound pavers in their original pattern.
- Remove failed material. Scrape away old bedding material and remove loose, muddy, or washed-out base. Correct the water source before rebuilding.
- Restore base depth. About 6 to 8 inches of total excavation is a common starting point for lighter-use installations, with a compacted gravel sub-base topped by bedding sand. Soil, paver thickness, and driveway loads can require greater depth.
- Compact in thin layers. Compact the exposed subgrade and each aggregate lift with appropriate equipment. Don’t compact directly against plastic box walls, pipes, or wiring. Use compatible material around the box without loading irrigation components.
- Restore bedding and grade. Screed a thin bedding layer, then seat the pavers with careful tamping to match the surrounding slope. The CMHA pavement application guide describes a typical 1-inch bedding layer.
- Finish the joints. Complete final compaction with equipment suitable for the pavers, then fill joints with compatible paver sand. For polymeric sand, remove surface residue and follow its activation requirements.
Compaction must address the whole assembly, including final seating into the bedding. Don’t run a plate compactor over loose bedding material unless the installation specification calls for it. IDEAL’s paver installation guide provides broader guidance on the setting layer.
Keep the valve-box lid accessible and properly supported.
Spot Repair or Full Patio Relaying?
A local problem can stay local
One low area doesn’t prove the entire patio will fail. If surrounding pavers remain firm, the grade works, and settlement follows the valve-box excavation, a focused repair can be enough.
When simple ground settlement is the only cause, resetting a small area can take less time and money than rebuilding the installation.
I recommend lifting enough pavers to reach dependable material. Repairing only the lowest unit can leave adjacent weak support untouched and allow the dip to return.
Widespread movement needs a larger plan
Multiple depressions, spreading edges, repeated washout, or movement under normal traffic point toward broader base or water-management problems.
A larger section may need lifting, regrading, and compacting. Sound pavers can often be reused rather than replaced.
Concrete bases with wet-mortar setting beds are separate pavement systems. Adding mortar over unstable bedding material doesn’t create a permanent repair. Any conversion needs suitable support, water-flow control, and movement provisions.
The repair estimate should identify the cause, excavation area, base work, edge repairs, and joint restoration. It should also explain how replacement pavers will match if damaged units can’t be reused. For natural stone pavers, confirm unit thickness and compatibility before resetting or choosing replacements.
What Does Repairing Sunken Pavers Cost?
Access, repair depth, drainage work, and irrigation damage affect the price more than the number of visibly low pavers.
An anecdotal Reddit discussion offered the following budgeting figures.
| Work or material | Commenter’s estimate |
|---|---|
| Licensed contractor labor | About $100 per hour |
| Paver repair | About $1,000 to $2,000 |
| Polymeric sand allowance | About $200 |
| Plate compactor rental | About $150 per day |
| Budget DIY paver materials | About $7 to $8 per square foot |
| New paver installation | About $25 per square foot |
These are individual estimates, not Kingsway pricing or a current Southwest Florida rate survey.
The same discussion estimated $2,000 to $2,500 in materials and up to $3,200 in labor for a 225-square-foot patio. That describes a larger project, not a small valve-box reset.
If existing pavers are reusable, replacement-paver prices contribute little to a localized repair. Excavation, compaction, equipment access, and any pipe repairs become the main expenses.
I recommend comparing written scopes rather than totals alone. A low price that only tops up the joints leaves the failed support in place. A useful estimate explains how the base will be rebuilt and how water will leave the repaired area.
Keep Water and Joint Loss Under Control
Polymeric sand firms up between compatible pavers and helps resist joint washout. It isn’t waterproof, and it can’t bridge a cavity or stop a pipe leak.
Restored joints can reduce joint-fill loss during ordinary rainfall after the base and water-flow issues are repaired. Concentrated downspout discharge can still overwhelm them. Our guidance on preventing paver joint sand washout covers that maintenance concern.
Stable edge restraints contain the paver field. Where specified, geotextile fabric separates native soil from aggregate; landscape fabric isn’t a structural substitute.
Water-retaining sites may need drainage improvements or a properly designed permeable pavement system. Keep new layouts away from tree roots. In colder climates, freeze-thaw cycles and frost heave also require appropriate water management and base thickness, sometimes a thicker base.
Pressure washing should wait until unstable pavers are repaired. Driveway sealing protects the finish but doesn’t correct grade. Roof cleaning or a soft wash likewise won’t redirect a downspout feeding the washout.
Key Takeaways
- Settlement beside a valve box often starts with loose backfill, insufficient base, inadequate compaction, or water washout.
- A stable repair removes failed material, restores compacted aggregate, and resets pavers to the correct grade.
- Joint filler and sealer support maintenance after structural repairs. Neither replaces missing support.
Frequently Asked Questions
Can sand alone fix a low paver?
Only when the structural base is firm and the bedding layer needs a small adjustment. Deep, soft, or wet cavities need base repair. Filling them with that loose material can hide the problem until traffic or rainfall causes more settlement.
Does one dip mean the whole driveway needs replacing?
No. A localized trench or valve-box backfill problem may need only a focused repair. Several low areas, moving borders, or recurring washout justify a wider inspection. Reusable pavers can often be lifted and relaid after support is restored.
Should the valve box collect patio runoff?
No. An irrigation valve box provides equipment access, not a stormwater inlet. Surface water needs a planned route away from the home and vulnerable paver edges. Persistent pooling around the lid requires attention to surface grade and water routing.
Restore the Support Before the Finish
A lasting repair starts with stable support and controlled water flow. Find out why the material beside the valve box moved before resetting the surface.
I recommend completing base, water-routing, and irrigation repairs before cosmetic maintenance. Once the pavers are stable, Get a Quote from Kingsway for sealing or pressure cleaning to help maintain the finished surface.