
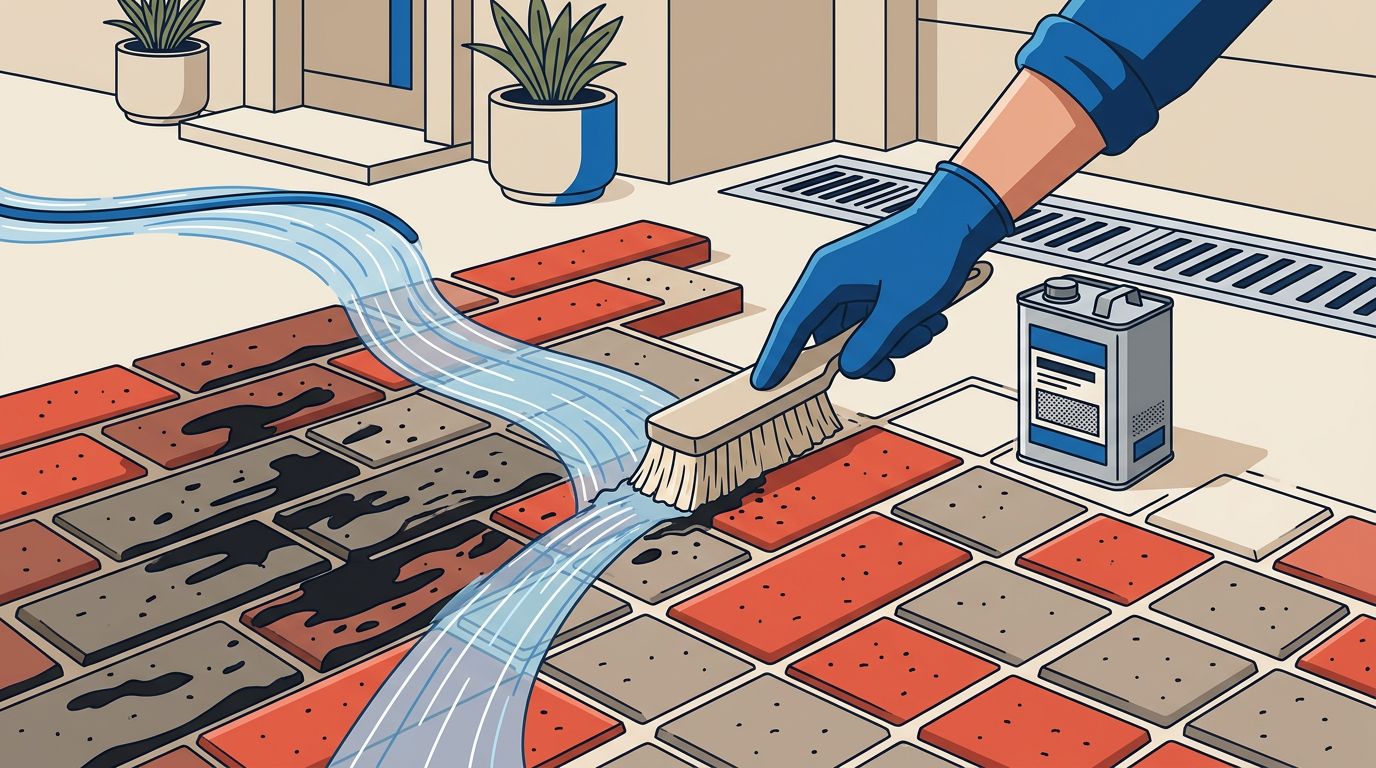
Asphalt sealer can turn a clean brick driveway into a patchy black mess within minutes. If you want to remove asphalt sealer brick pavers safely, the first step is to stop treating the residue like ordinary dirt.
I have seen homeowners make the problem worse by using a high pressure washer incorrectly, applying harsh chemical solvents, or scrubbing too aggressively. Because a brick paver surface is porous, the wrong removal method can push the black asphalt deeper into the pores, wash away the joint sand, or permanently pit the brick face. A controlled cleaning process gives you a much better chance of restoring the surface.
Key Takeaways
- Identify the paver sealer type and test every product in a hidden area first.
- Use a specialized sealer stripper to soften the asphalt before rinsing.
- Avoid heat, torches, aggressive scraping, and close-range pressure washing.
- Protect nearby walls, screens, plants, drains, and pool water.
- Call a professional when the sealer has cured, spread across a large area, or left a dark shadow.
Understand the Asphalt Sealer Before Cleaning
Asphalt sealer usually reaches brick pavers through overspray from driveway sealcoating, splashes, tracked material, or an application mistake near the edge of a driveway. Fresh residue may sit on top of the pavers. Older material can bond to the surface and soak into the pores.
The type of asphalt sealer matters. Some products are water-based, while others contain asphaltic binders and solvents, much like a traditional driveway sealer. A water-based product or a standard acrylic sealer may soften with the right cleaner and dwell time. A cured solvent-based coating often needs a dedicated sealer remover.
Check the original product label if you have it. The label should provide surface restrictions, dilution instructions, dwell time, ventilation requirements, and disposal guidance. Do not mix products because one cleaner may react poorly with another.
Before starting, proper surface preparation involves sweeping away loose dirt and inspecting the pavers. Look for cracks, chipped edges, loose bricks, missing joint sand, and existing paver sealer. The condition of the surface affects how much pressure and chemical treatment it can handle.
I always recommend a small test area first. Pick a hidden edge or spare paver. Apply the chosen remover as directed, wait the listed amount of time, and rinse gently. Check for color changes, softened joints, whitening, or a sticky film after the area dries. When you need to remove paver sealer or stubborn residue, testing beforehand prevents unexpected damage.
A dedicated paver sealer remover guide is useful because products differ in strength and application instructions. A product made for removing paver coatings is a better starting point than a random household solvent.
Remove Asphalt Sealer Brick Pavers Safely, Start With a Test Area
Once you know what you are working with, prepare the area before applying any cleaner. Choose a dry day with mild weather. Strong sun can dry the product too quickly, while rain can spread softened asphalt into nearby areas.
Wear chemical-resistant gloves, eye protection, long sleeves, and protective clothing along with shoes that provide good footing. Keep children and pets away from the work area. If the product requires additional protection, follow the safety data sheet and product label.
The basic process is straightforward, but patience matters.
- Protect the surrounding area. Cover nearby walls, painted trim, screens, plants, outdoor furniture, and other surfaces that could be affected. Block drains if the product instructions require it, but never allow contaminated runoff to enter a storm drain or pool.
- Apply the remover to the asphalt residue. Use a brush, roller, or pump sprayer approved for the product. Whether you are using a bio-based stripper, a citrus based cleaner, or a traditional chemical stripper, apply enough to wet the affected area without flooding the joints. Work in small sections so the cleaner doesn’t dry before it has time to soften the coating.
- Allow the product to dwell. Don’t rush this step. The remover needs time to break down the bond. Follow the label rather than guessing. If the asphalt remains hard, a second approved application may be safer than using more pressure.
- Agitate gently. Use a soft or medium nylon brush to lift the softened residue. Avoid a wire brush because it can scratch the brick face and disturb the joint material. On textured pavers, work across the surface instead of grinding down into one spot.
- Lift heavy residue carefully. Thick blobs may need a plastic scraper after the remover has softened them. Keep the scraper nearly flat and use light pressure. Metal blades can leave scratches or remove the surface texture.
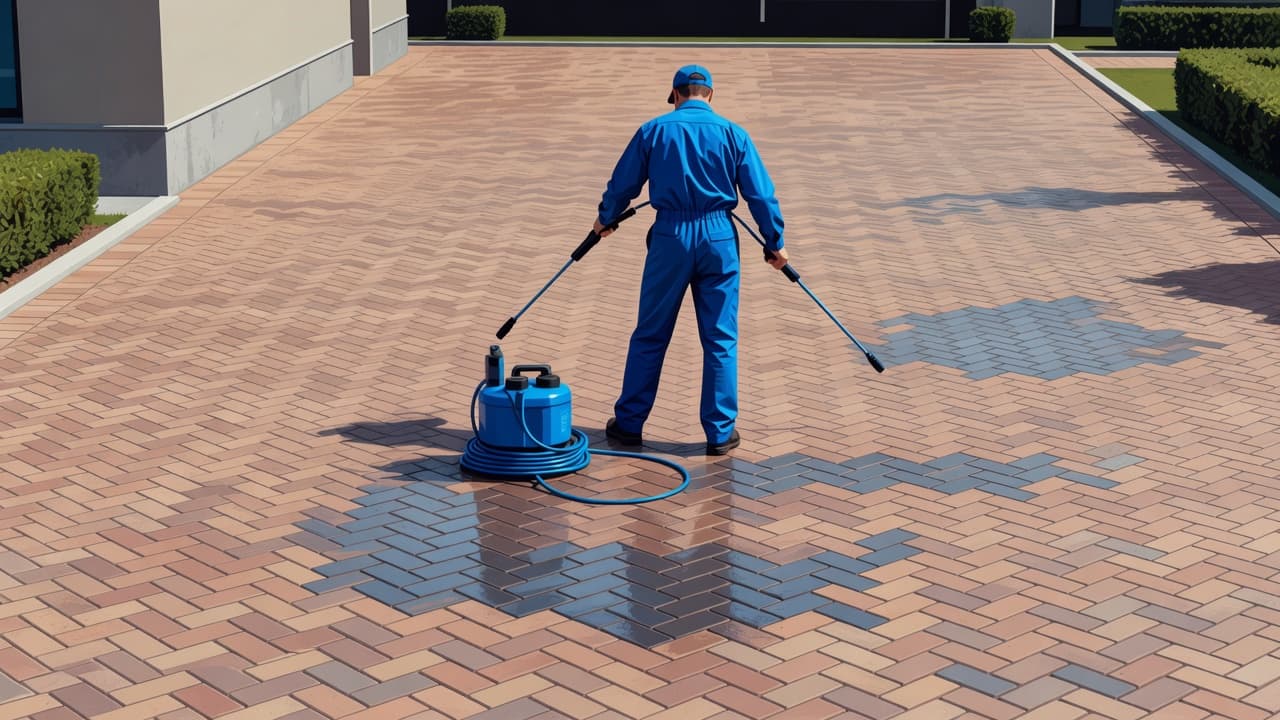
- Rinse with controlled pressure. Use a wide spray pattern with your pressure washer and keep the nozzle moving. Be careful to protect your polymeric sand during the rinsing process. A surface cleaner can help on a flat driveway, but it should be used at a pressure suitable for the pavers and joints. The goal is to remove loosened residue, not blast the pavers clean in one pass.
The safest way to remove asphalt sealer brick pavers is to soften the material first. Pressure washing should support the cleaning process, not replace it. Starting with high pressure can drive the asphalt into the pores and remove more joint sand than necessary.
If you want to see how asphalt sealer removal can look before and after cleaning, this asphalt sealer removal demonstration shows the type of residue that can remain on paver surfaces.
Rinse, Inspect, and Clean the Remaining Shadow
After the first rinse, allow the pavers to dry before deciding whether the job is complete. Wet brick often looks darker, and remaining moisture can hide a stain or make a cleaned section appear uneven. Sometimes, properly completing the steps to remove asphalt sealer will reveal layers of an old sealer, or issues like a white haze, efflorescence, or trapped moisture on adjacent concrete or brick surfaces.
Look for three different problems:
- A raised or sticky film means physical residue remains.
- A dark outline or shadow may mean asphalt oils have entered the pores.
- Loose joint sand means the cleaning pressure was too strong or too close.
If a film remains, repeat the approved remover process on that small section. Do not keep increasing the pressure. A second dwell period usually gives you more control than a stronger spray.
A shadow is more difficult. Removing the visible asphalt does not always remove the oils or pigments that soaked into the brick. Additional treatment may help, but there is no safe guarantee that every deep mark will disappear. Aggressive cleaning can leave a larger damaged area than the original stain.
Once the residue is gone, clean the entire driveway or walkway with a paver-appropriate solution. A full cleaning helps blend the treated area with the surrounding surface. I prefer a chemical pre-treatment, a wide spray pattern, controlled rinsing, and a surface cleaner on broad, flat sections.
Check the joints after the pavers dry. If sand has washed out, the surface may need re-sanding before sealing. Do not apply new driveway sealing products while the pavers are still damp or contaminated. The surface should be clean, dry, and free of residue.
Avoid These Methods on Brick Pavers
Some popular suggestions can cause more damage than the asphalt sealer itself.
Don’t use a torch, heat gun, or industrial steam cleaner. Sudden heat can create thermal shock. Brick may crack, spall, discolor, or develop permanent surface damage. Heat also creates a fire and fume risk around landscaping, homes, and vehicles.
Don’t use a wire wheel or stiff metal brush. These tools can scratch the brick and create visible lines that are difficult to repair.
Don’t pour gasoline, mineral spirits, paint and epoxy remover, or strong solvent across the driveway. While some people turn to WD-40 or heavy chemicals for quick fixes, these products can damage nearby materials, create dangerous fumes, and spread the asphalt stain. They may also create runoff that must be handled as contaminated waste. Once the area is clean, applying the right breathable sealers later can prevent future stains from bonding as deeply.
Don’t hold a pressure washer tip close to the pavers. A narrow tip can cut lines into the surface, chip edges, strip an existing sealer, and remove joint sand. This is one reason professional pressure washing depends on the correct tip, distance, pressure, and spray pattern.
A soft wash is useful for mold, algae, and other organic growth on surfaces that don’t handle heavy force. It isn’t a replacement for a product designed to remove asphalt residue. Roof cleaning and brick paver restoration require different methods because the materials and stains are not the same.
Know When Professional Paver Restoration Makes Sense
Small, fresh spots may respond to careful homeowner cleaning. A large overspray area, cured coating, deep shadow, or damaged joint system is a different job. When dealing with a stubborn brick paver installation or nearby concrete surfaces, standard DIY solutions often fall short.
At Kingsway Paver Sealing & Pressure Cleaning, I look at the paver type, paver sealer condition, stain depth, nearby surfaces, and drainage before choosing a cleaning method. The work may include spot treatment, controlled pressure washing, joint sand replacement, paver restoration, and a new sealer after the surface is ready.
This approach is especially helpful for driveways, patios, pool decks, lanais, and walkways in Fort Myers, Naples, Bonita Springs, Port Charlotte, Sanibel Island, and nearby Southwest Florida communities. Florida moisture, shade, rain, and organic growth can make residue harder to remove and easier to spread.
If the pavers need restoration or you want the area evaluated before cleaning, you can Get a Quote for professional service.
Frequently Asked Questions
Can I use a regular pressure washer to remove asphalt sealer from brick pavers?
Using a pressure washer by itself is rarely enough and can actually push the asphalt deeper into the porous brick. It is always best to soften the residue with a specialized stripper first, using the pressure washer only as a final, controlled rinse.
Will a wire brush damage my brick pavers during cleaning?
Yes, a wire brush or metal scraper can easily scratch the brick face, ruin the surface texture, and strip away joint sand. Always use a soft or medium nylon brush along with plastic scrapers for safe agitation.
What should I do if a dark shadow remains after the asphalt is gone?
A dark shadow often means that asphalt oils have soaked deep into the brick pores rather than just sitting on top. While additional treatment may help, avoid overly aggressive cleaning because it can cause permanent damage that looks worse than the original stain.
Conclusion
The safest way to remove asphalt sealer from brick pavers is to use the least aggressive method that works. Identify the product, test a small area, soften the residue with a suitable remover, agitate gently, and rinse with controlled pressure.
Avoid heat, harsh solvents, metal tools, and close range blasting. When the residue is cured or has soaked into the pavers, professional cleaning can protect the surface while giving you a better chance at a consistent result. Whether you are dealing with leftover driveway sealer or old paver sealer, the goal is not only to remove the black mark, but to keep the brick, joints, and surrounding property in good condition.
