
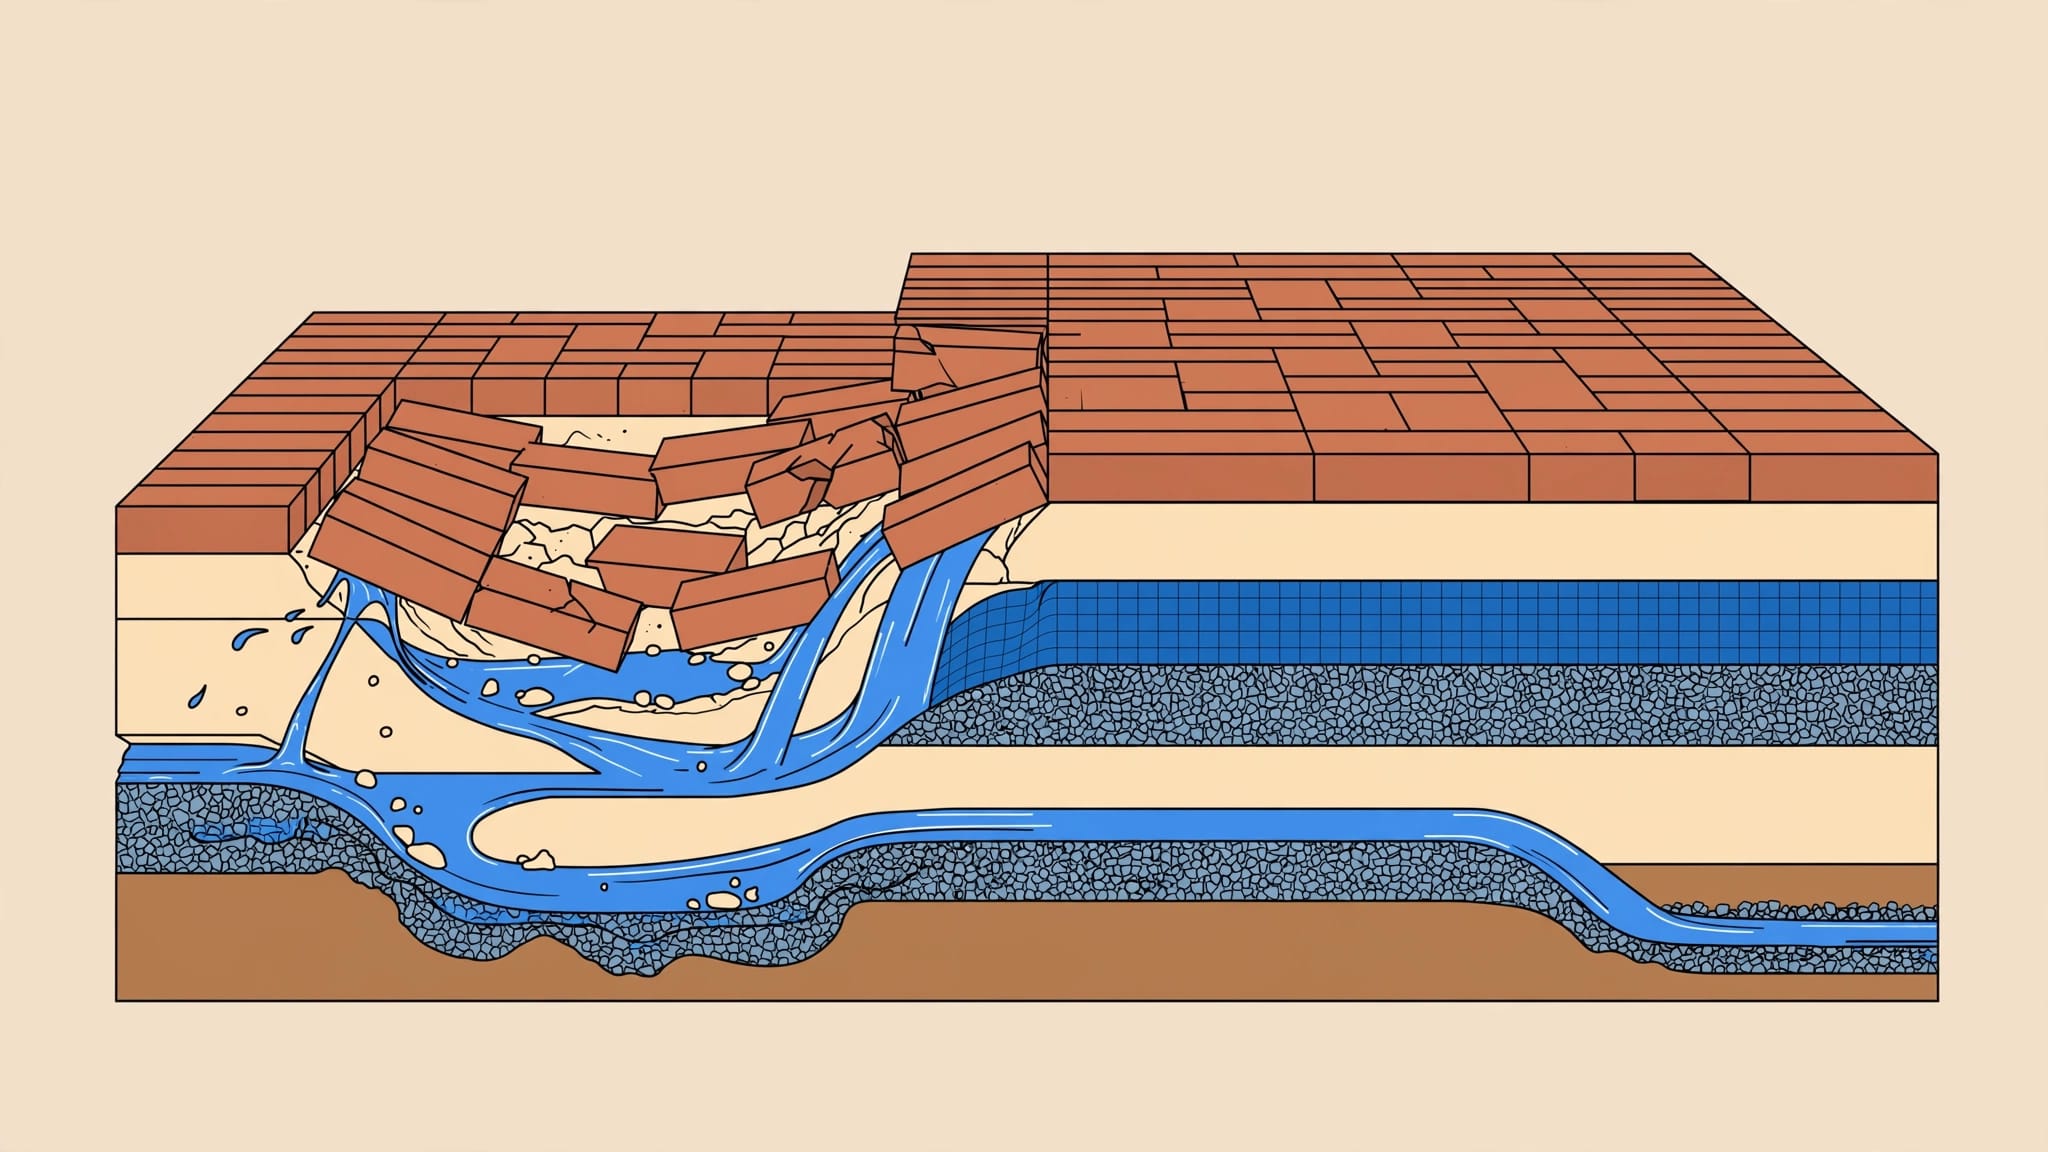
A low spot with sunken pavers is rarely only a surface problem. When support beneath the bricks has washed out or settled, brick paver repair must start below the paver, not with a new layer of sand on top. Proper repair lifts affected units, corrects drainage, rebuilds support, and resets the pavers.
I see this often around Fort Myers, Cape Coral, Bonita Springs, and Naples. Heavy rain, shifting soil, poor drainage, and weakened edges can affect a paver patio, driveways and walkways, or another outdoor living space. Individual brick pavers can usually be lifted, repaired, and reset without replacing the whole surface.
The key is diagnosing drainage, soil movement, edge failure, and missing base material before beginning the repair.
Brick Paver Repair Starts With the Right Diagnosis
A few missing grains of joint sand are normal over time. But paver repair requires more than surface maintenance when a unit sinks, rocks, or drops below the surrounding surface. That usually points to a base problem.
Look for movement, not only damage
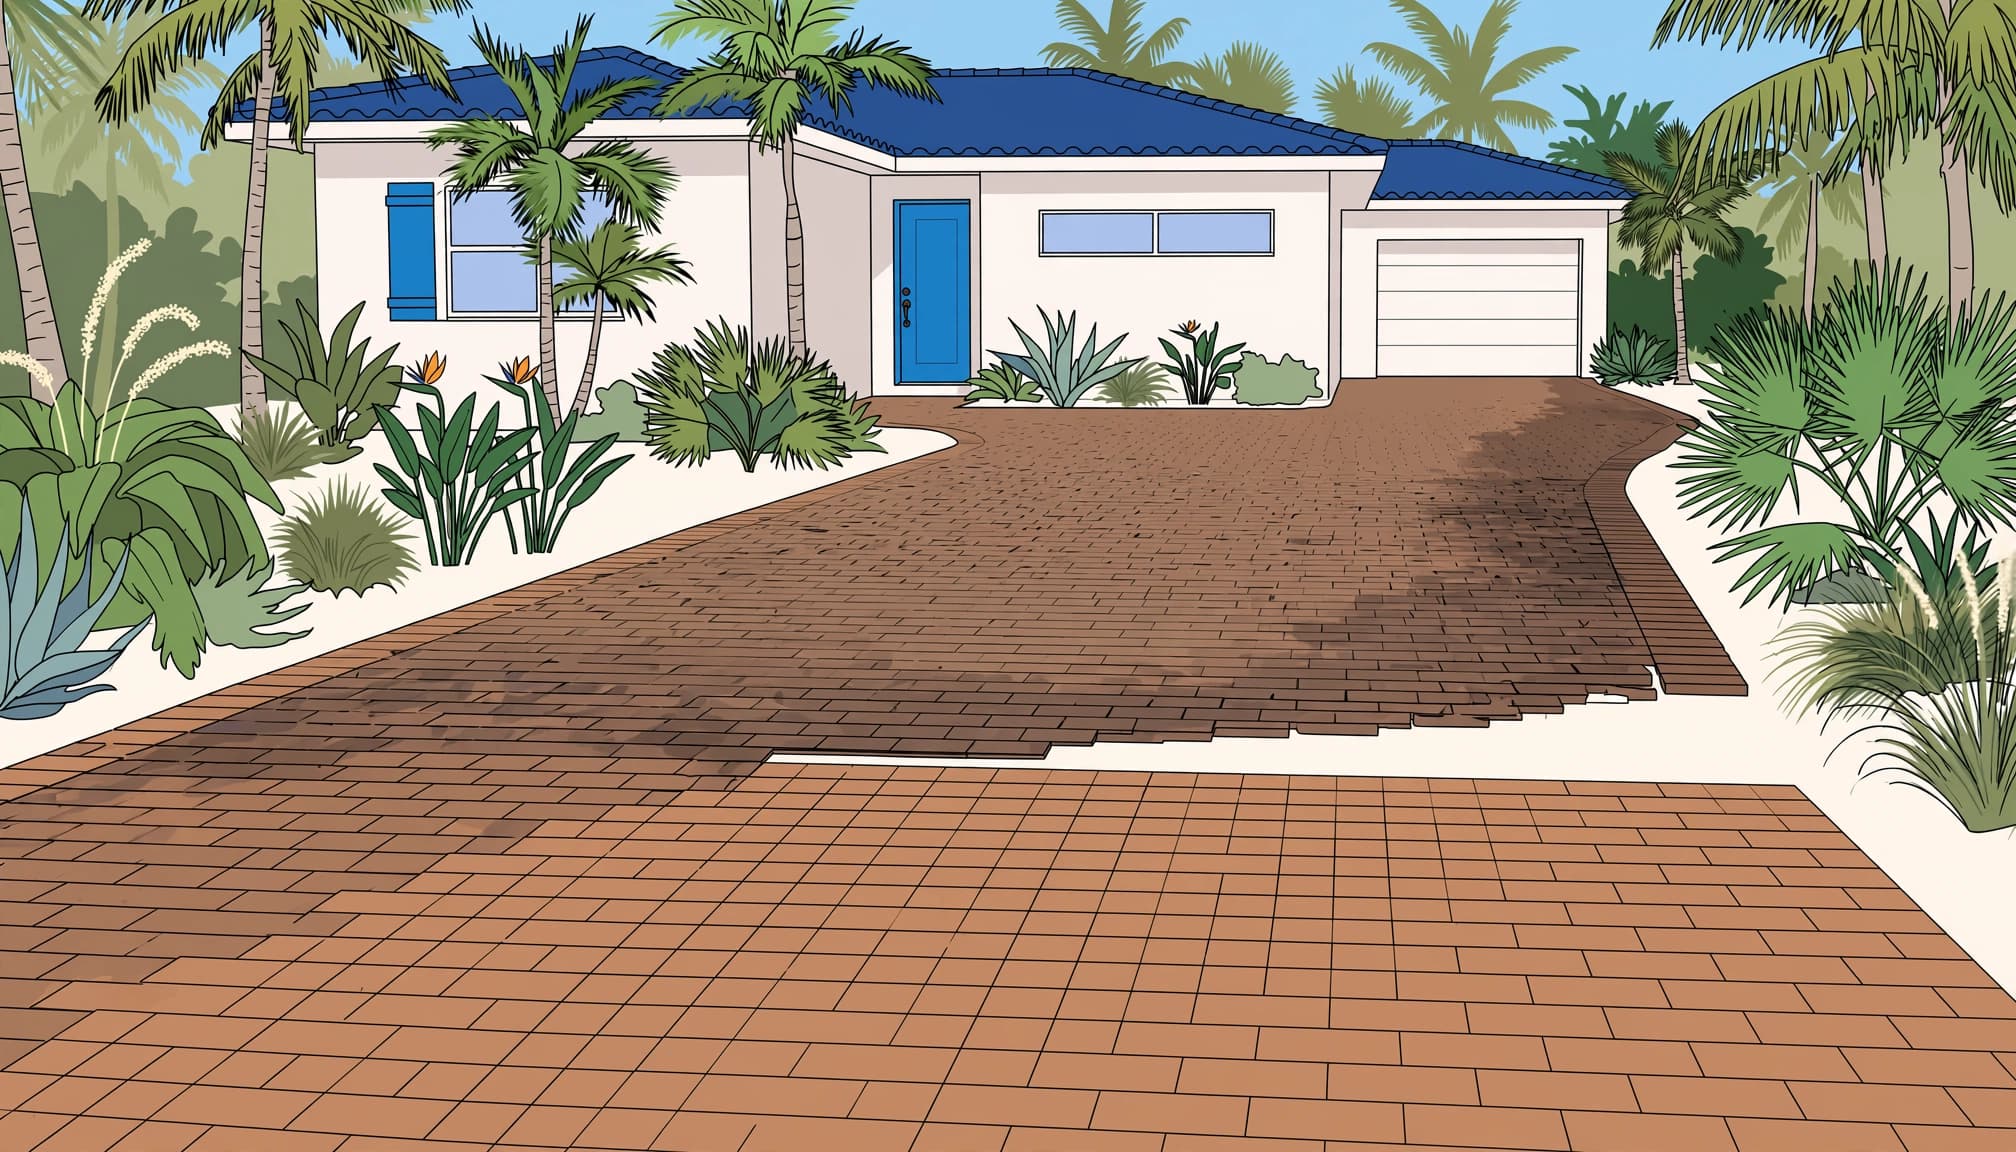
Walk across the area slowly and look for changes in height. Uneven pavers can make a single brick rock underfoot and create trip hazards. Several low pavers may mean water has moved the bedding sand or base material beneath them.
I also check whether the joints are opening up, the pattern is spreading, or an edge restraint has shifted. These signs tell me the repair may need to include more than one paver.
Cracked pavers may need replacement, while a small surface chip on an otherwise solid concrete paver may be repairable with a masonry repair product. A split, rocking, or weakened unit should usually be replaced.
Watch what happens after rain
Standing water is one of the clearest warning signs. If rainwater sits in the same low area, the surface isn’t draining as it should. That moisture can soften soil, wash fine material away, and make the problem return after a quick patch.
Take photos before moving anything. Capture the paver pattern, the direction of the slope, nearby downspouts, and the condition of the joints. Those details help when matching bricks and correcting the source of the problem.
Polymeric sand can stabilize joints after the base is corrected, but it can’t support a paver over a cavity.
Find Why the Support Failed
Before I start a brick paver repair, I inspect the low spot and its surroundings. I check roof and downspout discharge, surface grade, nearby runoff, soil condition, edges, roots, and utility trenches before lifting pavers. Ignoring the cause can mean repeating the work after the next strong storm.
Water, soil, and missing edge support
Rain can wash joint material from the top or carry fine soil into the aggregate base below. I inspect roof discharge, downspouts, poor grading, and runoff from nearby pool decks for drainage issues.
Florida soil also shifts. Repeated vehicle weight on driveways can press weak spots down. On patios and walkways, loose soil or a base that wasn’t compacted well can settle gradually.
Edges are just as important. When an edge restraint breaks, separates, or loses support, that failure can leave shifting pavers along the edge. The joints widen, the field loses its tight fit, and the surface starts to shift.
Roots and past work can create a larger repair
Tree root damage can lift a walkway or push pavers out of line. Removing only the raised pavers won’t solve the issue if the root is still moving beneath the surface. A qualified tree professional may need to assess the root before any cutting happens.
Utility trench work is another possible cause if a line was installed under or beside a paved area. Backfilled soil may settle over time, so I also look for recent landscaping, irrigation repairs, or drainage changes.
Wet, muddy, loose, or missing support must be removed and rebuilt. Adding loose sand into a deep cavity isn’t a durable repair.
How to Repair Brick Pavers With Missing Base Material
A small, contained low area can be a manageable homeowner project when the cause is clear and surrounding pavers are stable. Use this paver repair method only for localized, stable areas. Large driveways, spreading edges, recurring water problems, and pool deck repairs are better handled professionally.
With those conditions met, brick paver repair follows a base-first sequence.
Lift the affected pavers without damaging the pattern
Start by marking the repair area. I photograph the pattern before removal, then set the pavers aside in the same order when possible.
Remove joint material around the affected brick pavers with a joint scraper, narrow screwdriver, or stiff brush. Work carefully so you don’t chip the surrounding units.
A flat pry bar or paver extractor can help lift intact units. Avoid prying hard against a neighboring paver.
For a cracked paver that cannot be saved, break it inward with a cold chisel and remove the pieces carefully. Wear gloves and eye protection. Don’t strike the pavers beside it.
Rebuild the base, then reset the surface
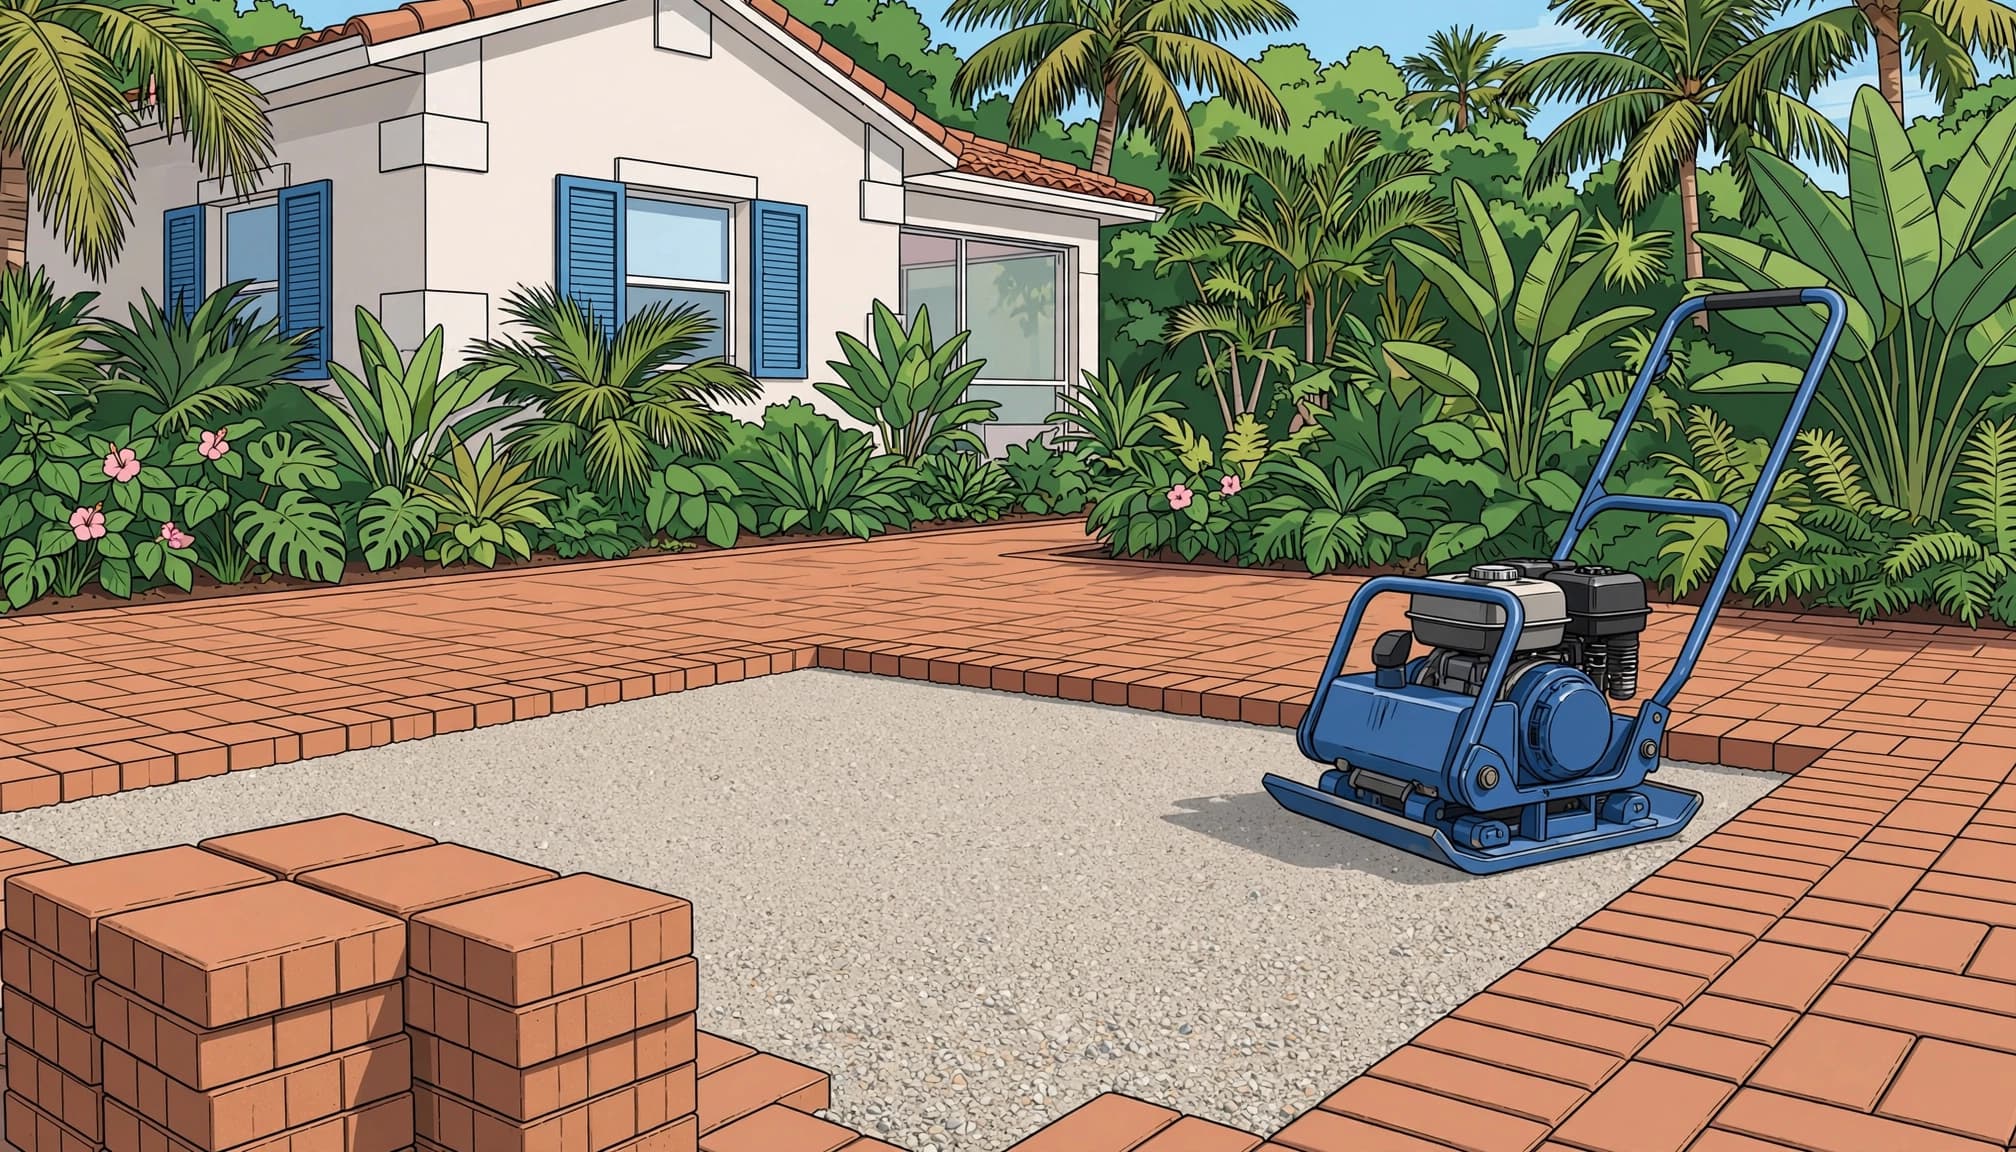
Remove loose sand, broken fragments, wet soil, and failed aggregate base material from the cavity. Inspect the cavity, edges, and surrounding support before adding new material. Look for drainage issues, and redirect water before rebuilding.
Use compatible aggregate base material in thin lifts, compacting each layer as you build it up. For a larger repair, use a plate compactor on the exposed base; hand-tamp a very small cavity.
The support must be firm before a thin bedding layer goes on top. Bedding sand isn’t structural fill. The CMHA guide for interlocking concrete pavements describes pavers installed over a 1-inch, or 25 mm, bedding-sand layer.
Finish the bedding layer level with the surrounding area. Reset the pavers in their original pattern, sweep joint sand into the joints, and tap them gently with a rubber mallet. Check that they sit firm without rocking.
Treat this base-first work as the structural part of paver restoration, not a cosmetic step.
Confirm the pavers are firm, the pattern is aligned, the surface matches the existing grade, and water doesn’t collect in the repaired area.
Match Replacement Pavers and Restore the Joints
A repair should look right as well as feel stable. Confirm the pavers are supported, level, and secure before judging color or texture. The best match often comes from leftover pavers from the original installation.
Compare more than the color
Bring a sample when matching brick pavers. Compare the manufacturer, size, thickness, edge profile, texture, and weathered color blend. A new paver can look brighter beside older units, even when it’s the right product.
Clean the surrounding section before deciding that a replacement doesn’t match. Algae, dirt, old sealer, and sun exposure can change how old units look. For a small repair, I may spread matching replacement pavers through a wider area. This avoids one obvious patch and can improve curb appeal. Stability still comes first.
Badly chipped, cracked pavers or permanently stained units are usually better replaced than hidden with a dark coating. Paver sealing can deepen color, but it can’t disguise a poor match or fix a weak base.
Refill clean joints with joint sand after the pavers are stable
Once the pavers are level and the surface is dry, choose the right joint material. Standard sand works in many installations. Polymeric sand firms up after proper activation. It may reduce weed growth and sand loss, but only after the base and alignment are correct.
Sweep the joint sand fully into clean, dry joints. Compact it as needed, clear all residue from the paver faces, and activate it with controlled water according to the product instructions. Too much water can carry binder onto the pavers and leave haze. Too little can leave weak joints.
I never treat that material as a replacement for base repair. Learn more about stabilizing paver joints with fresh sand after cleaning or resetting the surface.
Clean Only After Structural Repair
Cleaning can expose stains, low spots, loose joints, and moss growth. Deep cleaning may reveal organic buildup and joint deficiencies, but it can’t restore missing support. Paver restoration includes cleaning only after the base and pavers are stable.
Use controlled pressure around paver joints
Pressure washing can remove algae, mildew, dirt, and staining from the surface. It can also remove material from the joints if a narrow tip is held too close or pressure is too aggressive.
I start with the gentlest method that can get the job done. Sweeping, rinsing, a paver-safe cleaner, and controlled pressure usually give a more even result than blasting one spot with a wand.
For older pavers and weak joints, careful technique matters. Cleaning should expose problems without further disturbing the repaired area.
Wait for complete drying before sealing
Don’t seal a repaired section while moisture remains in the joints or below the surface. Florida humidity, afternoon rain, pool areas, and shaded patios can extend drying time. A surface may feel dry on top while the joints still hold moisture.
Wait until replacement pavers and the surrounding area are clean and completely dry. Any new material in the joints must also cure fully under product directions. Paver sealing is optional after that work. Neither it nor a protective sealer can rebuild missing support or correct underlying drainage.
If sealing is later considered, assess the full repaired driveway, patio, or walkway section rather than coating one new paver. A consistent finish depends on complete drying and proper curing.
Repair or Replace: Know When to Call a Professional
Brick paver repair usually makes more sense than complete replacement when the paver field is sound and damage is localized. A focused paver repair is less practical when settlement is widespread, edges are failing, or drainage issues affect driveways and walkways.
Get an estimate that covers the cause
A proper estimate should assess the pavers, joints, base, edges, grade, and water flow, then explain how the repair will preserve structural integrity. Ask what caused the settlement, how washed-out support will be rebuilt, and whether surrounding pavers need to be lifted for a stable repair.
I also recommend asking how replacement pavers will be matched and how the joints will be restored. A low price that only adds loose material under one paver can cost more when the area sinks again.
For a free estimate focused on diagnosing and repairing the failed base, Get a Quote and I will help you understand what your surface needs.
Call sooner for safety and structural concerns
Professional service is the right move when uneven pavers rock underfoot or water pools against the home. Call sooner when edges are spreading or several sections have settled.
These conditions can create trip hazards, especially on pool decks where wet surroundings increase pedestrian risk.
Roof and gutter runoff should be addressed only insofar as it contributes to paver drainage problems.
Key Takeaways
- A sunken or rocking paver often signals failed support. Diagnose drainage, edge support, and other causes before starting repairs.
- Reliable brick paver repair starts by lifting affected units, removing unstable material, and rebuilding a compacted base. Verify grade before resetting the pavers.
- A thin bedding layer helps set paver height, but it cannot replace missing structural support. Compact the rebuilt base first.
- Polymeric sand stabilizes joints only after structural work is complete. It can’t correct poor drainage or weak edges.
- After resetting the pavers at the correct grade, restore the joints with compatible joint sand.
Frequently Asked Questions
Can I add sand under sunken pavers?
You can add bedding sand when the base below them is solid and level. If the cavity is deep, wet, or unstable, paver repair must rebuild the base instead of applying a surface patch. Lift the affected pavers, inspect the support, and correct any drainage problems before resetting the surface.
Can tree roots damage paver walkways?
Yes. Roots can lift pavers, push the pattern apart, and cause shifting pavers. The repair should include an assessment of the root system and edge support. Cutting roots without understanding the tree can create a larger problem.
How long should I wait before using the repaired area?
Wait until the repaired area is stable, the pavers are firmly set, and any new joint material has cured according to the manufacturer’s instructions. Keep traffic off the area during that time, since moisture, shade, rain, and the materials used can affect curing.
Will pressure washing fix a low driveway area?
No. Cleaning cannot replace missing base material or correct a drainage problem. Lift the affected pavers, inspect the support, and rebuild it before cleaning the surface. High pressure can also dislodge material between pavers when used carelessly.
A Level Surface Starts Below the Paver
Brick paver repair lasts when the support below the surface is corrected first. The durable fix is paver restoration: correct drainage or edge issues, rebuild the base, reset the brick pavers, and restore the joints once everything is stable.
When completed properly, the repair benefits a driveway, paver patio, or walkway. It provides safer footing, the correct grade, and lasting resistance to recurring washout through Florida rain and daily use.
