
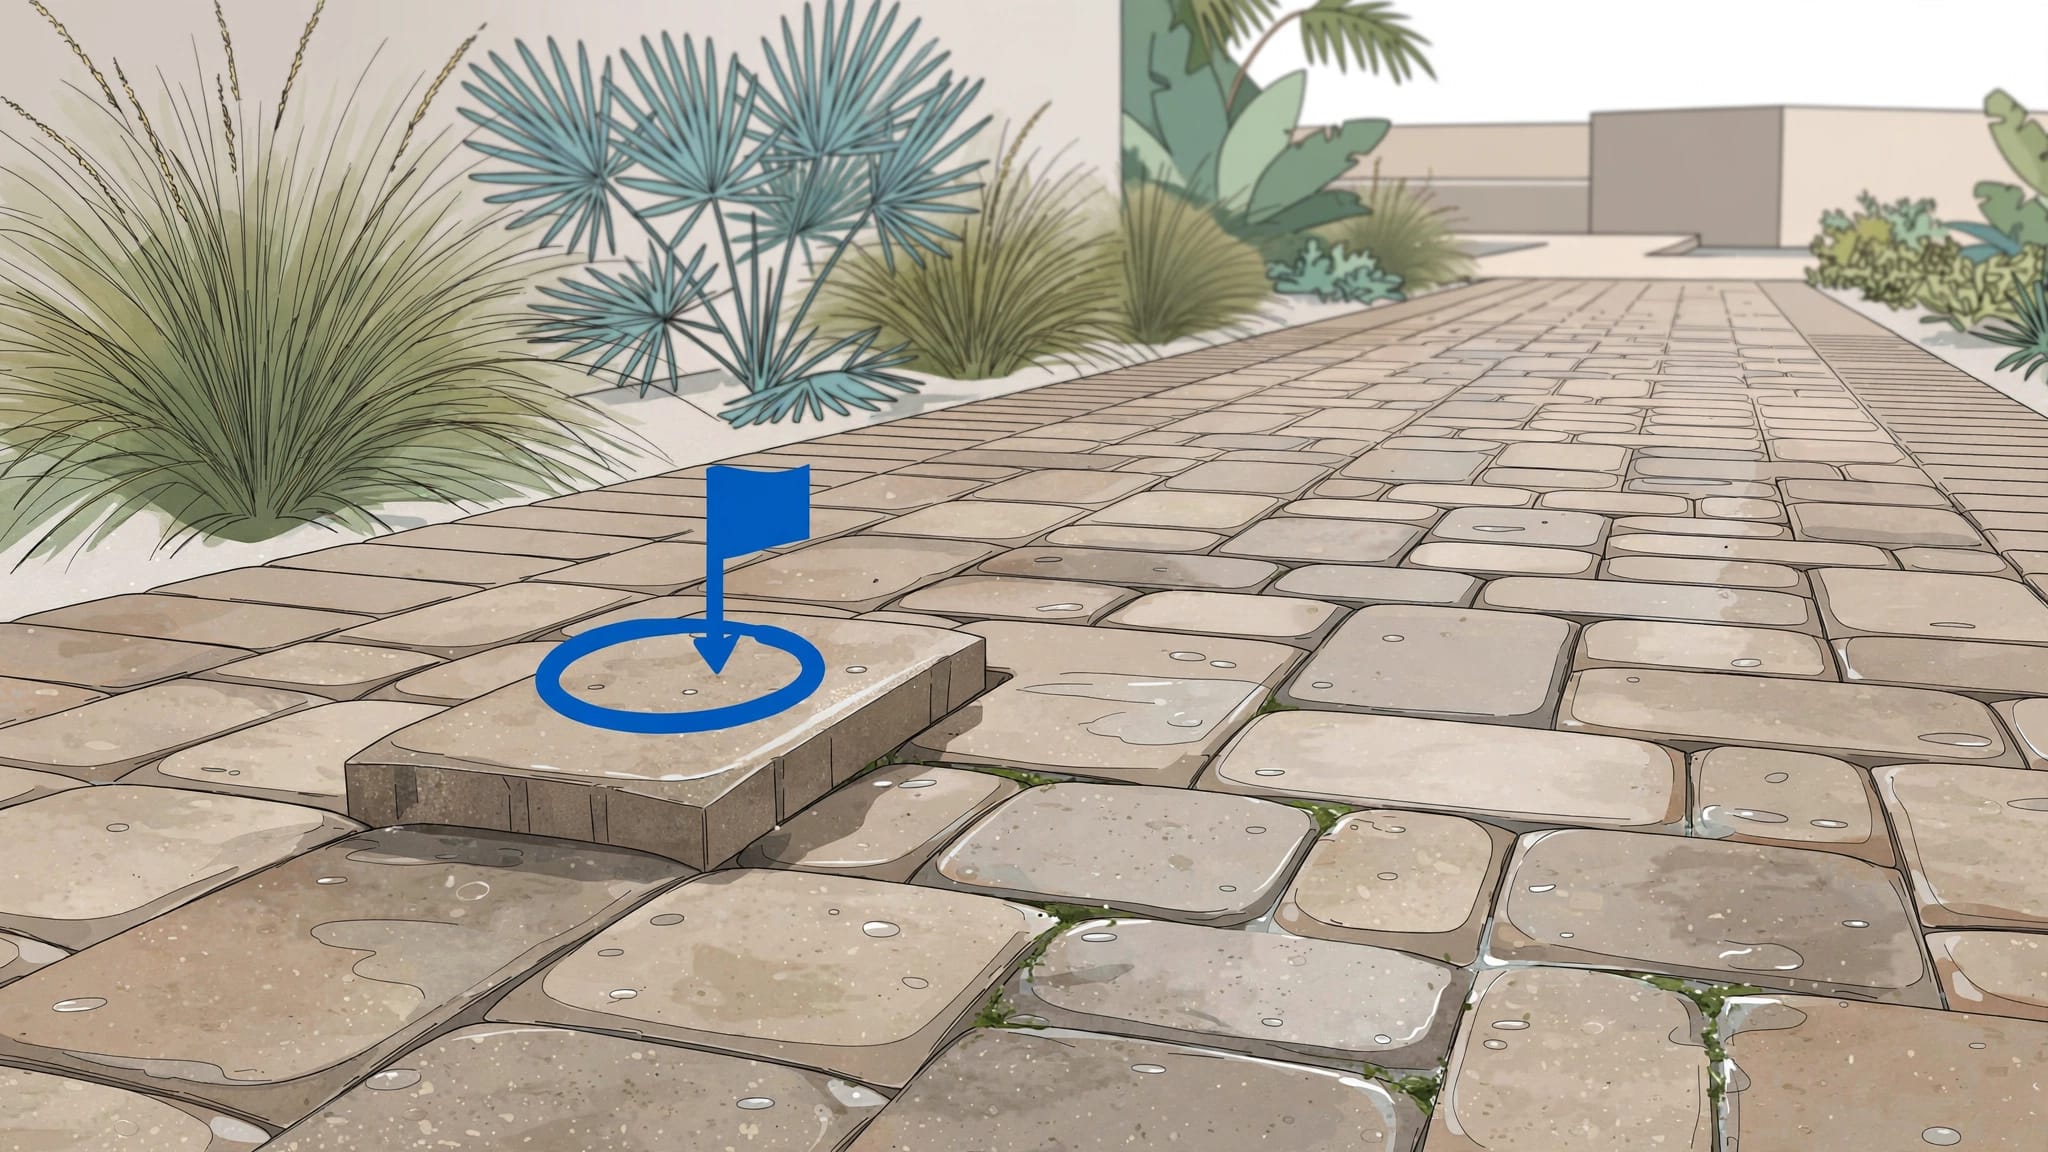
A patio or walkway can look clean while hiding a problem underfoot. Paver lippage begins as a small height difference between adjoining pavers. Rain, settling, and regular use can make that raised edge more noticeable over time.
I see this often around front entries, pool decks, walkways, and driveway edges in Southwest Florida. Industry standards offer useful guidance, but inspections should also account for walking conditions, rain exposure, and high-traffic areas. Finding movement early gives you a better chance to repair a small section before more pavers shift.
What Uneven Pavers Look Like on Outdoor Surfaces
Paver lippage is the vertical height difference where two pavers meet. One paver sits higher, while the next sits lower. A small change may be hard to notice from above, but your foot can find it quickly.
Concrete pavers often have textured faces, beveled edges, and visible joints. An offset pattern, brick pattern, or modular pattern can create shadows that obscure a genuine height difference.
Normal joint shadows are not raised edges
Look across the surface rather than straight down at it. A normal joint has a consistent joint width between firmly seated pavers.
A problem area may show one or more of these signs:
- The edge catches your shoe, bare foot, pool furniture, or a rolling trash bin.
- A paver rocks when you step on one side.
- The joints are opening, washing out, or spreading apart.
- Several pavers dip together and hold water after rain.
- The outer border is moving away from the main paver field.
A raised edge near a pool deck deserves quick attention. Wet feet, bare feet, and slippery conditions make a small height change easier to miss.
Use the right paver tolerance
For interlocking concrete pavers, CMHA Tech Spec 10 states that the allowable lippage between pavers should not exceed 1/8 inch (3 mm). The CMHA guidance reflects industry standards, and you can review it in the CMHA technical specification.
That number is a useful inspection reference, not a guarantee of safety. Overall surface flatness can appear acceptable while a localized raised edge remains.
A smaller lip can still be a concern when it is near a doorway, stair, pool, or uneven transition.
A level-looking paver surface can still have a localized raised edge. Check the joints where people actually walk, not only the center of the patio.
How to Check Uneven Pavers Before Someone Trips
I recommend checking your pavers after the rainy season, after landscaping work, and whenever you notice a new dip or loose joint. You don’t need expensive equipment to find early movement.
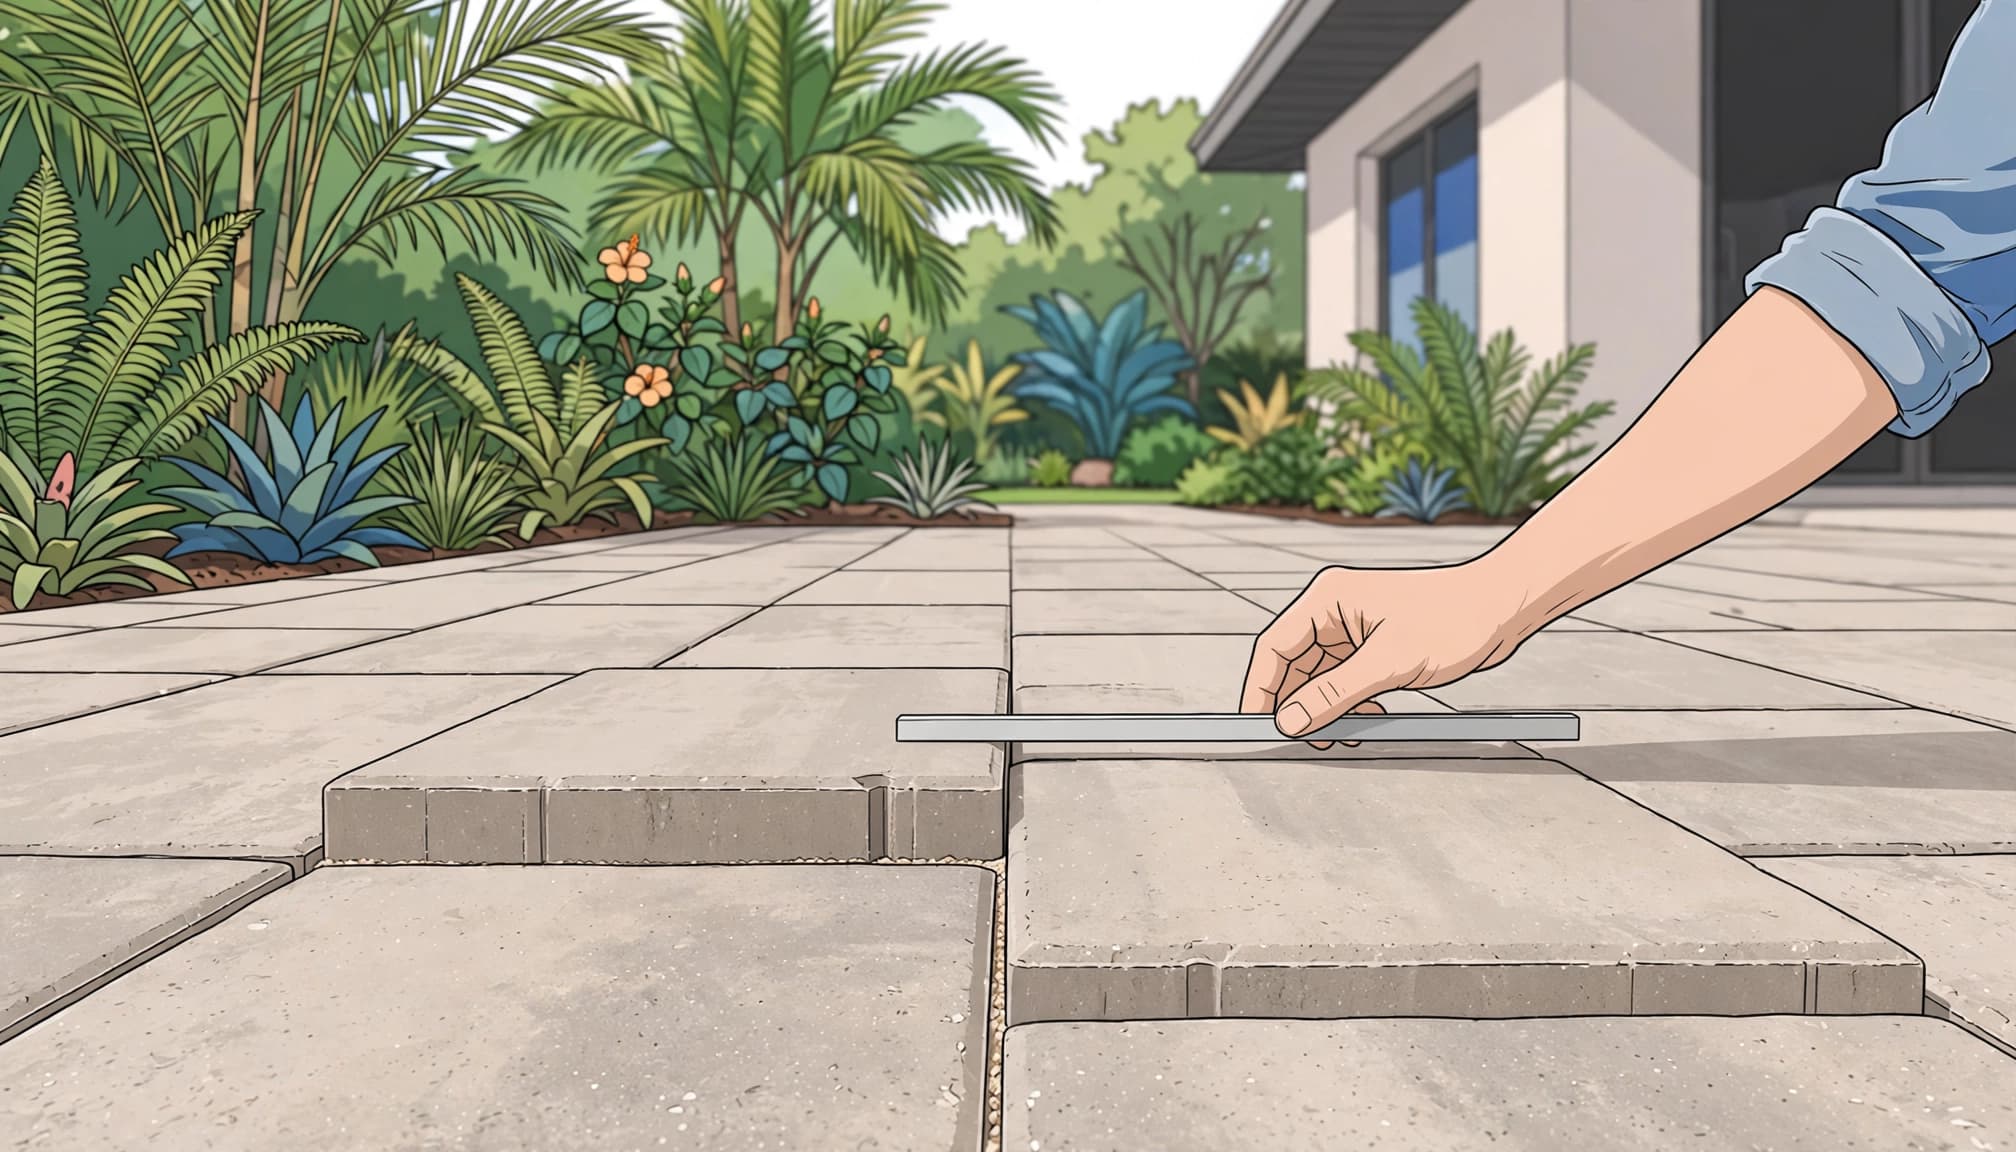
Walk the area slowly and use a straightedge
Start with a slow walk across the driveway, patio, and walkway. Wear shoes with a flat sole. Pay attention to places where your foot catches or a paver feels loose.
Then place a straightedge across two or three pavers. A long level, metal ruler, or straight board helps you evaluate surface flatness where one edge rises above the next. Move it in several directions because settlement may not follow the modular pattern.
Check these high-traffic areas first:
- Front walks, entry paths, and door thresholds.
- Pool-deck approaches and lanai exits.
- Driveway edges near the garage and street.
- Areas below gutters, downspouts, or roof valleys.
- Borders beside landscape beds and tree roots.
Measure, mark, and photograph the area
Use a small ruler to measure the highest difference at the joint. Write down the location and date. These readings are screening steps, so a professional should compare widespread movement with applicable industry standards before correcting a broad area.
A piece of painter’s tape can mark the paver while you inspect the surrounding surface. Take wide photos of the whole area, then close photos with the ruler in place. Include nearby downspouts, loose borders, standing water, and missing joint sand. Those details help show whether you have one damaged paver or a wider base problem.
Low-angle sunlight often makes uneven pavers easier to see. Check again in the early morning or late afternoon. At night, outdoor lighting can cast shadows across raised edges and reveal problems that disappear in full sun.
Why Outdoor Pavers Become Uneven
Pavers do not usually shift without a reason. The visible lip often reflects a failed support layer below the surface.
A standard interlocking concrete pavement system includes subgrade soil, aggregate base, bedding sand, pavers, edge restraints, and drainage. The CMHA application guide for interlocking concrete pavements shows how these parts work together and how industry standards relate each layer. A prepared aggregate-base installation is one of several installation methods, so the support configuration should be evaluated before repairs begin.
Washed-out support and poor drainage
Heavy Florida rain can move fine material, especially when water flows across a driveway or collects beside a patio. If the bedding layer or base loses support, the pavers above can sink, tilt, or rock.
Heat and thermal expansion can add recurring stress, but movement, drainage, and weak support must be evaluated together. I look for water that remains after rain. Standing water near a low area often points to poor slope, blocked drainage, downspout runoff, or washed-out support.
Adding loose sand under a sunken paver may make it look better briefly. It will not rebuild a soft or missing base.
Roots can cause the opposite problem. They may lift a walkway, push open joints, and create high spots. Don’t cut roots without understanding the tree and the area beneath the pavers.
Border movement can spread across the field
Edge restraints hold the paver field in place. When a restraint cracks, loosens, or loses support, the outer pavers can move outward. Movement can then spread through adjoining rows in the modular pattern, causing joints to widen and the interior pavers to lose their tight fit.
Driveway edges near garage entrances take extra stress. Tires turning into the garage push sideways on the pavers, especially when the base is weak or the border is already moving. A shifting edge or washed-out base should be corrected below the pavers, not patched with loose sand. If you notice either problem, repair uneven brick pavers before the damage spreads farther into the driveway.
Paver Lippage Over a Concrete Slab
Not every paver installation sits over a traditional aggregate base. Some patios, walkways, and lanais have pavers installed as an overlay over an existing concrete slab.
A slab can be a workable foundation, but it still needs correct slope, drainage, and a sound surface. The UNI-GROUP paver overlay specification describes concrete pavers and bedding sand used over existing paved surfaces.
Check the slab condition before resetting pavers
Cracks, heaving, poor slope, or movement below an overlay can create an uneven substrate and recreate uneven pavers. Water may sit at low points, enter the joints, and keep the area wet.
I check for cracks, movement near control joints, low spots, and areas where water runs toward the home. These observations help compare the surface flatness with what a homeowner sees using a straightedge. Florida heat also creates thermal expansion and contraction. The surface needs room to move without pushing pavers upward at the perimeter.
Before resetting individual pavers, the overlay should be evaluated against accepted installation guidance and industry standards. A paver that sits high above an otherwise stable slab may need a localized reset. Several uneven pavers in the same direction may point to a larger drainage or movement issue.
Do not use bedding sand as structural fill
Bedding sand helps set pavers at the correct grade. It isn’t meant to fill a deep washed-out cavity or correct a failing foundation.
The ICPI guidance on concrete paver systems describes pavers installed on bedding sand over a prepared base. Whether the surface is on soil or over a slab, support below the paver must be solid before resetting it. Deeper movement, drainage failures, or widespread lippage may require professional correction.
Repair the Cause, Not Only the Raised Edge
A quick patch can hide a raised edge for a few weeks. A proper repair starts by finding out why the paver moved.
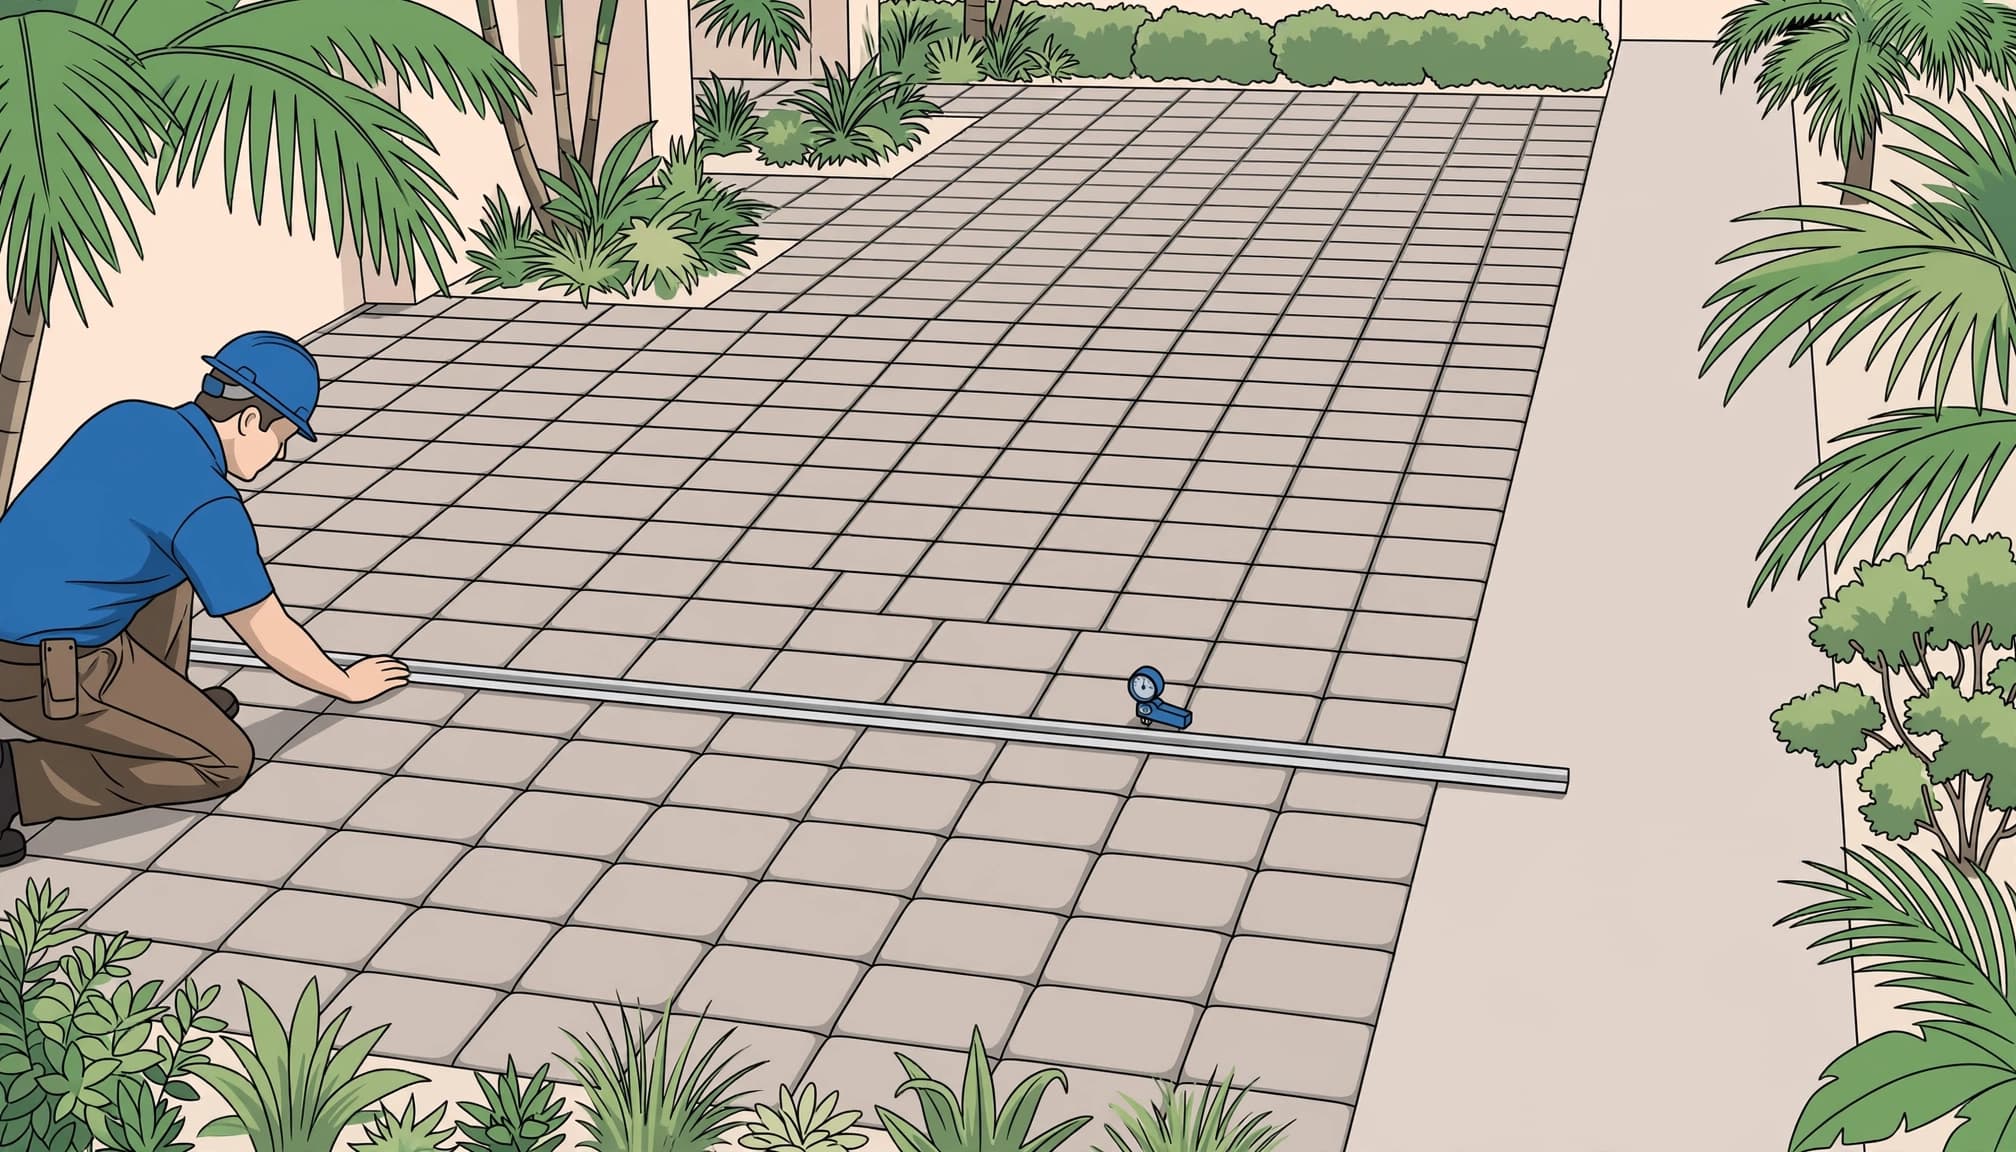
Reset stable pavers only after checking below
For a small, contained area, the correction depends on the installation methods used beneath the pavers, including prepared aggregate or another supported surface. The repair usually follows a base-first process:
- Photograph the paver layout so the original modular pattern can be restored.
- Clear joint material and lift the affected pavers carefully.
- Remove wet sand, loose base material, and broken fragments.
- Rebuild and compact the support if it is soft, deep, or washed out.
- Add a thin bedding layer, reset the pavers, and restore the joints.
Rebuilding, compacting, bedding, resetting, and restoring joints should follow appropriate paver installation guidance and industry standards, not a cosmetic shortcut.
The reset pavers should sit firm without rocking. A rubber mallet may gently seat a stable paver without damaging its face. It won’t correct a failed base.
DIY repairs are best for small areas with a sound base. Deep settlement, washed-out support, or repeated movement usually requires professional correction.
Replace cracked or weakened units
A small chip on a stable concrete paver may be suitable for a masonry repair product. A paver that is split, rocking, missing a large corner, or creating a sharp raised edge should usually be replaced or professionally corrected.
Match replacement pavers by manufacturer, size, thickness, texture, and color blend. Clean the surrounding pavers before comparing them. Dirt, algae, old sealer, and sun exposure can make a close match look wrong.
For patios with broad settlement, failing edges, or repeated water problems, paver leveling, base repair, or full restoration is better than lifting one paver and hoping the rest stays in place.
Cleaning Comes After Structural Repairs
Pressure washing can remove algae, mold, and buildup that hide uneven joints. It can’t fix settlement, missing base material, or a broken edge restraint. Used too aggressively, pressure washing can also remove joint sand and make loose pavers less stable.
I use the right pressure and cleaning method for the surface. A soft wash may work better for nearby walls, screens, and delicate exterior areas. Pavers still need careful surface cleaning and a thorough joint inspection afterward.
Check gutters and downspouts if runoff reaches a walkway or patio. Redirecting water away from the pavers helps protect the repaired area and limit future joint-sand loss.
After the base is stable, inspect the joints for missing material and allow fresh joint material the proper curing time before judging the surface or allowing heavy use.
Key Takeaways
- A measurable height difference between adjoining pavers is different from a normal joint shadow or surface texture.
- A raised paver edge near a pool, entry, walkway, or garage should be inspected before it becomes a trip hazard.
- Sunken, rocking, or spreading pavers usually need repairs below the surface, not more loose sand on top.
- Polymeric sand helps stabilize joints, but it can’t support pavers over a failed base.
- Complete leveling, drainage, edge-restraint, cleaning, and joint repairs before returning to routine maintenance.
Frequently Asked Questions
Can polymeric sand fix paver lippage?
No. Polymeric sand fills and stabilizes joints, but it can’t level a raised paver. It also can’t rebuild washed-out base material or correct drainage problems. If the support has failed, the pavers need to be lifted and reset.
Should I replace every uneven paver?
Not always. A small, stable area may only need one or two pavers reset. Widespread low spots, loose borders, recurring water, or several rocking pavers usually call for a larger repair plan.
Is a rocking paver a trip hazard?
It can be. A paver that moves underfoot may catch a shoe or shift unexpectedly, especially around wet pool decks and entry paths. Mark the location and keep people away until it’s repaired.
Can cleaning or a surface treatment correct an uneven paver?
No. Cleaning or a surface treatment can’t flatten a raised edge, rebuild a failed base, or stop a paver from rocking. Have the area inspected and complete structural repairs before applying any treatment.
Keep Uneven Pavers From Becoming a Bigger Repair
Small changes in paver height are easier to repair than a patio or driveway that has shifted across several rows. Check high-traffic surfaces after heavy rain, watch where water collects, and address rocking or settling pavers early.
A stable surface starts below the paver. For help identifying the cause, request professional paver inspection, leveling, base repair, or edge-restraint correction through Get a Quote in Southwest Florida.
