
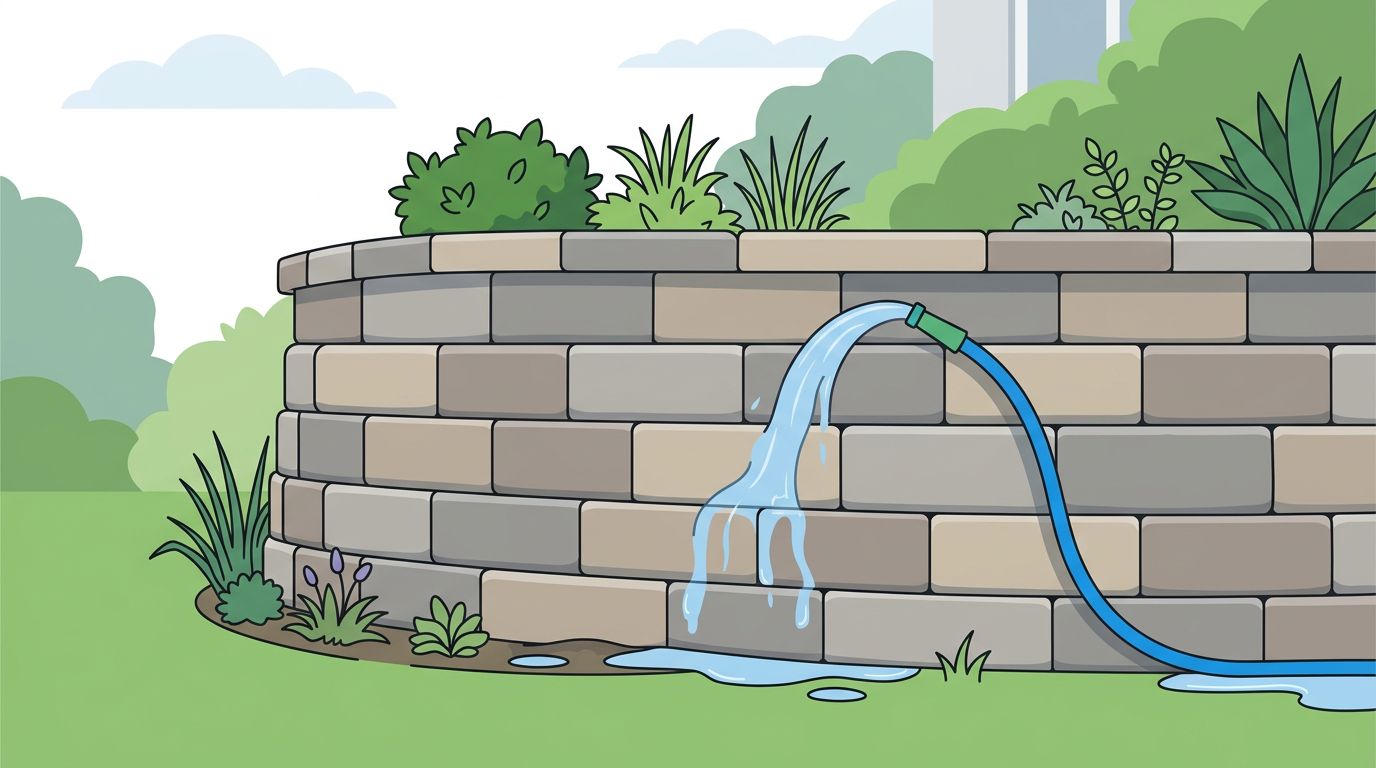
A retaining wall can look cleaner after washing and still be worse off if the cleaning disturbs its joints. When I clean paver retaining walls, I start with surface protection and the condition of the wall, not the strongest equipment.
Dirt, algae, and stains need a cleaning method that matches your blocks, existing coating, and surrounding landscaping. My approach starts with identifying the wall system, checking for damage, and using gentle cleaning before considering more aggressive work.
Understand the Wall Before Cleaning Its Joints
Retaining walls and paved driveways need different maintenance plans. I identify how the wall was built before treating any gap as missing material.
Identify the blocks and joint system
Many walls homeowners call paver retaining walls are built with segmental concrete retaining-wall blocks. These often have dry-stacked joints, with alignment and connection features that depend on the block system.
They don’t necessarily contain the sand-filled joints you see in a brick paver driveway. Other walls use mortar, natural stone, or masonry veneer. Those surfaces require their own cleaning and repair methods.
If you aren’t sure what you have, check installation records or contact the block manufacturer. Ideal’s segmental retaining wall installation guide provides useful construction background, but your specific wall system determines the maintenance plan.
Separate normal gaps from damaged joints
I look for changes in the wall rather than assuming every visible joint needs filling. Consistent gaps between dry-stacked blocks can be part of the original construction. New gaps, missing mortar, displaced blocks, or material collecting at the base deserve attention.
Don’t sweep polymeric sand into vertical wall joints simply because it works on a driveway. It may be inappropriate for the wall system.
My guidance on preventing paver joint sand washout applies to sand-filled paving joints. A retaining wall needs its construction checked before the same repair approach is considered.
Inspect the Wall and Drainage First
Cleaning should follow an inspection. I don’t start washing a wall that already shows movement, crumbling joints, or signs of soil loss.
Check for movement and loose caps
Walk along the wall and look for new outward leaning, bulging, cracked units, uneven courses, and displaced cap blocks. Some retaining walls have an intentional backward setback, so compare the current shape with older photos when possible.
Keep people away from loose caps or unstable sections. Don’t climb onto the wall or pull at blocks to test them.
A retaining wall holds back soil. Cleaning cannot correct failed support or structural movement. Keystone’s retaining wall care and maintenance guidance is a useful reference alongside the instructions for your installed block system.
Trace where water reaches the wall
I check irrigation, downspouts, runoff above the wall, and damp areas around its base. Repeated staining can help identify where water keeps reaching the surface.
Look for soil escaping through joints, erosion at the toe, or drainage outlets covered by debris. These conditions need attention before adding more water during cleaning.
Keep existing drainage openings clear, but don’t insert tools into them or change their construction. If water-management problems are present, arrange an evaluation. Washing the face may improve its appearance while leaving the cause of recurring buildup or erosion untouched.
Prepare the Work Area and Gentle Tools
I keep routine wall cleaning simple. A soft broom, nonmetal brush, garden hose, and protective equipment are a practical starting point for a stable wall.
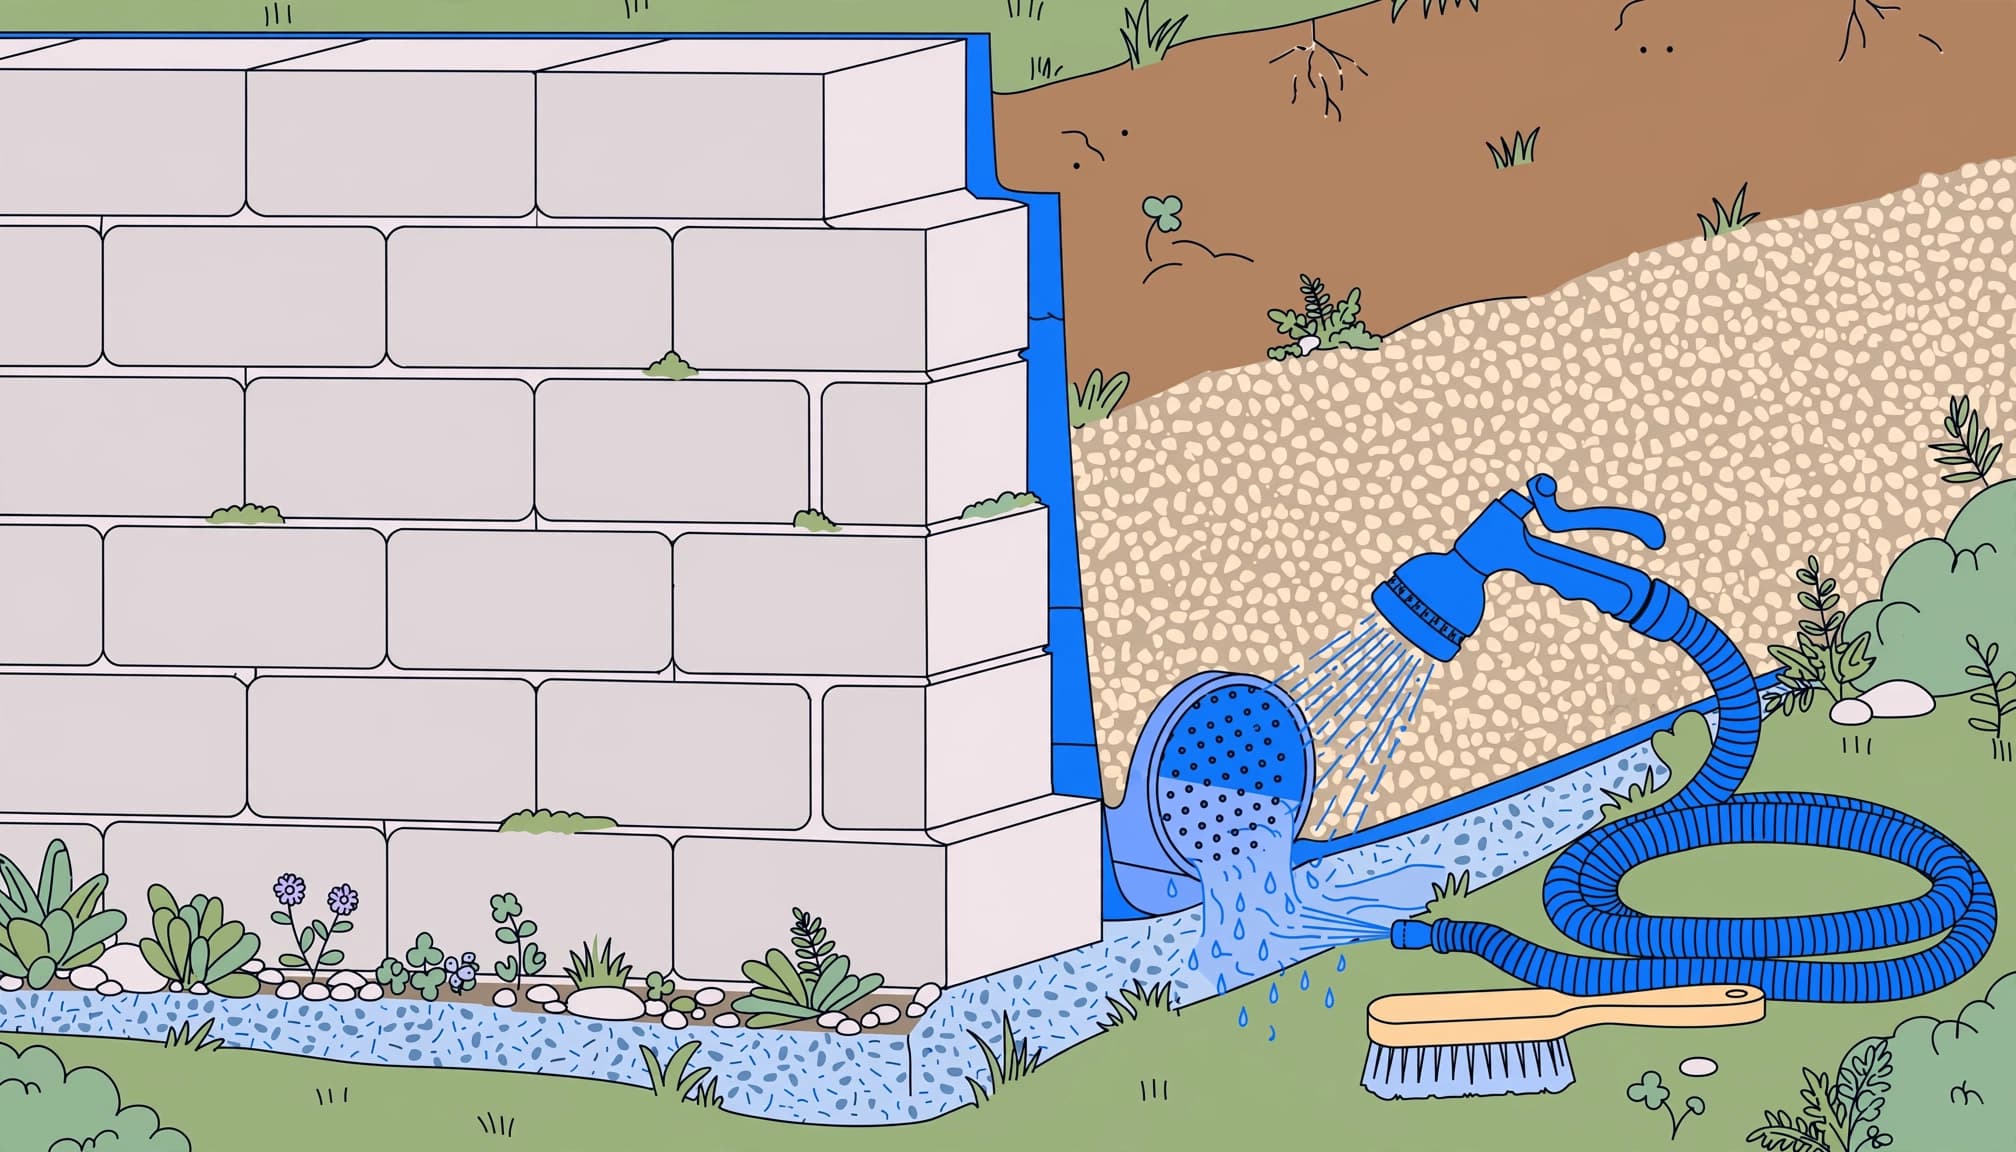
Before starting, move furniture and loose garden items away from the work area. Remove leaves and debris that could block drainage or collect dirty rinse water.
Wear gloves, eye protection, and sturdy footwear. Keep children and pets away, and protect nearby electrical fixtures from water.
If a cleaner is needed, use only a product approved for the wall material and any existing coating. Follow its label for plant protection, application, rinsing, and disposal. Never mix cleaning products.
I also check the weather. Rain can spread cleaning residue, while a hot surface can cause some products to dry too quickly. Follow the product’s weather restrictions rather than guessing.
Plan where the rinse water will go. Don’t wash residue into a pool, neighboring property, or storm drain. Protect nearby surfaces before any cleaner is applied.
How to Clean Paver Retaining Walls in Controlled Stages
I work in manageable sections and watch the joints throughout the process. Each stage should remove buildup without creating new surface damage.
Remove loose debris before adding water
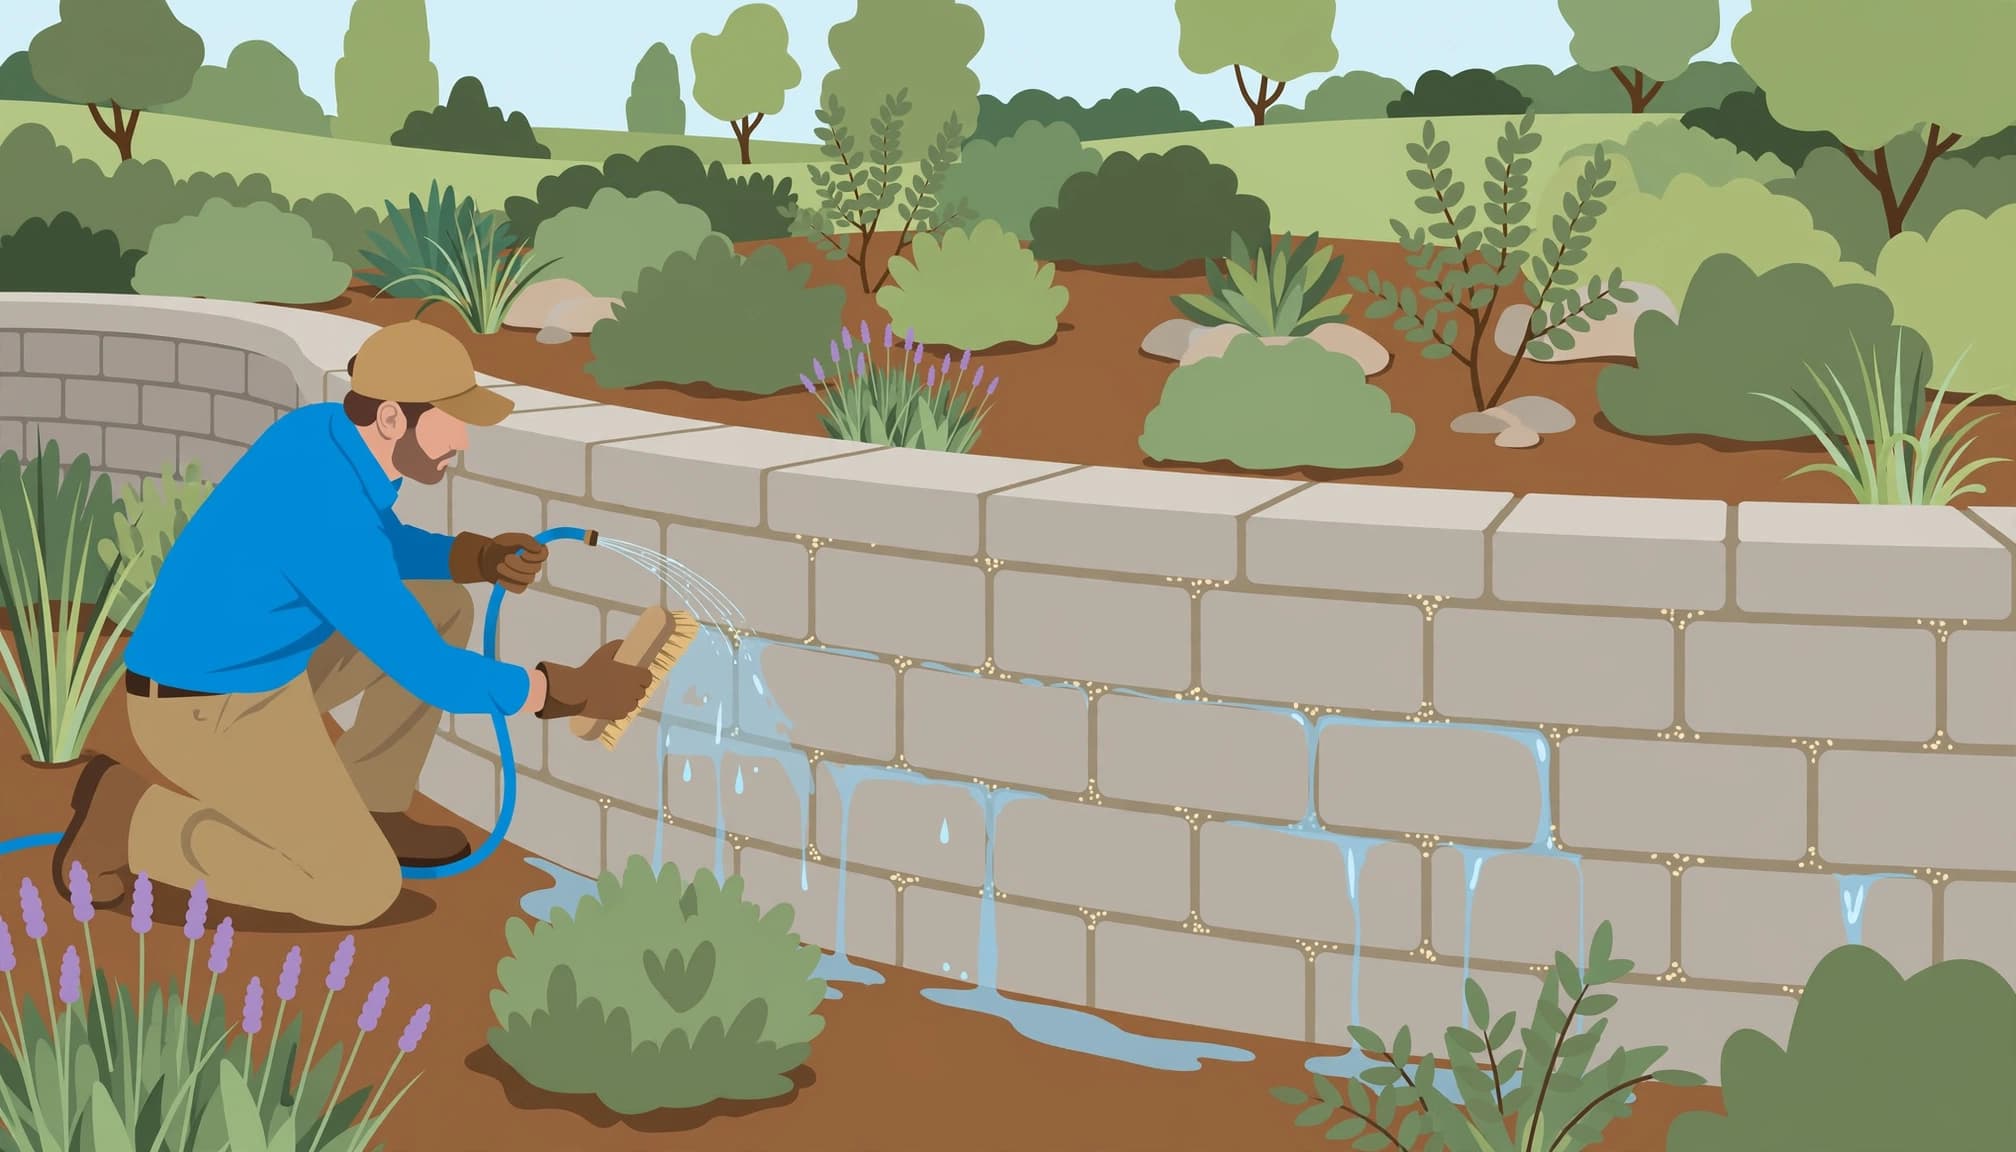
Start with a soft broom or brush to remove leaves, dust, and loose surface dirt. Work across the block faces without grinding into joints or pulling out material that belongs there.
Leave deeply rooted growth alone if removing it would disturb the wall. Roots within joints may need a separate maintenance plan.
Next, use a gentle rinse where the wall manufacturer permits it. Let water flow over the face rather than directing force into gaps or underneath caps. Avoid saturating the soil behind the wall. Cleaning the visible face shouldn’t become an attempt to flush out the wall’s interior.
Test, loosen buildup, and rinse carefully
Test the approved cleaning method on a small, less-visible area. Let that section dry before judging color, texture, or coating changes.
If the test is satisfactory, follow the product directions and use gentle brushing where permitted. Give the treatment its labeled contact time instead of compensating with harder scrubbing.
Rinse the loosened residue without concentrating water on vulnerable joints. Check the base as you work for newly displaced material.
If fresh sand, mortar fragments, or soil starts collecting below the area you’re washing, stop and identify the source.
Don’t keep washing to complete the section. Inspect the affected area before deciding whether cleaning can continue.
Match the Treatment to the Stain
Different stains need different decisions. I identify the buildup before recommending another treatment or stronger cleaning.
Green algae and other organic growth may respond to a material-compatible treatment. A soft wash approach relies more on the cleaning product and less on force, but it still needs to suit the wall and surrounding plants.
Roof cleaning solutions shouldn’t automatically be used on retaining-wall blocks. Masonry, coatings, metals, and landscaping have different compatibility requirements.
White haze may be efflorescence, a mineral deposit, rather than organic growth. Rust marks, irrigation stains, and old coating residue also need separate evaluation. Don’t treat every mark as mildew.
Some stains won’t disappear with routine cleaning. Increasing force can leave a rough patch, remove coating unevenly, or damage the block face.
I let the test area dry before deciding whether another treatment is necessary. Wet masonry can hide remaining marks and make color changes harder to judge.
For stubborn buildup, consult the block manufacturer or a qualified cleaning professional. Protecting the finish is more important than forcing every stain out during one visit.
Check the Joints After the Wall Dries
Once the surface has dried, inspect the same areas you checked before cleaning. I compare joint widths, block alignment, cap position, and material at the base.
Look for fresh gaps, chipped edges, exposed mortar damage, or a roughened face. Photos taken before cleaning make these changes easier to spot.
For a dry-stacked wall, don’t fill normal openings as a cosmetic repair. For a mortared wall, missing or deteriorated mortar needs an appropriate masonry repair assessment. Neither situation should be treated like re-sanding a paved driveway.
If adjacent paving lost joint sand during cleanup, address that surface separately. Follow the joint-material manufacturer’s instructions after checking that the paving is stable.
Sealer also has limits. It cannot replace missing joint material, restore failed support, or correct drainage. The preparation used for driveway sealing doesn’t automatically apply to a vertical retaining wall.
I recommend wall coatings only when the block manufacturer permits them and the product suits the wall’s condition. A cleaner appearance shouldn’t come at the expense of drainage or material performance.
Know When Professional Cleaning Makes Sense
Professional help is appropriate when the wall is unstable, heavily stained, coated with an unknown product, or difficult to reach safely. I also recommend an evaluation when previous cleaning left visible lines or damaged joints.
Pressure washing can remove stubborn buildup, but poor technique can scar masonry and displace material. There isn’t one universal pressure setting that is safe for every retaining wall.
Ask your contractor how they will assess the material, protect joints, manage runoff, and test the cleaning method. Structural concerns should be referred to a qualified wall installer or engineer.
Larger walls may include reinforcement and drainage behind the visible blocks. The NCMA segmental retaining wall design manual covers the engineered system behind these installations.
At Kingsway Paver Sealing, I recommend matching the service to the surface before work begins. If your Southwest Florida property also needs professional brick paver cleaning, discuss the wall and nearby paving as separate surfaces.
You can Get a Quote for cleaning or sealing services and discuss the condition of your property before scheduling.
Keep the Wall Cleaner Between Service Visits
Regular care helps reduce heavy buildup. I recommend removing fallen leaves, trimming plants that rest against the wall, and keeping visible drainage outlets free of surface debris.
Adjust irrigation that repeatedly sprays the blocks. Check downspouts and runoff patterns after storms, especially where staining or erosion keeps returning.
Don’t pile mulch against the face or cover drainage openings to improve appearance. Keep the wall base visible enough to inspect.
Take occasional photos of the same sections. They provide a useful comparison if a joint widens or a cap shifts.
Light cleaning is easier to control than removing years of buildup. When new stains appear, identify their source early. That keeps maintenance focused and helps protect the wall’s finish.
Protect the Wall While Restoring Its Appearance
The safest way to clean paver retaining walls starts with understanding the joints and checking the wall’s condition. I use the gentlest effective method and stop when cleaning begins to move material.
A sound wall can look better without aggressive washing. If you find movement, missing mortar, or ongoing erosion, address those problems before continuing.
A successful cleaning leaves the surface cleaner and the wall’s joints, alignment, and drainage undisturbed.
