

One loose paver can be a small repair at one home. Across several rental homes, HOA common areas, or commercial properties with outdoor pavers, it can lead to missed calls, repeat repairs, and unhappy residents.
That is why paver repair tracking matters. I see small drainage problems, missing joint sand, and shifting pavers get worse when nobody records where the issue started. A clear system helps you protect the property, plan the work, and keep every site looking maintained.
You don’t need complicated software to get started. You need consistent records and a process your team will actually use.
Key Takeaways
- Create a paver repair record for every property with clear area names, exact locations, material details, photos, and installation history.
- Inspect outdoor pavers after storms, landscaping work, utility repairs, and periods of heavy traffic to catch sinking, loose joints, drainage issues, and edge movement early.
- Turn every repair request into a complete work order that records the condition, scope, priority, repair method, cost, photos, and follow-up date.
- Address the cause of the damage by checking the paver base, drainage, joint sand, and edge restraints instead of only replacing the visible paver.
- Close each ticket with proof of work and review recurring repairs before approving another short-term fix.
Build a Paver Repair Record for Every Site
I recommend giving every property its own paver repair record before damage appears. Catalog outdoor pavers by site, area, material, installation history, and expected repair scope. A shared spreadsheet can work for a few sites. A maintenance app may be a better fit when you have multiple managers, vendors, or maintenance crews.
Work-order tools keep requests, assignments, due dates, and repair updates in one place. This work-order management overview is a good reference if you are building a more organized maintenance process.
Give each paver area a clear name
Don’t write “driveway problem” and expect someone else to know the location. Break each property into easy-to-find areas, such as the front driveway, pool deck, rear patio, walkway beside a retaining wall, clubhouse entrance, or lanai.
For every area, I would record:
- The property address and the exact paver location.
- The material and likely scope, distinguishing concrete paver repairs from work involving brick, stone pavers, porcelain pavers, or natural stone.
- The approximate size of the surface and its main use.
- The original paver installation date, installer, and relevant hardscape installation records.
- The date of the last cleaning, sanding, sealing, or repair.
- A photo of the area when it is in good condition.

Use a map pin and nearby landmarks
Photos are useful, but a photo without location details can create confusion. Add a map pin, building number, parking row, pool gate, or nearby light pole to every repair entry.
A repair crew should never have to walk a large property searching for one damaged paver. Clear location notes save time and help you compare the same area during future inspections.
Catch Paver Damage Before It Spreads
Outdoor pavers often give warning signs before a larger repair is needed. A small low spot can become standing water, while sinking pavers may show that support is shifting.
I look for changes after heavy rain, landscaping work, utility repairs, and periods of high traffic. In Southwest Florida, storms can wash out joint sand and expose weak areas quickly.
Separate surface damage from base failure
A chipped paver, small stain, faded sealer, or light surface wear may be cosmetic. A paver repair may be limited to one unit when the surrounding surface remains stable.
Material identification also matters because a brick paver repair differs from work on stone pavers, porcelain pavers, or natural stone.
Sinking pavers are different. They may point to a washed-out paver base, poor compaction, drainage issues, or a failure along the border. If several pavers are rocking or dipping in the same area, the repair should address the support underneath, not only the visible pavers.
Deep cracks, spalling, and badly burned surfaces may also call for replacement. A patch made with stone epoxy or repair paste can improve a small chip, but it won’t restore a paver with structural damage.
Take photos before anyone touches the area
I recommend taking wide photos and close-ups before work begins. Include a tape measure or another simple size reference when the repair area is larger than one or two pavers.
Photograph the direction of water flow, nearby downspouts, a retaining wall, cracked borders, and damaged joint lines. Those details help explain why the repair happened. They also make it easier to confirm that the completed repair matches the original problem.
Turn Each Repair Into a Clear Work Order
A text message saying “fix patio pavers” isn’t enough. Good paver repair tracking turns that complaint into a defined request. Record the location and surface type for outdoor pavers, along with the scope, priority, and approval.
A clear work order also helps you compare quotes fairly. For a patio paver repair, one contractor may include concrete paver repairs, base work, and new joint sand, while another may only reset the visible pavers.
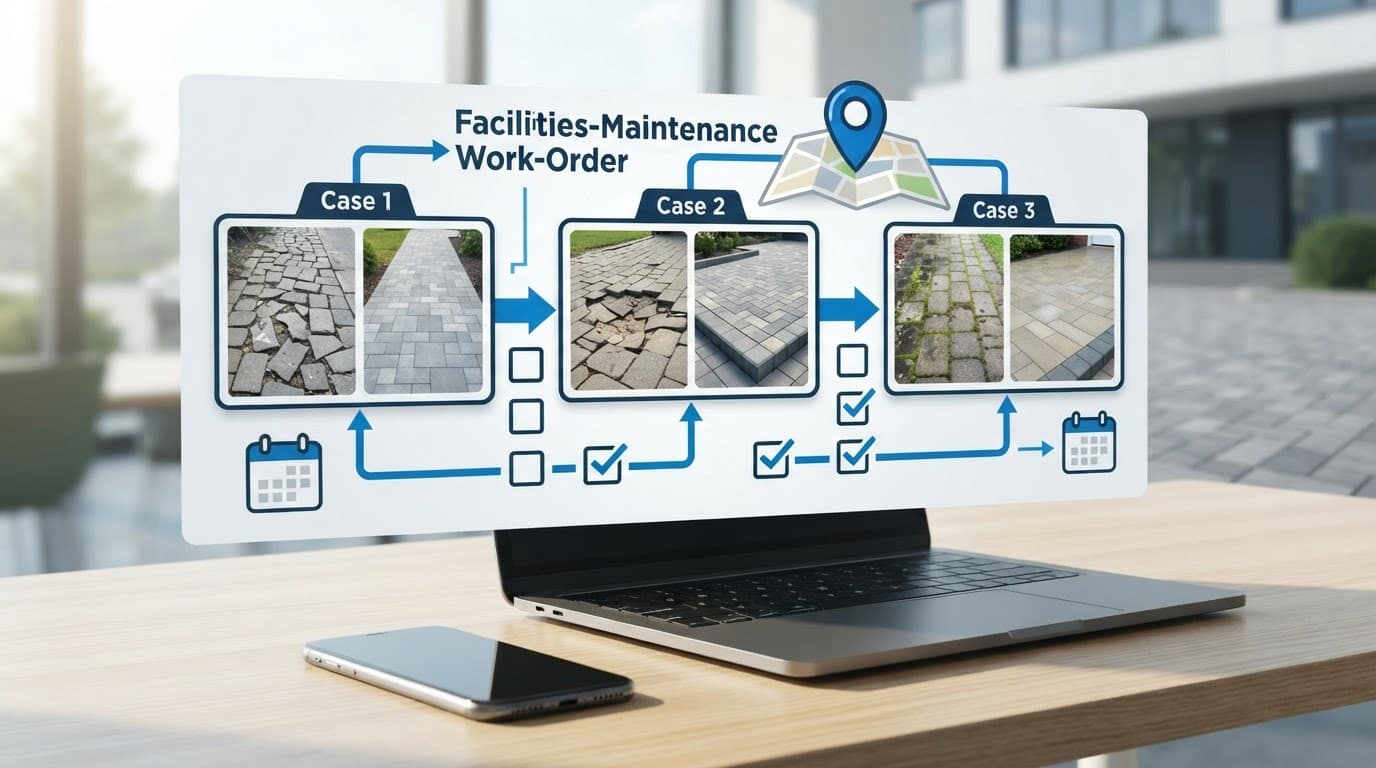
Record the details that affect the repair
Use the same fields for every property and every vendor.
| Work-order field | What to record | Why it helps |
|---|---|---|
| Repair type | Reset, replace, re-sand, edge repair, drainage repair | Keeps the scope clear |
| Repair method | Reset technique, including use of a rubber mallet | Records how the work was performed |
| Condition | Loose, sunken, chipped, cracked, stained, uneven | Shows the reason for the repair |
| Area size | Number of pavers or approximate square footage | Supports accurate quotes |
| Priority | Emergency, safety concern, routine, cosmetic | Helps schedule the work |
| Photos | Before, during, and after images | Creates a useful repair history |
A maintenance work-order guide can also help you set up a repeatable ticket process for routine and urgent repairs.
Set priority based on safety and exposure
A lifted paver at a front entry, pool deck, ramp, or busy sidewalk should move to the top of the list. Standing water near a doorway or uneven pavers around a pool can also create a safety concern.
Cosmetic issues can wait when they are stable. Still, document them. A chipped corner, fading sealer, or missing sand may be minor today, but it gives you a baseline for the next inspection.
A repair ticket is not complete until the cause, repair method, photos, cost, and follow-up date are all recorded.
Track Repairs That Fix the Cause
A paver repair can look good on the day it is finished and still fail again a few months later. I focus on the reason the pavers moved, not only the pavers that moved.
Lift damaged pavers with care
When one paver needs replacement, the surrounding installation should stay intact. A contractor can work thin tools into the joints and lift damaged stone pavers gradually, or use a paver extractor when appropriate. Once the support is level, seat the paver gently with a rubber mallet.
Before removing them, photograph the pattern and note the paver size and color. For natural stone, these details help you select closely matching replacement pavers. If the damage is limited to one unit, replacement is often cleaner than repeated attempts to hide a deep chip or surface crack.
Document the base and drainage repair
A proper reset often requires more than adding sand under a paver. If the paver base is soft, wet, or washed away, it may need rebuilding. Use an aggregate base and compact it before resetting the paver.
For outdoor pavers, document the surrounding setting and water conditions before the reset. Record whether the contractor used precision leveling to correct a low spot. Also note any downspout, drain, or grading work. Northern properties need notes about the freeze-thaw cycle, since repeated freezing and thawing can disturb the base and shift pavers.
Check joints and edge restraints
Joint sand and edge restraints hold the installation together. When sand is missing, pavers can rub, loosen, and allow weeds or insects into open joints. When edge restraints fail, pavers can spread outward and lose their pattern.
If polymeric sand is installed, record the product used, the color, the weather conditions, and the date. The surface needs proper preparation and dry conditions before application. Follow the manufacturer’s directions for watering and curing. A complete paver repair should close with photos confirming level joints, stable edges, and corrected site conditions.
Schedule Inspections Instead of Waiting for Complaints
The best paver repair record includes both active problems and scheduled checks. Preventive work gives you a chance to find early movement before someone trips or a large section needs rebuilding.
Preventive maintenance work orders are often scheduled by time intervals. For pavers, I also tie inspections to weather, traffic, and property use.
Match inspections to the property conditions
Inspect driveways, walkways, patios, and pool areas after major storms, landscape renovations, and utility trench work. High-traffic areas with outdoor pavers may need a closer look every few months.
At each visit, compare new photos against the previous record. Look for fresh gaps in the joints, water that stays in place after rain, pavers that rock underfoot, broken borders, and stains that may need cleaning before they set into porous brick.
A simple inspection schedule keeps the recurring repair-record process active. It also helps you plan repairs before busy rental periods, events, or property inspections.
Keep cleaning and repairs connected
Cleaning records should stay connected to repair records. Controlled pressure washing can remove dirt, algae, and loose residue, but excessive pressure can strip joint sand or damage a worn paver surface.
A soft wash or roof cleaning visit is also a good time to inspect where water exits the roof and lands near paved areas. Downspout discharge can wash out sand and create low spots when it repeatedly hits the same location.
Paver sealing should be scheduled only after repairs, cleaning, and joint sand renewal are complete. Sealing over a loose, stained, or damaged area can lock in a problem instead of fixing it.
Close Every Ticket With Cost and Proof of Work
A completed paver repair ticket needs more than an invoice. I recommend closing each ticket with photos, material details, labor notes, and a clear description of what was repaired.
This record helps you see whether the same area keeps failing. It also helps a new property manager understand past work without relying on old emails or memory.
Compare repair costs by problem type
Track the approved quote, final invoice, repair area, and extra work added during the job. Keep base repair, concrete paver repairs, paver replacement, joint sand, drainage work, and cleaning as separate cost categories when possible.
Material history affects cost, quotes, and matching because stone pavers, porcelain pavers, and natural stone have different sourcing needs. Over time, those records show how spending on outdoor pavers compares across properties. Repeated low spots may point to drainage work, while recurring edge movement may require a more complete border repair.
Good work-order habits also make vendor communication easier. These work-order management best practices can help with closeout notes, photos, and accountability.
Review repeat repairs before renewing a contract
If one site needs the same repair every season, don’t keep approving the same short-term fix. Review photos, weather, water flow, material condition, and prior scope. Recurring sinking pavers or brick paver repair may signal a broader issue.
For properties in Fort Myers, Naples, Bonita Springs, Cape Coral, Port Charlotte, Sanibel Island, and nearby areas, I can help with professional paver repair, cleaning, sanding, paver sealing, restoration, and protection. Get a Quote for clear recommendations and professional service.
Frequently Asked Questions
What should a paver repair record include?
Record the property address, exact paver location, material, area size, installation history, prior maintenance, and photos. Include the cause of the damage, repair scope, cost, and follow-up date as the work progresses.
How often should outdoor pavers be inspected?
Inspect paver areas after major storms, landscaping or utility work, and periods of heavy traffic. High-use areas such as pool decks, walkways, and entrances may need inspections every few months.
How can I tell whether a paver needs replacement or a base repair?
A chipped or stained paver may only need cleaning, repair, or replacement when the surrounding surface is stable. Sinking, rocking, repeated movement, or standing water can point to a washed-out base, drainage problem, or failed edge restraint that needs attention underneath.
What photos should be included in a paver repair work order?
Take wide photos and close-ups before, during, and after the repair. Include location landmarks, water flow, nearby drains or downspouts, damaged joints, and a size reference when the repair area is larger than one or two pavers.
Why should recurring paver repairs be reviewed?
Repeated repairs in the same area may indicate drainage problems, poor compaction, material issues, or failing edge restraints. Reviewing the repair history, photos, weather, and prior scope helps you choose a lasting solution instead of repeating the same short-term fix.
Keep Every Repair Record Easy to Find
Good records turn scattered maintenance calls into a clear plan. When every site has photos of outdoor pavers, exact locations, repair notes, and follow-up dates, you can catch small issues before they become expensive disruptions.
A consistent repair-record system is one your team uses every time. Start with clear site names, document the cause of damage, and close each repair with proof of the completed work.
