
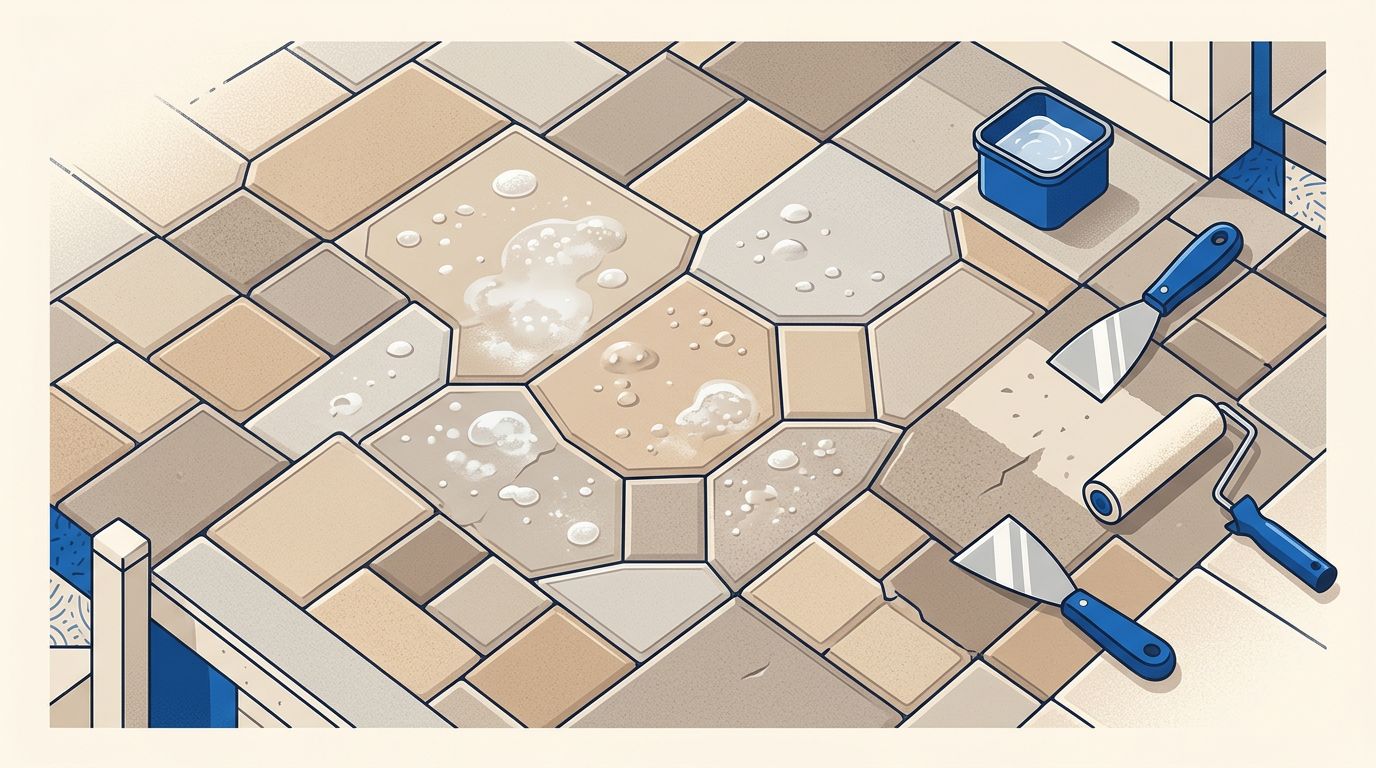
Discovering paver sealer bubbles can make a freshly cleaned patio, driveway, or pool deck look far worse than it did before the work started. While you want your hardscape to shine, paver sealer bubbles often appear as small, cloudy blisters or raised pockets, which typically indicate that the protective finish did not cure properly.
I frequently see this issue when the surface temperature is too high, moisture is trapped below the sealer, or too much product is applied in a single coat. The good news is that many of these imperfections can be corrected without the need to replace the pavers. To start the restoration process, you first need to identify exactly what caused the surface defects.
Key Takeaways
- Paver sealer bubbles typically result from trapped moisture during the curing process, though rapid drying, excess product application, or hot surface temperatures are also leading causes of bubble formation.
- Applying sealer over dirty, damp, or poorly prepared pavers can lead to unsightly peeling and surface blistering.
- While fresh bubbles may flatten on their own or be corrected with careful solvent work, cured blisters often require professional intervention to strip and reseal the surface without needing a full-scale restoration.
- Pressure washing is a vital part of surface preparation, but it must be followed by a complete drying period and careful attention to joint sand integrity.
- A professional inspection can help identify underlying issues early, which prevents a small sealer problem from spreading across your entire patio or driveway.
Why Paver Sealer Bubbles Form After Application
Sealer requires precise environmental conditions to cure properly. When the top layer dries faster than the underlying product, air or solvent entrapment occurs, leaving materials stuck beneath the hardened acrylic film. This trapped material eventually pushes upward, creating an unsightly bubble or blister.
Thermal expansion is a leading cause of this phenomenon. Concrete porosity allows the substrate to absorb heat, and when the surface temperature rises rapidly in direct sunlight, the air inside the pavers expands. This process, known as outgassing, forces air out through the drying sealer. This is especially problematic for stamped concrete and decorative concrete, where high heat can compromise the finish.
Heat and wind often trigger these issues, particularly when using a solvent-based acrylic sealer. These products rely on rapid solvent evaporation to cure. If the surface dries too quickly, it skins over, preventing the remaining product from venting correctly. Similarly, when using low-VOC sealers, the drying profile can be unpredictable, sometimes leading to bubble formation if the application environment is not ideal.
Moisture also plays a significant role. If water remains inside the paver pores or under the joint sand, it becomes trapped as the sealer closes off the surface. As the temperature rises, this moisture vaporizes and lifts the sealer, resulting in cloudy spots or raised pockets.
Over application is another frequent culprit. Pavers are porous and designed to absorb a specific amount of product. When a heavy layer sits on the surface, the outer film hardens while the material underneath remains wet and uncured.
Other common causes include:
- Sealing over contaminants like sunscreen, oil, dirt, efflorescence, or organic growth
- Using an incompatible product for the specific paver type
- Applying a fresh coat before the previous layer has fully cured
- Mixing products with different chemical compositions
- Sealing too soon after pressure washing, leaving the pores saturated
- Applying the product during periods of high humidity or impending rain
A clean-looking surface does not always guarantee a properly prepared surface. Fine dust and microscopic moisture often remain in the pores even after a standard rinse, which can jeopardize the bond of the sealer.
How to Tell Bubbles, Blisters, and Haze Apart
Not every cloudy mark means the sealer has bubbled. I first look at the shape, texture, and location of the problem to determine the root cause.
Small round raised spots usually indicate trapped air, moisture, or solvent. They may feel smooth at first, then become harder and more noticeable as the acrylic film cures. Larger raised areas with peeling edges are often called blisters. These can point to moisture trapped below the coating or poor bonding between layers.
A white or gray haze, often referred to by professionals as blushing, may be a different issue. Blushing can come from trapped moisture, surface residue, efflorescence, or the use of an incompatible sealer. Low-VOC sealers are particularly prone to this effect if they are applied during periods of high humidity. It may look flat instead of raised, and in some cases, the sealer is sound but the pavers were not cleaned well enough before application.
Sticky areas are another warning sign. If the surface remains tacky after several days, the sealer may have been over-applied, applied in damp weather, or left without enough time to cure. Because a solvent-based acrylic sealer requires specific environmental conditions to avoid these visual defects, applying it in direct, intense sunlight can lead to rapid surface drying and trapped solvents. Adding another coat usually makes these problems worse.
I also check whether the issue is limited to shaded areas, low spots, or the entire project. Bubbles only in low areas often point to standing moisture. Problems only in sunny sections can come from excess heat and fast evaporation. Bubbles across the entire surface may indicate poor preparation, product failure, or application at the wrong coverage rate.
A useful comparison looks like this:
| Surface problem | Common cause | Usual correction |
|---|---|---|
| Small fresh bubbles | Trapped air or solvent | Allow curing, then assess |
| Raised blisters | Moisture below sealer | Remove damaged coating and dry |
| White haze (blushing) | Moisture, residue, or efflorescence | Clean, test, and possibly strip |
| Sticky finish | Excess product or poor curing | Rework or strip the sealer |
| Peeling sections | Weak bond or incompatible coats | Remove loose sealer and reseal |
The takeaway is simple. The appearance alone does not tell me enough. I need to know when the sealer was applied, what product was used, and whether the pavers were completely dry before the initial application.
How to Fix Paver Sealer Bubbles
The first step is to stop adding products. Do not apply another layer over bubbles, haze, or sticky areas. Adding a standard second coat can trap moisture and make removal much more difficult.
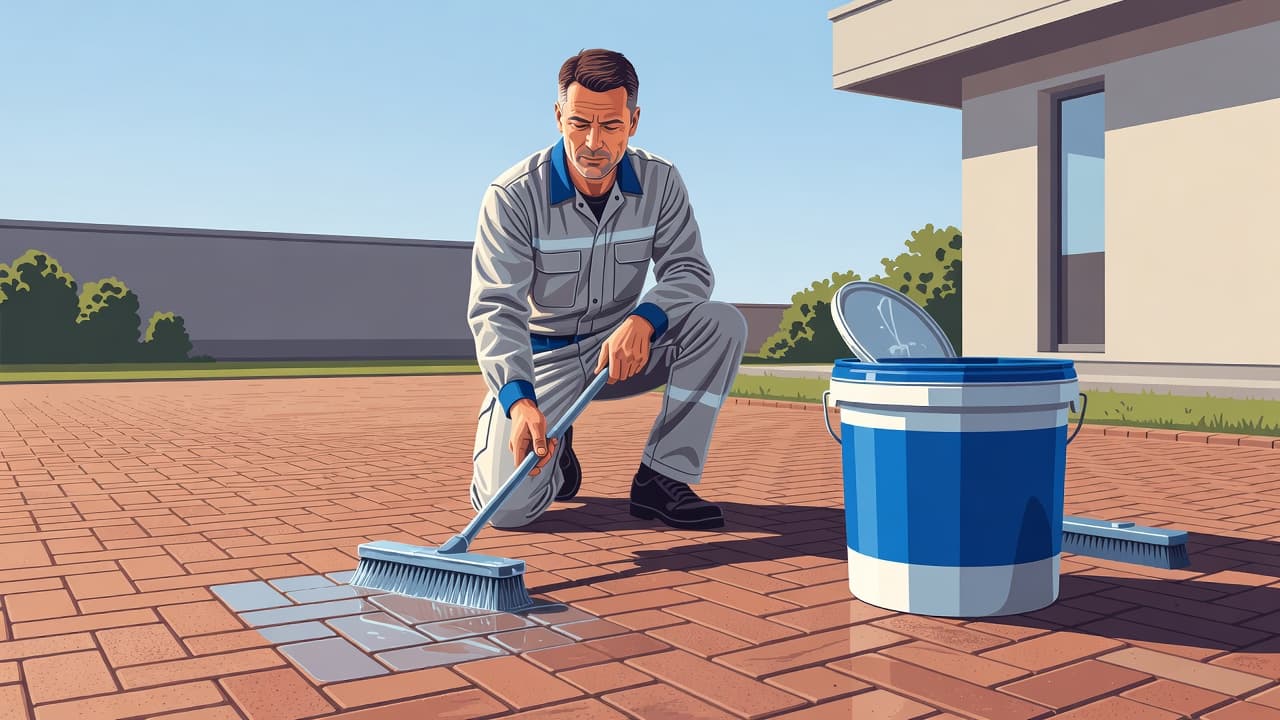
If the bubbles are minor, first verify the curing time suggested by the manufacturer. Sometimes, trapped solvent escapes as the sealer finishes drying, causing small bubbles to flatten on their own. I never drag a roller across the area repeatedly during this phase because that can spread soft sealer and leave visible lap marks.
For persistent bubbles, the most effective repair often involves using xylene to re-liquefy the coating. By carefully applying a thin layer of xylene, you can melt the bubbles back into the film, effectively smoothing out the surface. This technique allows you to reset the sealer without stripping the entire patio. Once the solvent has softened the coating, you may apply a thin corrective coat to restore an even finish. Always test this process on a hidden area first to ensure the sealer responds well to the solvent.
For larger repair projects, I follow a controlled process:
- Remove furniture, rugs, planters, and other items from the work area.
- Inspect the pavers for loose sand, cracks, drainage issues, and remaining coating.
- Use xylene to soften and level the existing sealer if the damage is localized.
- If stripping is necessary, remove loose or peeling sealer with an appropriate chemical remover.
- Clean away residue without damaging the paver face or joints.
- Allow the surface to dry completely.
- Apply a thin corrective coat under suitable weather conditions.
Pressure washing may help remove old residue, but high pressure is not a repair by itself. Too much force can damage the paver surface, wash out joint sand, or leave lines that show through the new sealer. I select the cleaning method based on the material and the condition of the surface.
For light organic growth, a soft wash approach is often safer than aggressive pressure washing. The same careful thinking applies to roof cleaning, house washing, and delicate travertine surfaces. The cleaner and dwell time matter just as much as the water pressure.
Some bubble repairs are small and local, while others require stripping the entire section so the new finish does not look patchy. If the coating is failing across a driveway or patio, spot repairs often leave noticeable differences in color and sheen, making a uniform re-application the better long-term choice.
How to Prevent Sealer Bubbles on Pavers
Proper preparation is the most effective way to prevent sealer problems. Before I begin, I thoroughly evaluate the condition of the surface rather than focusing solely on the color. To avoid bubbles, pavers must be completely clean, stable, and entirely free from residue.
After cleaning, the surface must have sufficient time to dry. There is no universal drying time, as shade, humidity, paver thickness, and weather conditions all influence the outcome. You must be especially careful of trapped moisture, as water lingering beneath the surface or in the joints often causes bubbling once the sealer is applied. I carefully check low spots, joints, shaded edges, and areas near pool decks to ensure they are moisture free.
Selecting the right product is also essential. Brick, concrete, travertine, and natural stone react differently to various formulas. Whether you choose a penetrating sealer or a film-forming product, you must strictly follow the manufacturer directions regarding compatibility and coverage.
To achieve a professional finish, avoid sealing during the peak temperature of the day. Applying sealer in direct sunlight can cause the product to cure too quickly, trapping air and creating blisters. Instead, aim for a stable weather window where the surface temperature is within the range recommended by the manufacturer.
When applying the product, avoid over application. Applying thin, even coats is far safer than flooding the surface, which often leads to an uneven, cloudy, or sticky finish. If you need to apply a second coat to achieve the desired look or protection, ensure the first layer has properly cured according to the product guidelines before starting the next.
Finally, routine maintenance helps preserve your finish. Wipe up oil, sunscreen, and spilled liquids before they bake into the surface. Keep the area free of debris and monitor for sprinkler overspray that could keep the pavers wet. Consistent care, combined with proper driveway sealing techniques and periodic pressure washing, will keep your outdoor spaces looking their best for years to come.
When Professional Paver Sealing Makes More Sense
A small bubble on a new project may be easy to monitor. However, a surface covered with blisters, peeling spots, or sticky residue is a much more difficult situation.
I recommend professional help when you do not know which sealer was used, when multiple coats are present, or when the pavers were sealed over old residue. Removing these layers requires professional-grade stripping agents and xylene that are far more effective and safer for your surfaces than standard consumer products. Attempting to strip a surface yourself carries the risk of damaging the pavers, discoloring nearby walls, or removing too much joint sand.
Professional service also ensures the longevity of your decorative concrete or stone surfaces without the constant risk of recurring bubbles. Experts can also help when water is part of the problem. If sprinklers, pool splash-out, or poor drainage keep feeding moisture into the area, the bubbles may return after a quick repair. Fixing the coating without addressing the underlying moisture source only repeats the same frustrating cycle.
At Kingsway Paver Sealing & Pressure Cleaning, I inspect the surface before recommending cleaning, restoration, or resealing. If you are dealing with bubbling sealer on a driveway, patio, lanai, walkway, or pool deck, you can Get a Quote for professional sealing or pressure cleaning services.
Frequently Asked Questions
Can I fix paver sealer bubbles by simply applying another coat?
No, applying a second coat over existing bubbles or sticky areas will only trap more moisture or solvent beneath the new film. This often makes the underlying issue worse and significantly complicates any future attempts to strip or correct the finish.
How long should I wait for my pavers to dry after pressure washing?
There is no fixed timeframe, as the necessary drying period depends on factors like humidity, wind, and shade. You must ensure the pavers are completely dry throughout the entire surface and deep within the joints before applying any sealer to avoid trapping moisture.
Why do my pavers look cloudy after I applied a clear sealer?
A cloudy appearance, often called blushing, is usually caused by trapped moisture or applying the sealer when the surface temperature is too high. It can also occur if the pavers were not cleaned thoroughly enough to remove all dust, efflorescence, or previous residue before the new sealer was applied.
Are bubbles a sign that I used the wrong type of sealer?
While bubbles are most often caused by improper application conditions like high heat or trapped moisture, they can also indicate product incompatibility. Using a sealer that is not designed for the specific material of your pavers can lead to poor bonding, resulting in blistering or peeling across the surface.
Conclusion
Paver sealer bubbles generally occur due to trapped moisture, high temperatures during application, or improper surface preparation. If you notice these unsightly spots, remember that simply adding a second coat will not fix the issue. Instead, the damaged surface requires proper evaluation, careful testing, and the correct chemical repair method.
Achieving a professional finish starts with understanding the risks of over application and ensuring you respect the necessary curing time for your chosen product. By focusing on thorough cleaning, complete surface dryness, and controlled sealer distribution, you can prevent paver sealer bubbles entirely. With the right approach, your pavers will maintain a clean, uniform look that enhances your outdoor space for years to come.
