
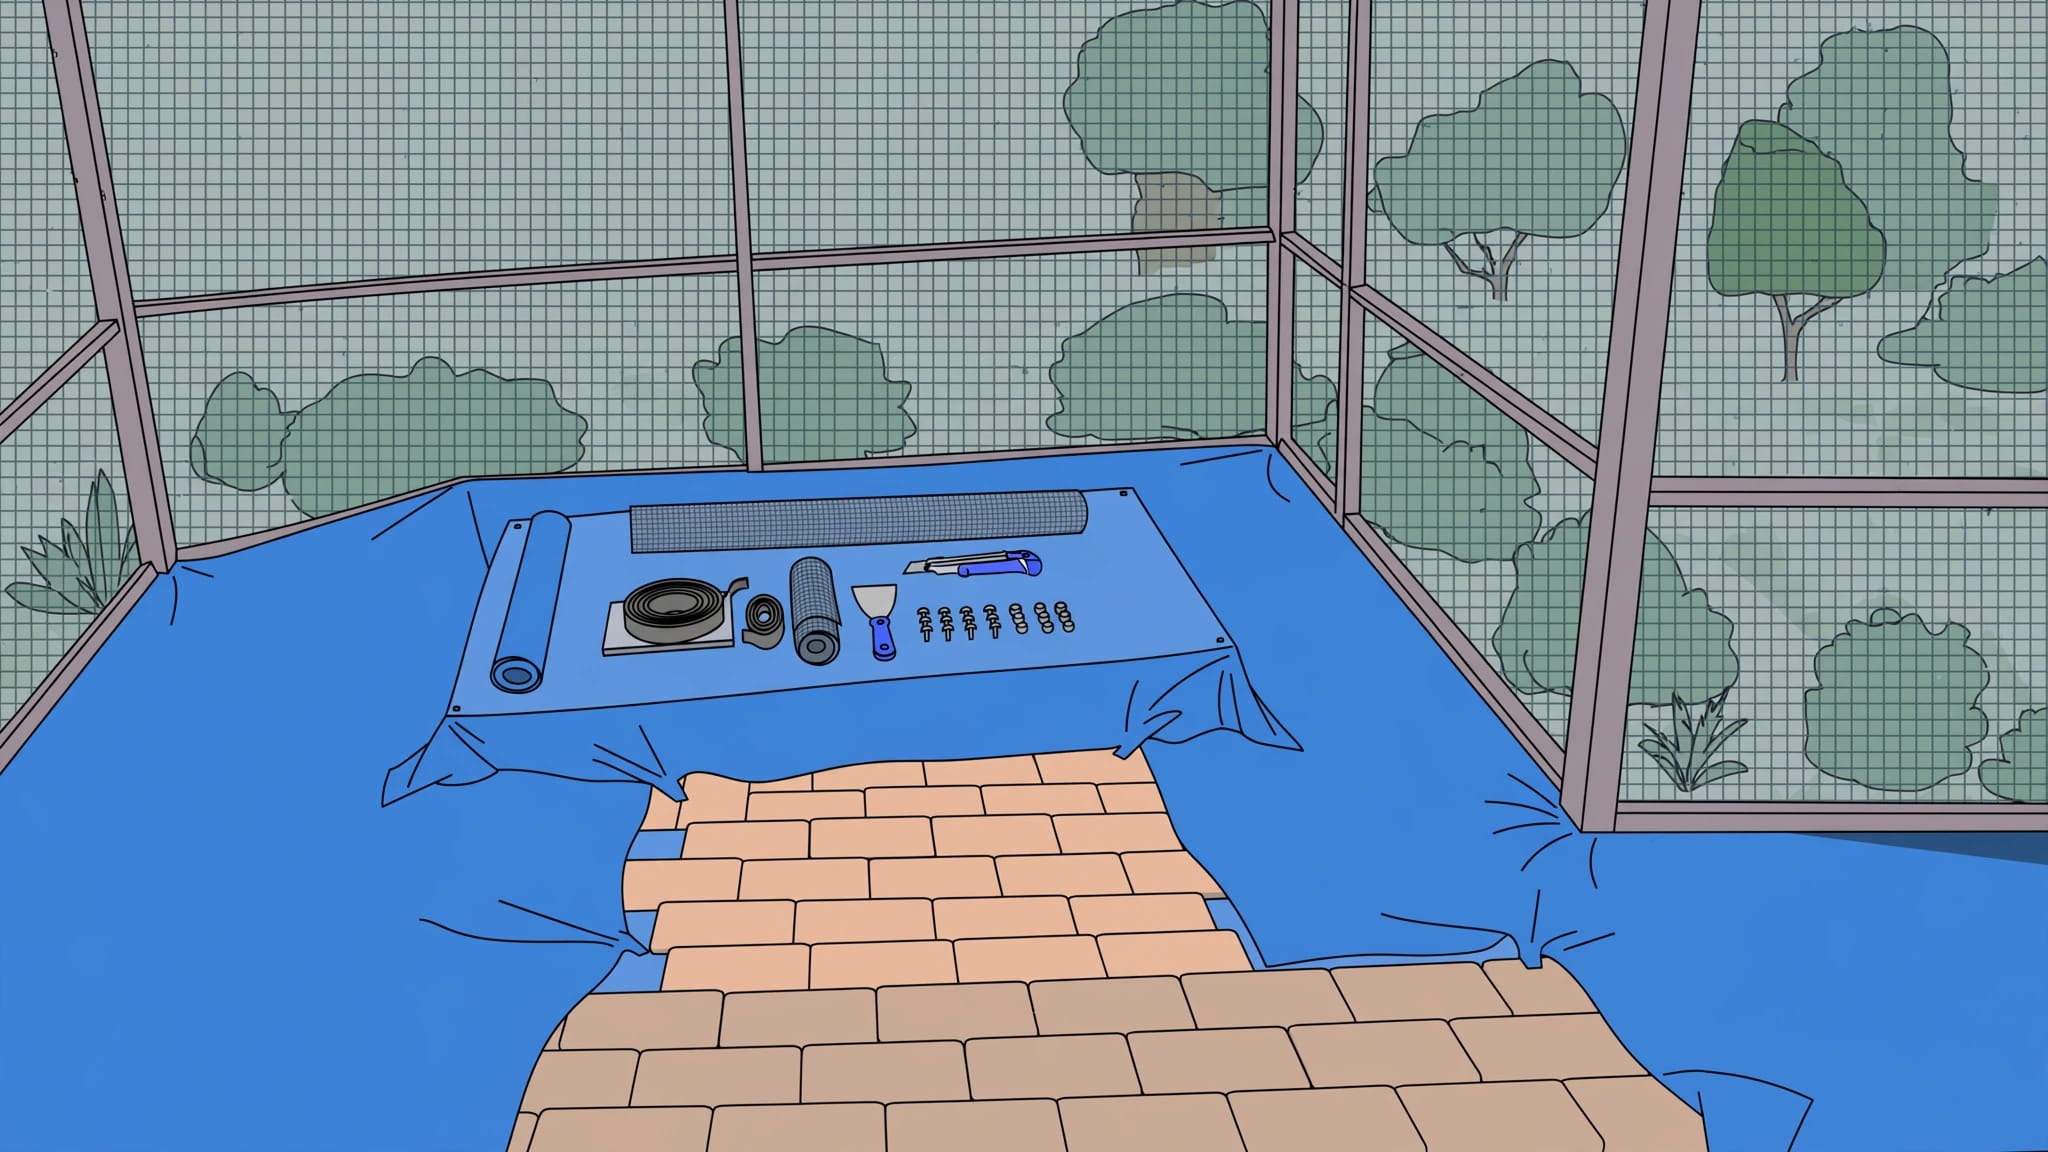
Screen enclosure repairs shouldn’t leave your paver patio scratched, stained, or uneven. I recommend planning how to protect the hardscaping around your outdoor living space before the crew arrives with ladders, replacement screens, and tools.
A little preparation helps prevent damage that cleaning or sealing can’t correct. Start by checking the patio’s condition and agreeing on how the contractor will cover, access, and clean the work area.
Key takeaways
- Photograph your pavers, joints, edge restraints, and enclosure borders before repairs begin.
- Keep equipment and replacement materials on suitable coverings that protect paver faces and joint sand, with safe access paths for the crew.
- Collect screws, metal shavings, and screen scraps before rinsing the patio.
- Repair movement, drainage problems, and damaged joints before considering a new sealer.
I want the finished project to include a clean, stable patio, not another repair appointment.
Prepare the patio before repairs begin
Good protection starts with knowing what needs attention. I recommend walking through the area with your enclosure contractor before work begins, especially around posts, doorways, and existing low spots.
Photograph the surface and existing damage
Take wide photos of the patio, then close-ups of cracked pavers, worn sealer, missing joint sand, uneven edges, and edge restraints. Include enclosure posts and nearby drains so each location is easy to identify later.
Keep these photos with your repair estimate. Record the paver material and previous sealing date, if you know them. This baseline can guide future routine maintenance.
If a paver already rocks or sinks under normal foot traffic, report it before equipment crosses that section. Surface protection won’t correct weak support underneath.
Agree on access and storage areas
Decide where workers will enter, place tools, and store replacement frame sections. Move furniture, planters, and grills away from those routes.
Ask whether the work involves only rescreening or also removing frame sections, drilling anchors, or disturbing the patio border. Those activities need different precautions.
Keep drains and enclosure doors accessible. I also recommend identifying a covered storage area for adhesives, lubricants, and other products that could stain the surface.
Choose coverings to protect pavers
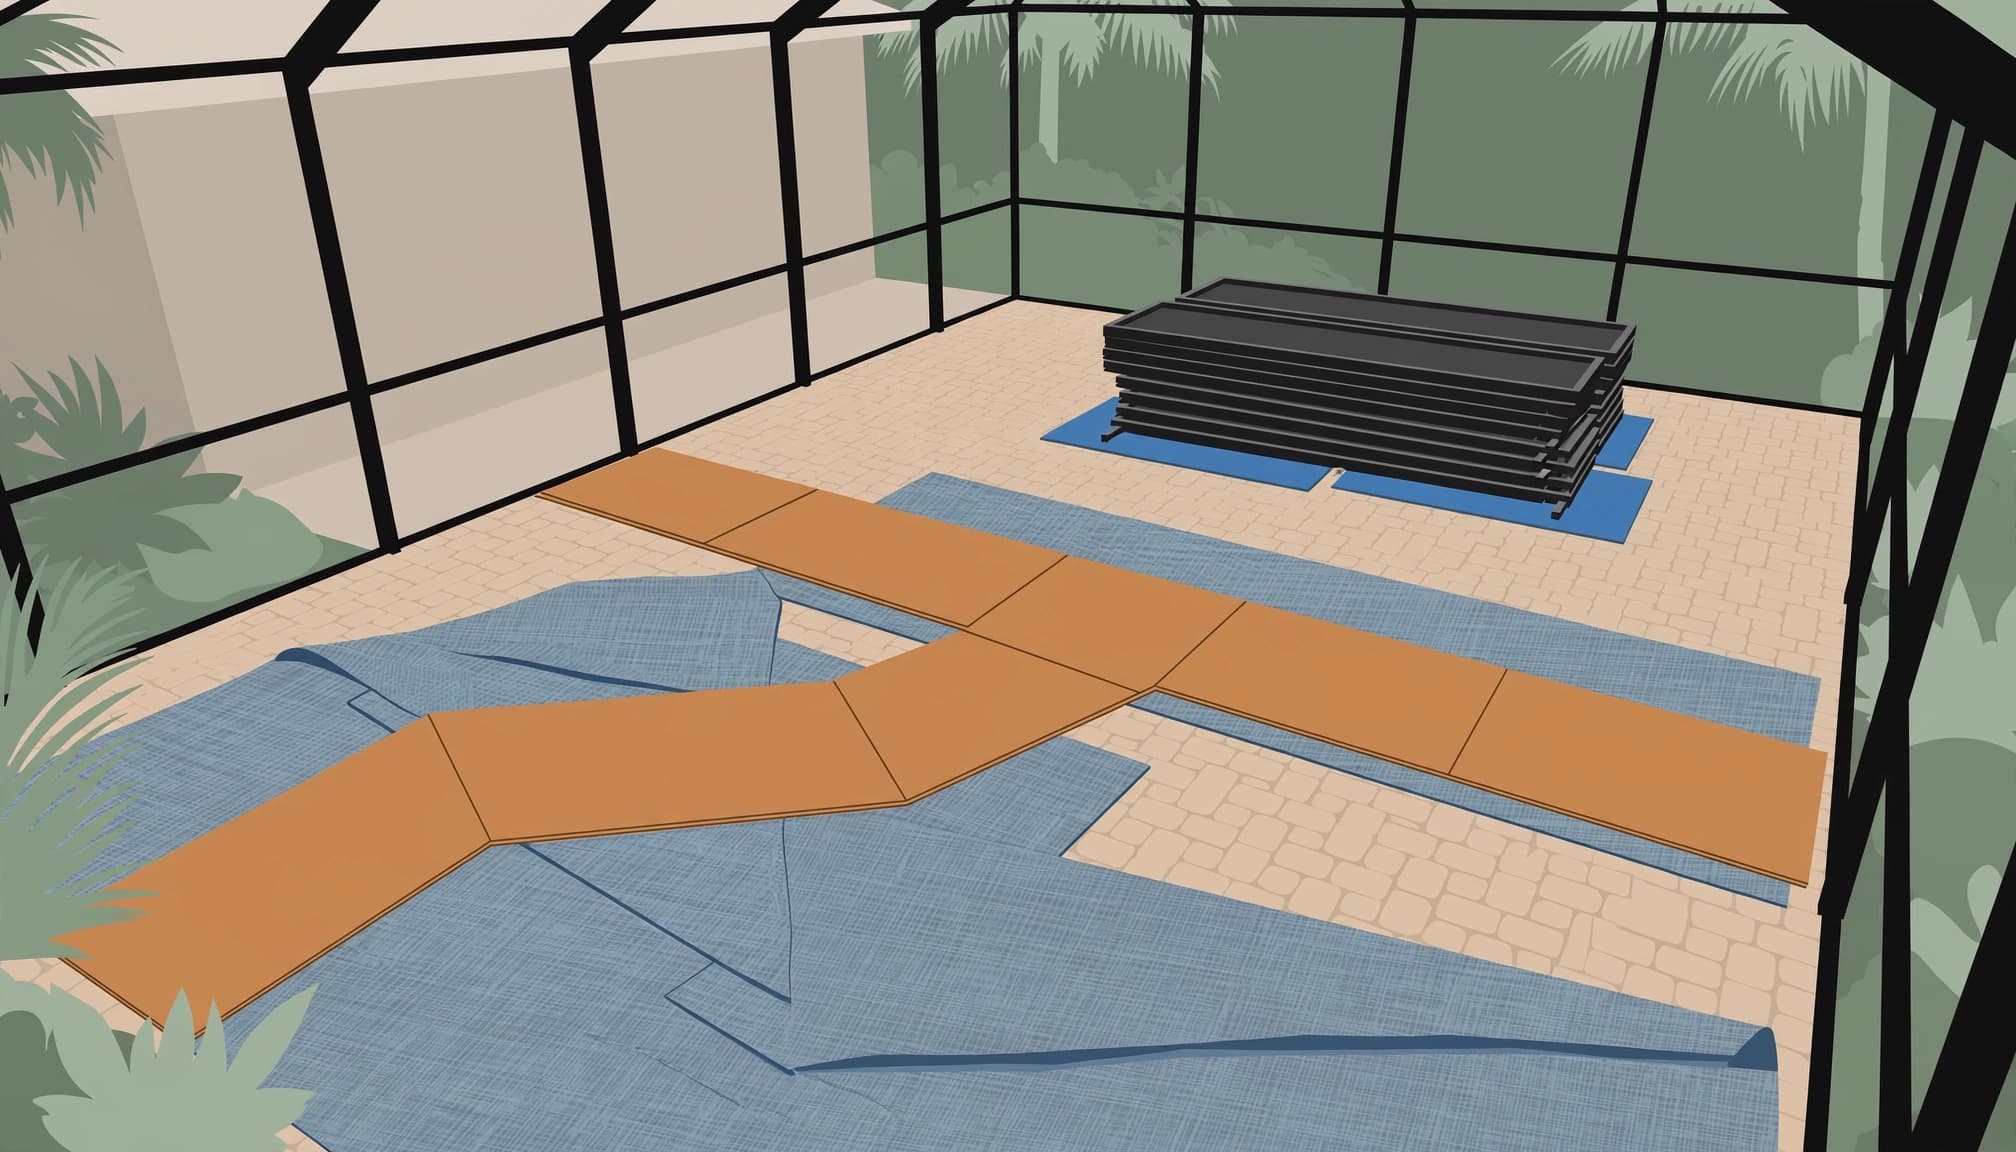
A thin tarp can collect debris, but it doesn’t provide dependable protection against dropped tools or concentrated equipment weight. Match the covering to the work instead of using one material across the entire patio.
Separate scratch protection from impact protection
Start with a clean surface, removing sand and organic debris first. Sand trapped beneath a covering can scrape the finish as workers walk across it.
For concrete pavers, choose a clean protective layer suited to their finish to help prevent scuffs. Rigid protection may also be needed where tools, carts, or materials could damage the surface. Ask the contractor to select suitable coverings and check that their edges won’t create trip hazards. If you have permeable pavers, ask whether the covering could block drainage or trap moisture.
Don’t place adhesive tape directly on sealed pavers unless its manufacturer approves that use. Removing tape can leave residue or disturb an existing finish.
Keep ladder footing safe and stable
Ladders need secure footing throughout the repair. A loose board or slippery covering can create a safety problem, even when it protects the paver face.
Have the contractor check ladder shoes, placement, and any protective support beneath them. Covers must never replace proper ladder setup.
Lift materials instead of dragging them across the patio. Check beneath coverings during longer projects, especially after rain. Remove trapped debris and avoid leaving wet coverings against the surface unnecessarily.
I also recommend keeping children and pets away from the protected work zone until equipment and sharp scraps are removed.
Control repair debris and spills
Small repair materials can leave lasting marks. Screws, sharp frame edges, drilling dust, and adhesives need a clear cleanup plan before the crew starts working.
Contain cutting and drilling debris
Ask the contractor to place debris-catching protection beneath cutting and drilling areas. Replacement frame sections should rest on protective pads rather than directly against the pavers.
Metal scraps and loose screws belong in a container, separate from leaves and other organic debris. Aluminum shavings won’t be collected by an ordinary magnet, so visual inspection and suitable vacuum cleanup matter.
Keep debris out of joints and drains. I recommend checking the work area at the end of each day rather than allowing scraps to accumulate until the project finishes.
Address spills without spreading them
Keep chemical containers upright in a suitable tray. If a product spills, identify it before choosing a cleaner.
Don’t scrub adhesive, paint, or lubricant across several pavers. Don’t use a pressure washer on an unidentified spill, since force may spread it. Follow the product’s cleanup directions and check compatibility with the paver material and existing sealer.
For natural stone or an unfamiliar coating, get professional advice before applying a chemical treatment. A stronger cleaner can create a larger damaged area.
Enclosure anchorage and footing concerns belong with the qualified enclosure contractor. Patio pavers aren’t a substitute for structural support.
Clean up without washing out the joints
I start cleanup with loose debris, then assess what remains. A pressure washer shouldn’t be the first response to every mark left by construction work.
Remove debris before using water
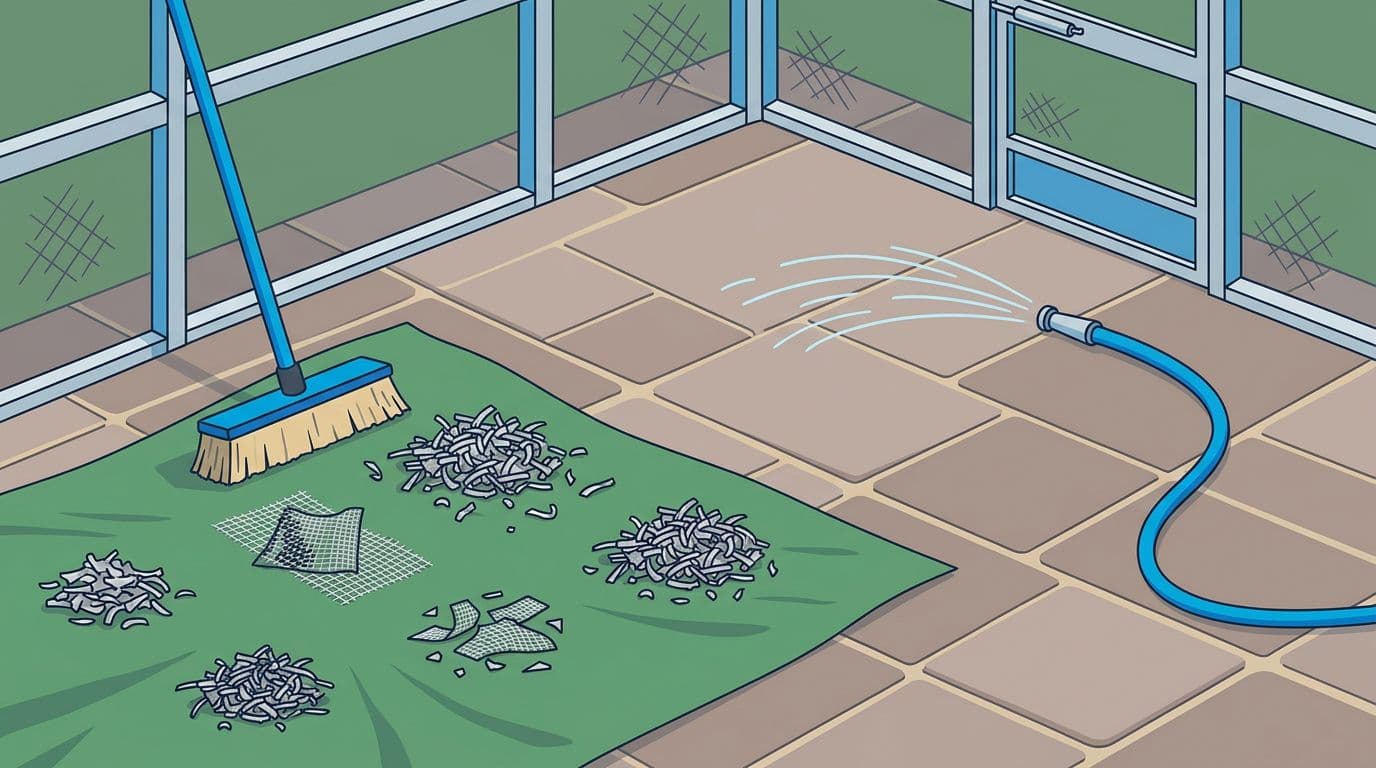
Lift coverings carefully so collected dust, scraps, and organic debris don’t spill into the joints. Sweep ordinary loose dirt and use suitable vacuum equipment for fine repair debris.
Check the patio for screws, sharp pieces, and hardened residue, and keep the drainage joints of permeable pavers clear. Don’t walk barefoot across the area during this inspection.
Routine maintenance should follow the paver manufacturer’s care instructions, such as Mutual Materials’ maintenance guidelines, rather than a generic cleaning recipe.
Use controlled cleaning for remaining residue
A gentle rinse may be enough after loose debris is removed. Stubborn residue needs treatment based on its source, not repeated blasting.
There isn’t one pressure setting that suits every paver, coating, and joint condition. Excessive force from a pressure washer can remove joint sand or damage a worn surface.
The Concrete Masonry & Hardscapes Association addresses cleaning, stain removal, and joint care in its concrete paver maintenance bulletin.
If marks remain, I recommend assessing them before another cleaning attempt. Professional brick paver cleaning can address buildup with a method selected for the surface. Cleaning won’t restore a paver face that has already been etched or chipped.
Inspect joints and drainage after repairs
The final inspection should cover more than appearance. I check the paver surface, joints, borders, and water paths before recommending additional maintenance.
Look for movement and missing joint material
Compare the finished patio with your original photos. Look for fresh chips, open joints, weed growth, displaced borders, and pavers that rock underfoot. Inspect edge restraints along the borders for separation or movement.
Intact joints support joint stabilization, while joint sand and sound edge restraints help keep an interlocking installation stable. Missing joint sand or a spreading border deserves attention before routine maintenance resumes and regular traffic returns.
If your patio already uses polymeric sand, keep the product name, color, installation date, and weather conditions in your maintenance record. Confirm any replacement polymeric sand is compatible, and follow that product’s preparation, watering, and curing requirements.
Adding surface sand won’t correct a low spot caused by missing or poorly supported base material.
Check water paths and permeable areas
Inspect drains and the area beside enclosure footings. Watch for runoff crossing the patio, pooling near posts, or irrigation washing material out of joints.
Recurring settlement needs evaluation of the base and drainage. If the footing may be involved, bring the enclosure contractor into that assessment.
Permeable pavers need separate treatment because their joints are part of the drainage system. Keep joints in permeable pavers open and functional. Don’t automatically fill them with ordinary joint sand or coat them. The Federal Highway Administration’s permeable pavement overview explains this pavement type and its maintenance needs.
Finish with photos showing stable borders, consistent joints, and completed repairs. Recheck during seasonal maintenance, especially after heavy rain.
Schedule sealing after the repair work
I don’t recommend sealing pavers immediately before an enclosure repair. Foot traffic, debris, and equipment can damage a fresh finish.
Complete structural repairs first. Then address cleaning, compatible joint work, and each product’s drying or curing requirements. The paver restoration and sealing process follows that preparation-first approach.
A new sealer can’t replace missing base material or lift a sunken paver. Stable support comes first.
If roof cleaning or a soft wash of nearby exterior surfaces is also planned, schedule that work before sealing pavers. This keeps cleaning runoff off the new coating.
If post-repair washing with a pressure washer is needed, do it early enough to meet cleaning and drying requirements before applying sealer.
The same order applies to driveway sealing: inspect, repair, clean, and prepare before coating. Whether sealing is appropriate depends on the material, existing finish, exposure, and intended use. Check compatibility for any product, including a water based sealer.
Follow the selected product’s directions rather than a fixed waiting period. Glaze ‘N Seal’s paver care guidance illustrates why cleaning and drying requirements belong in the schedule.
Florida humidity, shaded joints, rain, irrigation, and morning dew all deserve attention before application.
Keep your patio protected through the final inspection
Protecting your patio starts before the first ladder arrives and continues through cleanup. I recommend agreeing on coverings, access routes, debris control, and a final walkthrough before approving the repair plan. Use that inspection to note any routine maintenance needs, then recheck the patio during seasonal maintenance.
If your pavers need cleaning or sealing after the enclosure work, Get a Quote for a free estimate from Kingsway Paver Sealing & Pressure Cleaning.
Your enclosure repair should finish with pavers that are clean, stable, and ready for normal use.
Frequently asked questions
Will paver sealer prevent damage during enclosure repairs?
Sealer can help resist some staining, but it doesn’t prevent scratches, chips, or damage from dropped tools. I still recommend appropriate coverings and careful equipment placement on sealed patios.
Don’t apply another coat simply because repairs are scheduled. Check the existing finish first and plan any needed sealing after the work is complete.
If a contractor needs to cover recently sealed pavers, confirm the coating’s curing and covering requirements before work begins. A surface that feels dry may still need more time.
What should happen if pavers sink beside an enclosure post?
Document the location and keep traffic off any unsafe section. I recommend assessing the support beneath the pavers and nearby drainage instead of sweeping extra sand over the low area.
The repair may require lifting affected pavers, correcting the base, and resetting the surface. Questions about enclosure footings require the appropriate contractor.
Keep before-and-after photos and a written description of the completed work. Inspect the same area again after heavy rain so recurring movement or water problems are caught early.
