
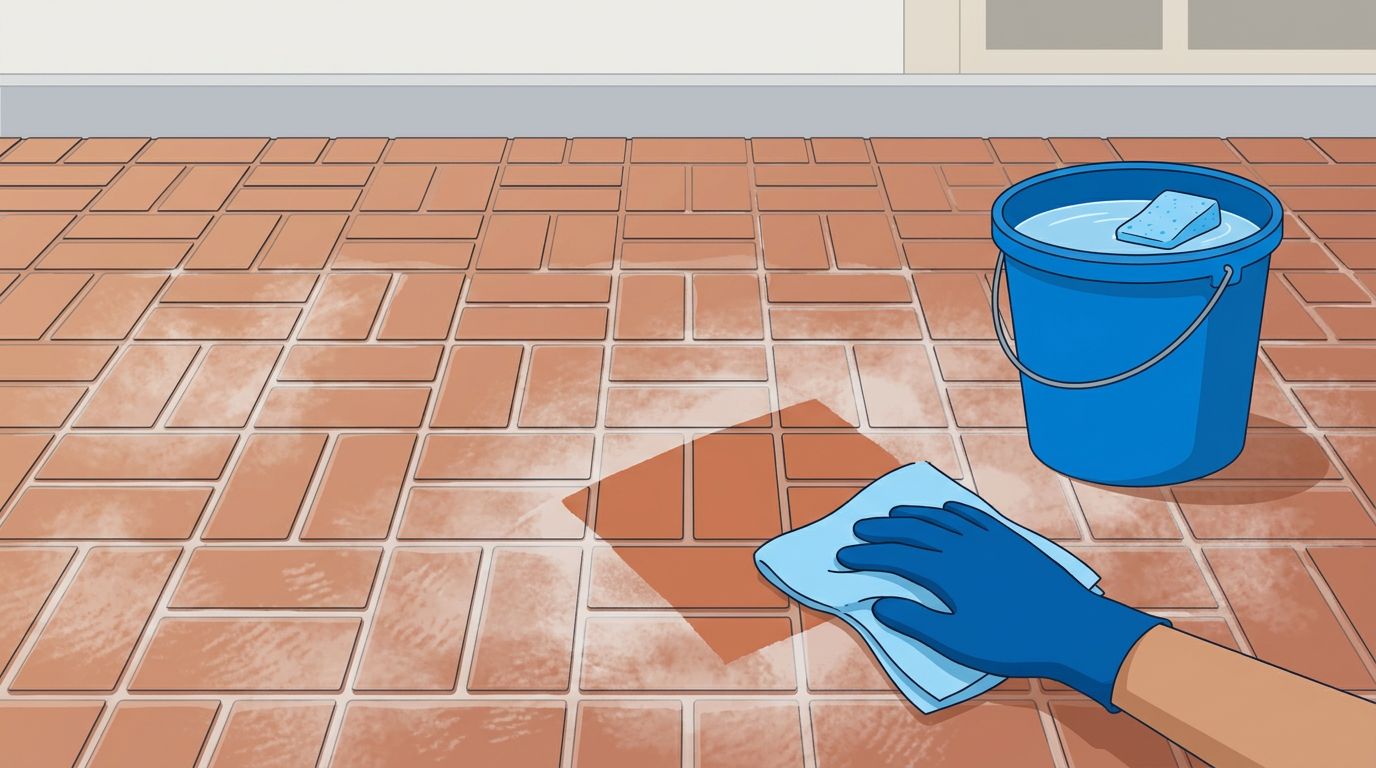
A new patio can look old in one afternoon when dried grout leaves a cloudy film after tile installation. For safe cleaning, identify the residue first, then use the least aggressive method for the surface.
Grout haze is leftover cement or epoxy binder that dries after grouting and wiping. This grout residue can form a milky white film, gray coating, or yellow tint, then settle into porous brick texture. I check the film’s age before reaching for chemical cleaners.
The cleaning order matters because grout haze can cling tightly to newly installed pavers.
Key Takeaways
- Identify the residue and surface before cleaning, since cement haze, epoxy haze, sealer, and dirt require different treatments.
- Start with dry cheesecloth, damp microfiber, or a nearly dry sponge, working in small sections with clean rinse water.
- Use diluted vinegar only on approved, fully cured ceramic or porcelain tile; never use acidic cleaners on natural stone such as slate, marble, or travertine.
- Test commercial haze removers in a hidden area first, and choose an epoxy-specific product when vinegar does not affect the residue.
- Avoid wire brushes, metal scrapers, excessive pressure, heat, and sealing until the pavers are clean and completely dry.
What Grout Haze Is and Why It Forms
Grout haze forms when a thin layer of grout residue remains on the tile surface after installation. Grout fills the grout joints, but some material stays on nearby tile or pavers. A damp sponge removes much of it, but dirty rinse water can spread a thin film over a larger area. When the water evaporates, the binder dries into a dull coating.
Brick pavers make this problem harder because their textured, porous face holds residue in small recesses. Ordinary soap may remove dirt without breaking down the cement film. If the film disappears while wet and returns as the surface dries, let the area dry completely before deciding what you’re dealing with.
Don’t scrub fresh grout haze immediately. Follow the manufacturer’s cure instructions, and avoid acidic cleansers while the grout is still curing. Once the manufacturer permits light cleanup, use a dry cheesecloth to lift loose powder without aggressive scrubbing. Light cleanup often starts around 24 hours after grouting, while fresh grout haze is easier to remove during the first 24 to 72 hours. Tile installation cleaning guidance also recommends early removal before the residue hardens.
Check the Surface Before Cleaning
Before I clean, I identify what material lies beneath the grout haze and how durable the tile surface is. A product that works on porcelain can etch marble, slate, or another vulnerable material. The grout type matters too, especially when the residue may be epoxy.
Match the cleaner to the material
| Surface | Safe starting point | Avoid |
|---|---|---|
| Ceramic tile | Soft cloth and water, then diluted vinegar after the grout cures | Metal tools and acid before curing |
| Porcelain tile | Water and a soft nylon pad, then diluted vinegar after the grout cures | Metal tools and acid before curing |
| Brick pavers | Water, nylon agitation, then a labeled masonry haze remover | Wire brushes and narrow high pressure |
| Natural stone (slate tiles) | pH-neutral stone cleaner | Acidic cleaners, including white vinegar |
| Epoxy grout on glazed tile | Epoxy haze remover and a white nylon pad | Cement haze acid and metal scrapers |
The tile care and maintenance guide explains why acidic cement-haze products can damage vulnerable surfaces. Porcelain and ceramic are more tolerant, but the grout must be cured and the product label must match the job.
Test a small, hidden area
I test behind a step, along an edge, or on a spare paver. Apply the cleaning product for the stated dwell time, agitate lightly, rinse, and let the spot dry. Check how the grout haze responds, including any color change, roughness, lighter patch, or sealer loss.
Safe Grout Haze Removal Methods
Start with hand cleaning. Stronger products and pressure can wait until gentle steps fail.
Start with dry and damp cleaning
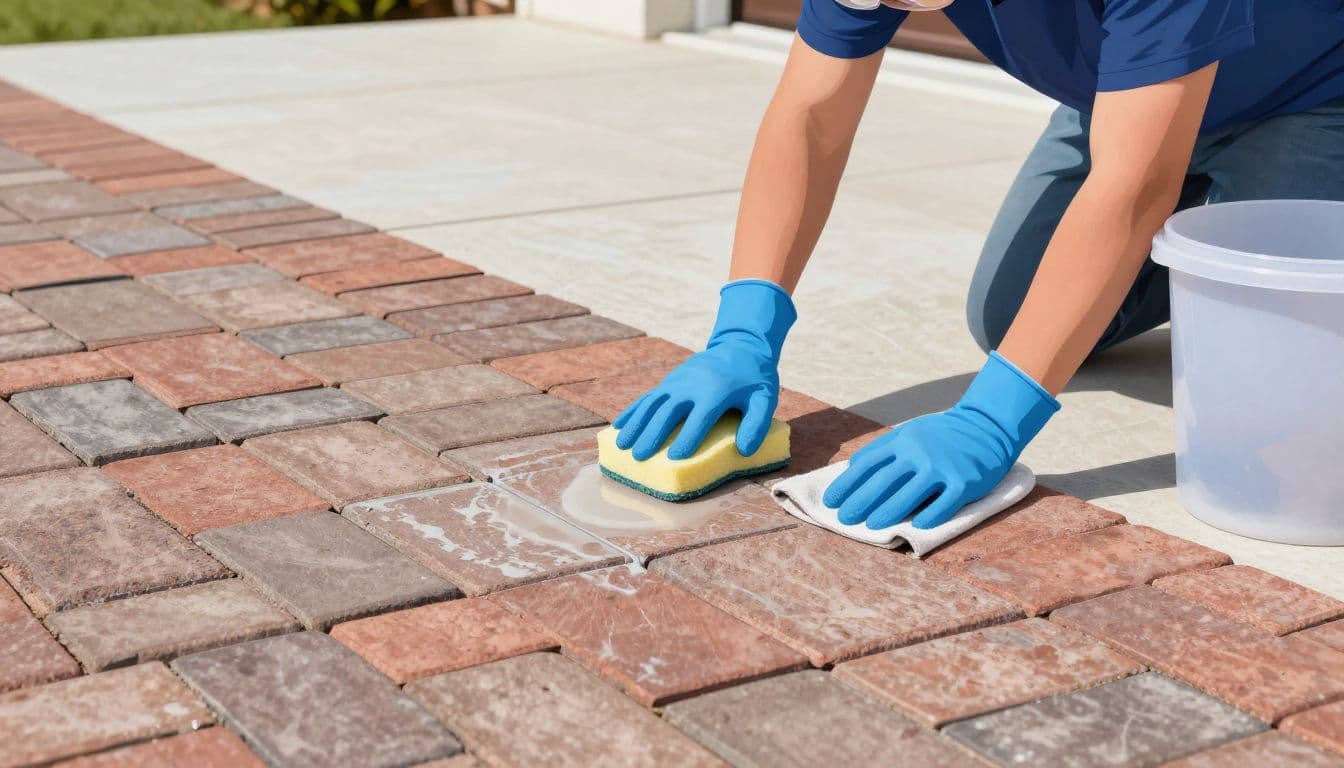
For grout haze less than a day old, rub the tile surface with dry cheesecloth or a clean microfiber cloth. Use light pressure to remove loose powder before adding water. Next, use a folded damp sponge. Rinse it often, wring it nearly dry, and wipe in straight lines instead of circles.
Work in small sections, changing the rinse water when it turns cloudy. Use a separate towel to collect grout residue. If the grout haze returns after drying, repeat the damp wipe instead of adding extra elbow grease. Circular wiping and dirty water can spread that residue back over the pavers, leaving the same milky white film behind.
Use a mild acid rinse only on approved tile
For cured cement haze on ceramic tile or porcelain tile, I may start with a diluted vinegar mixture made with white vinegar, following a tile-safe product’s directions. I always test it first on an approved, cured surface. Keep the solution away from surrounding joints when possible, scrub with a soft nylon pad, and rinse thoroughly with warm water.
I don’t use vinegar on natural stone, including marble, limestone, travertine, slate, or unknown stone. Acid can dull, etch, or roughen these surfaces. Porcelain tile haze removal guidance recommends testing gentle methods before stronger cleaning.
Handle Stubborn Epoxy Grout Haze Carefully
Old residue isn’t always a sign that you need more force. It may be epoxy, cured sealer, or grout packed into the paver texture. Stop if the grout haze doesn’t respond, or if the surface begins to scratch, fade, or shed joint sand.
Look for signs of epoxy
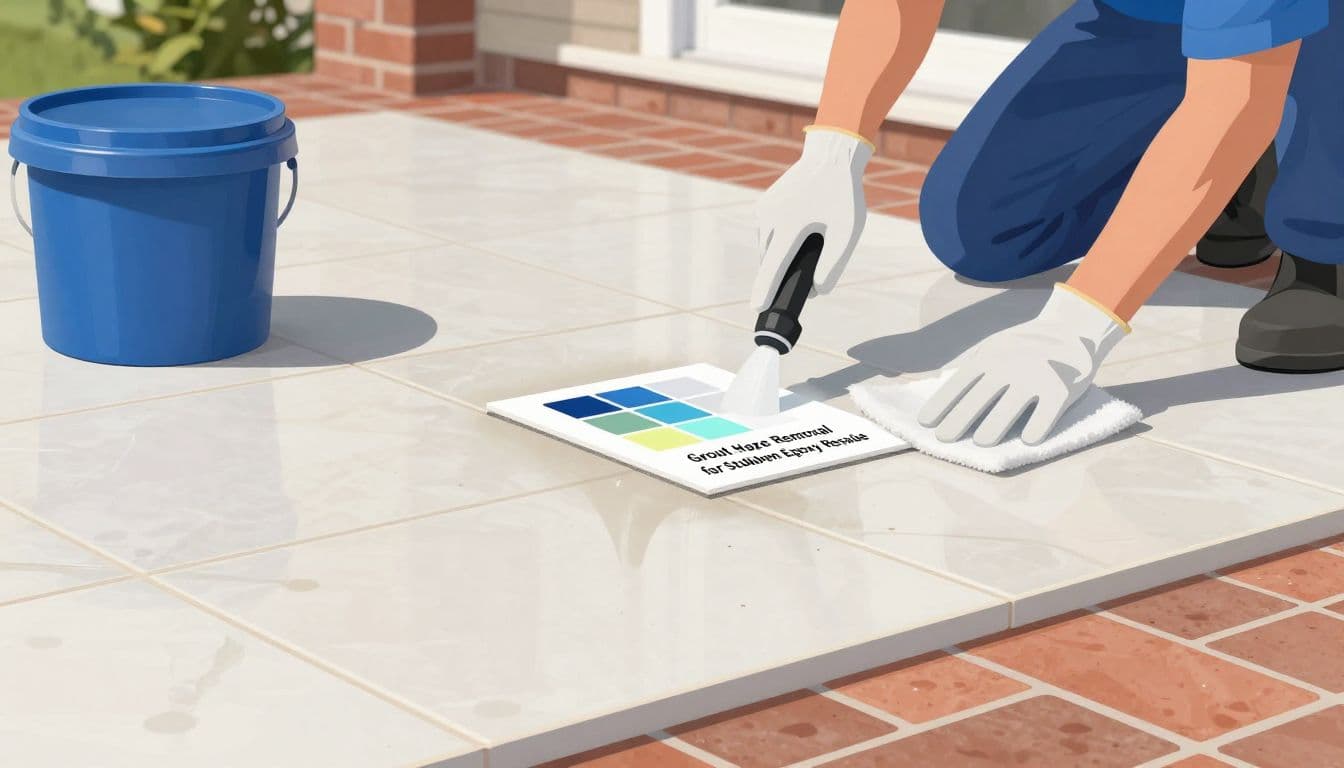
Epoxy grout haze often feels slightly plastic or greasy instead of chalky. It can resist white vinegar and remain in patches around tile edges or low spots. Cement haze usually softens with a tile-safe acidic cleaner after curing.
If vinegar does nothing, don’t keep applying more or scrub harder. Recheck the grout packaging or ask the installer what product was used.
Choose a labeled commercial remover
For tough cement haze, a commercial product such as Bostik Blaze or a sulfamic acid cleaner may be appropriate when the label approves the pavers and grout. Use gloves, eye protection, ventilation, controlled dwell time, and a full rinse. Never mix an acidic cleaner with bleach or another chemical.
Epoxy requires a remover made for epoxy grout residue, not a stronger cement haze acid. Apply it to the test patch, then use a white nylon pad or plastic scraper to remove the softened material without digging into the brick.
If haze is older than about 10 days, covers a large area, or remains after two careful treatments, repeated applications can cause more damage than the residue itself.
Avoid Damage During the Final Cleanup
Keep pressure and brushes controlled
Pressure washing can rinse loosened grout haze from a broad paver area, but it shouldn’t be the first tool for hardened buildup. A narrow tip held too close can etch the brick, strip sealer, and remove sand from grout joints. I prefer a wide spray pattern, a surface cleaner on flat areas, and a moving rinse that doesn’t cut into the joints.
Before rinsing, use a dry cheesecloth to collect loose powder with minimal pressure. This gentle step doesn’t replace the controlled methods used earlier.
Use a soft or medium nylon brush. Wire brushes and metal scrapers can scratch the brick face. Don’t use a torch, heat gun, boiling water, or concentrated detergent to speed up the job. Heat can crack or discolor pavers.
Protect nearby surfaces
Cover nearby plants and keep children and pets away while chemical cleaners are in use. A roof cleaning chemical or soft wash mix is designed for algae and organic growth, not cured residue. It may not be approved for brick, tile, or the specific masonry, so check the label first.
After rinsing, let the area dry completely. If grout haze remains, residue may have entered the porous paver or the sealer may be affected. Don’t seal over it. Driveway sealing belongs after cleaning, repairs, and complete drying. This can support future stain resistance without trapping discoloration.
When Professional Help Is the Better Choice
Professional help makes sense when grout haze covers a driveway, a test patch fails, or the material is uncertain. This is especially important beside natural stone, pool coping, landscaping, or delicate joints. Before using a chemical product, confirm the grout type with the installer or an installation professional.
At Kingsway Paver Sealing & Pressure Cleaning, I handle brick and travertine paver cleaning, stone restoration, sanding, sealing, and re-leveling in Fort Myers, Naples, Bonita Springs, Port Charlotte, Sanibel Island, and nearby areas. If you want the surface assessed before using a chemical, Get a Quote for professional advice.
Frequently Asked Questions
How soon can grout haze be removed after grouting?
Fresh grout haze is often easier to remove during the first 24 to 72 hours, but you should follow the grout manufacturer’s cure instructions. Once light cleanup is permitted, start with dry cheesecloth or a damp sponge and avoid aggressive scrubbing.
Can I use vinegar to remove grout haze from brick pavers?
Vinegar may be suitable for cured cement haze on approved ceramic or porcelain surfaces, but brick pavers require a product specifically labeled for masonry. Always test a hidden area first, and do not use vinegar on natural stone.
How can I tell whether grout haze is epoxy?
Epoxy haze may feel slightly plastic or greasy, resist white vinegar, and remain in patches near tile edges or low spots. Check the grout packaging or ask the installer before choosing an epoxy haze remover.
Can pressure washing remove grout haze from pavers?
Pressure washing can rinse away loosened residue, but it should not be the first method for hardened grout haze. Use a wide spray pattern, keep the nozzle moving, and avoid cutting into the brick or removing sand from the joints.
Should I seal the pavers after removing grout haze?
Let the pavers dry completely and confirm that all residue is gone before sealing. Sealing over remaining haze or discoloration can trap the problem and make future correction more difficult.
Conclusion
Grout haze removal is safest when you start early, test first, and match the cleaner to the tile and grout. Use gentle hand cleaning for fresh residue, specialized products for stubborn epoxy, and controlled equipment only when the surface can handle it.
Let the pavers dry fully before judging the result, and never seal over a remaining stain or film. Careful inspection and the right cleaning method protect the brick, joint sand, sealer, and finished appearance.
