

A vacation home can look perfect when you leave, then look neglected a few months later. Leaves, rain, weeds, algae, and shifting sand don’t wait for the next owner visit.
Vacation home paver maintenance keeps outdoor pavers in good shape between visits and prevents small problems from becoming expensive restoration work. I recommend a preventive vacation home paver maintenance plan for outdoor hardscape surfaces, including your driveway, patio, walkway, lanai, and pool deck. Occasional remote checks can help you spot trouble while you’re away.
Routine upkeep protects your curb appeal and helps you catch drainage issues or paver movement early, before they spread.
Key Takeaways
- Inspect vacation home pavers every 30 to 60 days, especially during Southwest Florida’s rainy season and after major storms.
- Remove organic debris, algae, stains, and weeds promptly using gentle, paver-safe cleaning methods.
- Monitor joint sand, paver movement, edge restraints, low spots, and drainage to catch structural problems early.
- Before sealing pavers, complete cleaning, stain removal, repairs, joint-sand replacement, and thorough drying.
- Use a clear property-manager checklist, date-stamped photos, and a repair record to manage maintenance remotely.
Why Empty Homes Need Extra Paver Care
Occupied homes get noticed. Someone sees the wet spot by the walkway, sweeps palm debris off the patio, or pulls a weed before it grows through the joint sand.
A vacant property doesn’t get that attention. In Southwest Florida, afternoon storms, high humidity, salt air, and strong sun can change the look of hardscape surfaces quickly.
Organic debris causes more than a messy appearance
Organic debris, including palm berries, wet leaves, pine needles, and mulch, can discolor concrete pavers and brick pavers when it remains wet. When debris sits in one place after rain, it holds moisture against the surface.
That moisture encourages moss and algae. It can also leave dark marks that become harder to remove after weeks of sun and rain.
I tell homeowners to pay close attention to shaded areas near lanais, gutters, planters, and screened pool enclosures. Those are usually the first places where green growth starts.
Small paver problems can spread
A little lost joint sand may not look serious. As more material disappears, weed growth can take hold, pavers can start rocking, and water intrusion can increase.
Standing water is another warning sign. If water collects in the same low spot after every storm, the drainage patterns may point to a problem below the surface. Cleaning alone won’t correct a washed-out base or a drainage problem.
If you’re managing the property remotely, ask the property manager or a neighbor to photograph the same shaded areas, joints, edges, and low spots after major storms. This lets you compare changes remotely before small issues become larger repairs.
A clean paver surface can still have a structural problem underneath. Check the joints, edges, paver movement, trip hazards, and water flow before calling the job finished.
Build a Vacation Home Paver Maintenance Plan
A good paver patio maintenance plan doesn’t need to be complicated. It needs to continue even when you’re out of town.
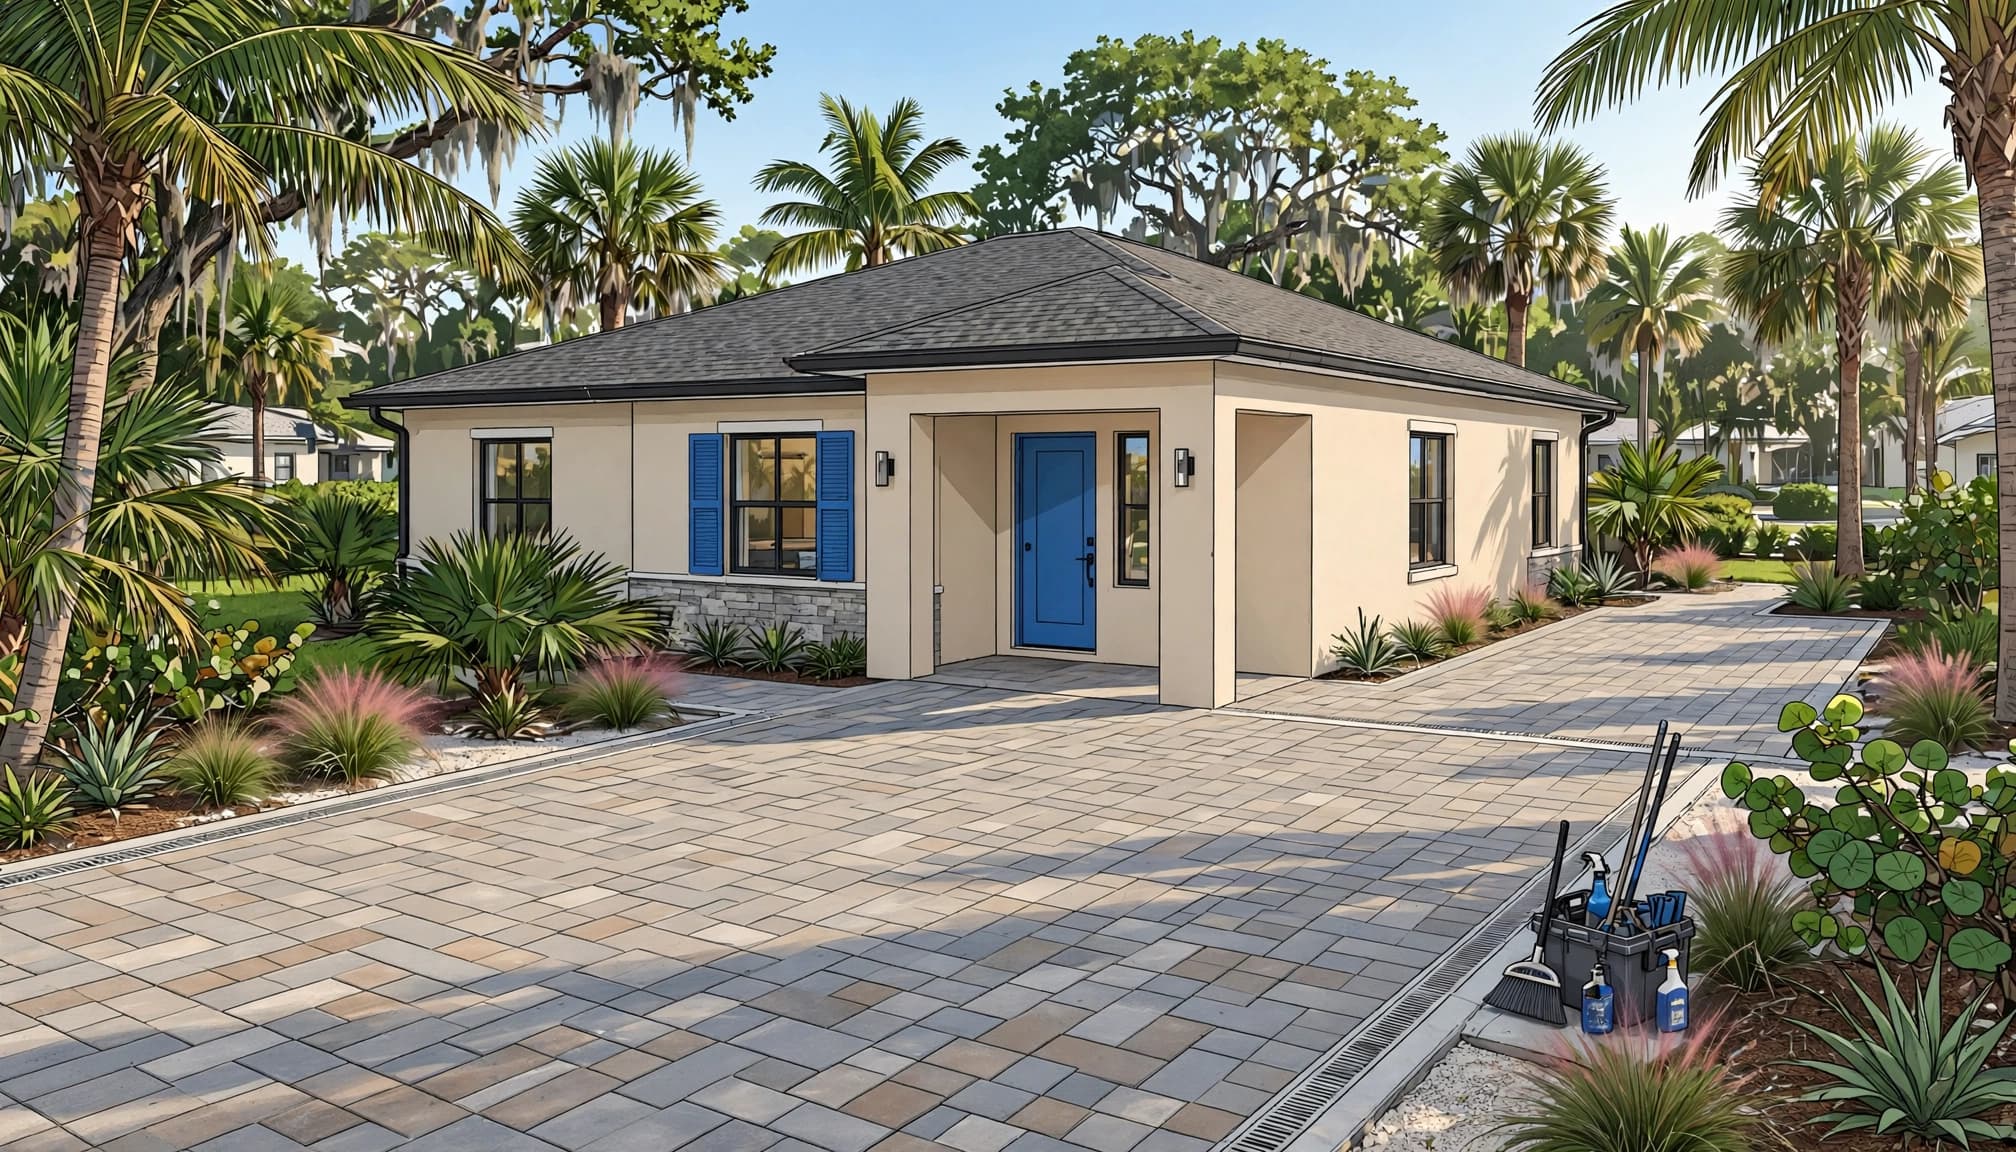
I recommend arranging a property check every 30 to 60 days during the rainy season. Seasonal maintenance may require more frequent visits for homes surrounded by mature trees.
Give your property manager a clear list
Don’t leave a vague request like “check the patio.” Give your property manager, neighbor, or maintenance company a clear checklist for routine upkeep.
- Sweep leaves, palm fronds, mulch, and organic debris from paver areas.
- Look for weed growth, moss, algae, black spots, and fresh stains between or on the pavers.
- Confirm drains, downspouts, and gutter outlets are clear, with no water spilling onto the pavers.
- Take date-stamped wide photos of each paver surface and close-ups of any concern.
- Record a short video of low spots after rain, especially where water collects or drains slowly.
- Immediately notify the owner when a paver rocks, sinks, shifts, or creates a trip hazard.
- Check for washed-out joint sand and visible edge restraints before any repair is attempted.
Date-stamped photos and videos are helpful between visits. Label wide photos and close-ups with the date and location, so you can track changes after storms.
Keep a simple repair record
Every vacation property should have a basic paver record. Include the property address, paver material, prior sealing date, last inspection date, known repair areas, storm-related observations, and photos.
For each repair, record the paver’s location, source, reason for replacement, suspected cause, and whether a local professional was contacted. Matching an older paver months later can be difficult, especially when the original color has weathered in the Florida sun.
Clean Pavers Gently Between Visits
Regular cleaning is the easiest part of paver patio maintenance. Start with the least-aggressive method first to protect pavers and limit unnecessary wear.
A blower, soft broom, garden hose, and paver-safe cleaner handle many routine problems. Where the manufacturer permits it, use a stiff bristle brush for targeted cleaning, not wire brushes, torches, or overly abrasive tools.
Use pressure washing with control
A pressure washer can remove loose dirt, algae residue, and stubborn surface buildup. Used improperly, it can remove sealer, blow out joint sand, cut visible lines, and expose the paver face, causing surface damage.
Use a pressure washer with a wide spray pattern, appropriate pressure, steady passes, and sufficient distance from the surface. Avoid narrow tips and close passes. Flat areas often clean more evenly with the right surface cleaner.
Unilock’s paver cleaning guidance also recommends using a low setting when rinsing. The goal is to loosen and remove residue, not blast the paver face apart.
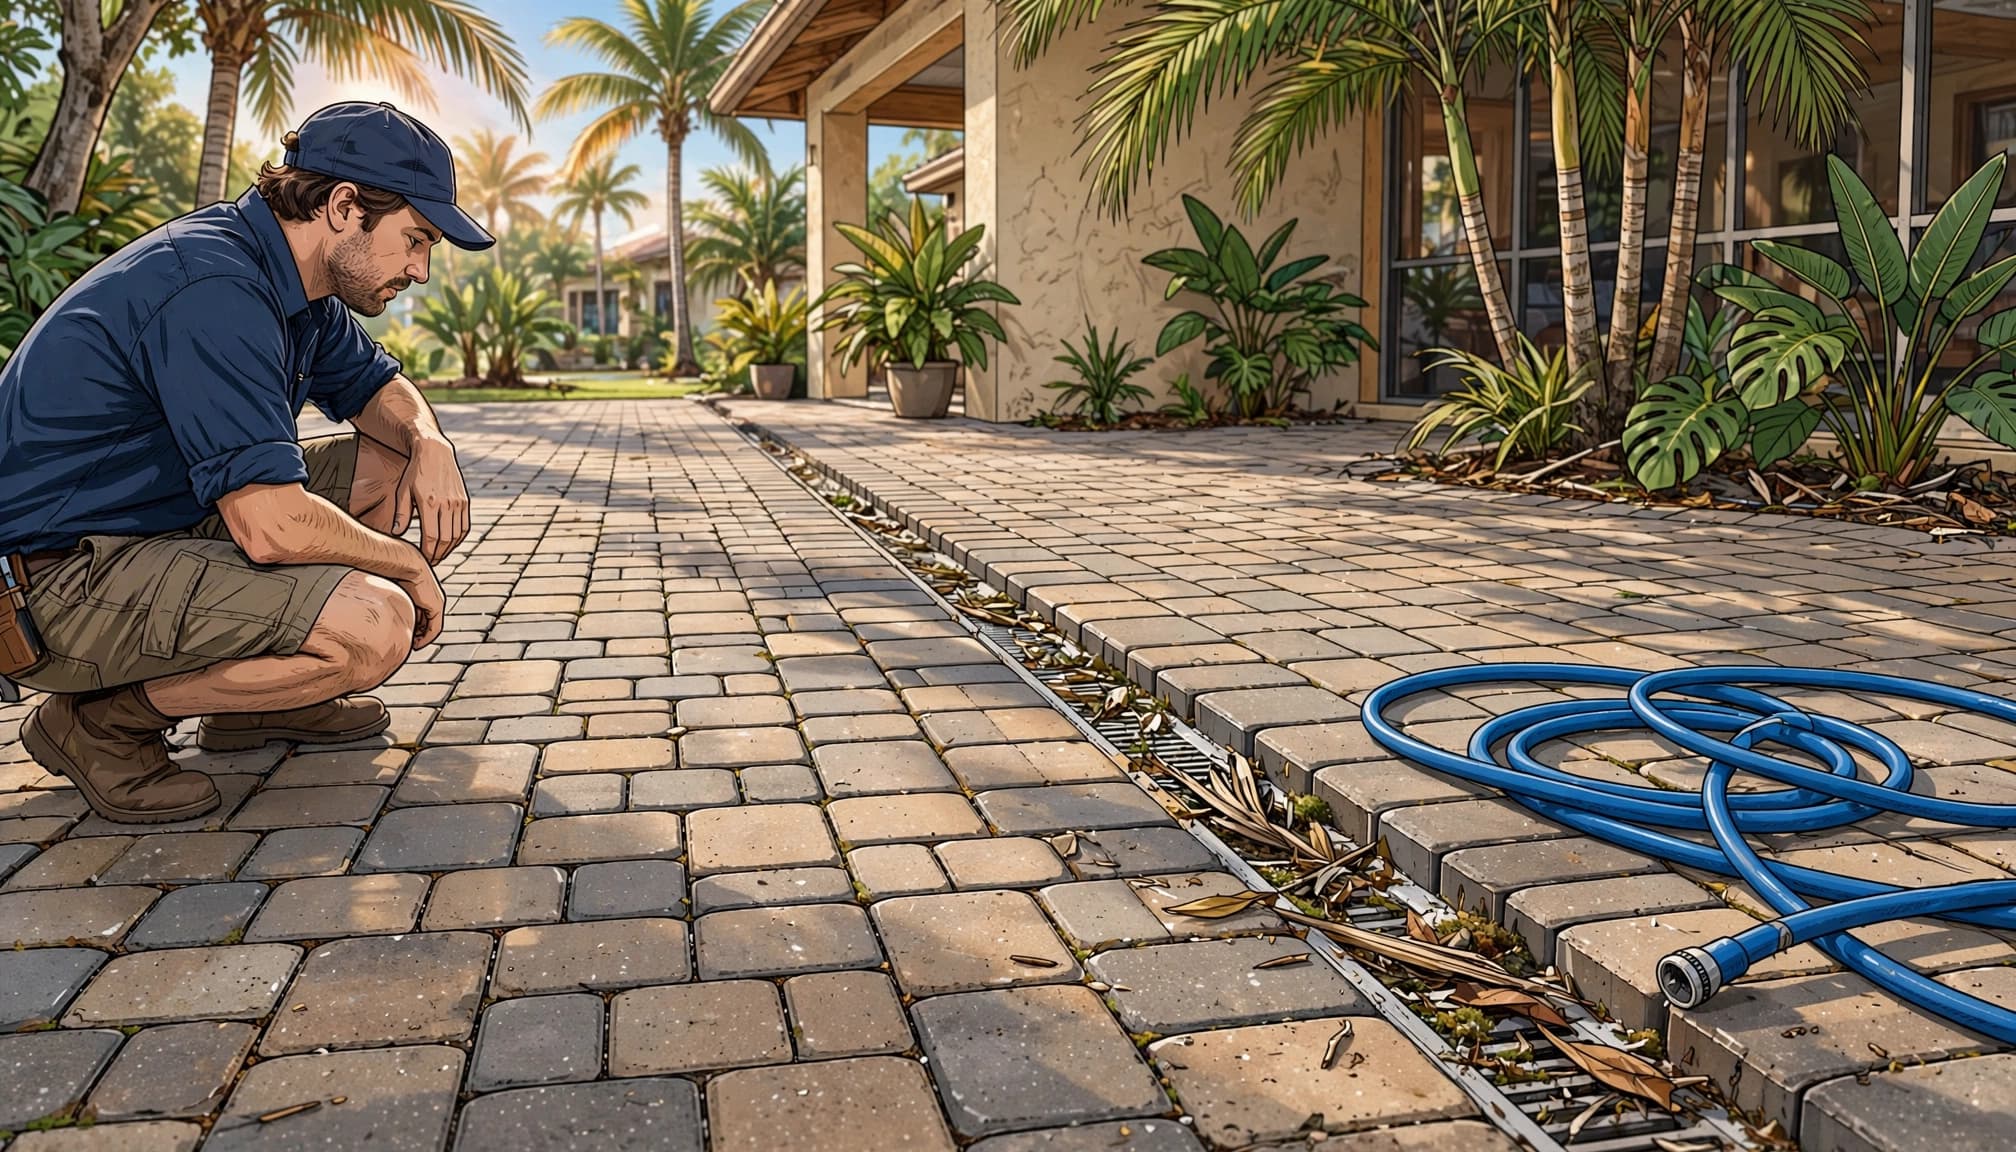
Treat algae before it becomes a slippery surface
Green algae and black organic growth are common around pool decks, shaded walkways, gutters, and lanai edges. Treat these areas promptly because they can become slippery and create a trip hazard when pavers are uneven.
A proper soft wash can treat organic growth on surfaces that shouldn’t receive heavy force. Inspect and correct overflowing gutters and downspouts, which can keep nearby pavers wet every day.
Rinse cleaning products thoroughly. Don’t let paver-safe cleaners dry on pavers, plants, windows, or pool equipment. When in doubt, test a small out-of-the-way area first.
Protect Joint Sand and Paver Stability
The joints between pavers aren’t empty gaps. Joint sand helps lock interlocking pavers together and distribute pressure across the surface.
When joint sand disappears, pavers have more room to move. That movement can lead to uneven walking surfaces, open joints, weed growth, and water entering the base.
Polymeric sand and regular joint sand are different
Regular sand fills joints, but it can wash out more easily during heavy rain or strong cleaning. Polymeric sand includes binding additives that harden after proper installation and watering.
Unilock’s polymeric sand overview explains that the material can help reduce weed growth and washout when installed correctly. It can’t correct a poor base, failed edge restraint, or recurring drainage problem.
For remote checks, ask the property manager to photograph open joints and visible edge restraints after heavy rain. Don’t simply sweep new material over a sinking or rocking area.
It must be installed on a clean, dry surface and worked fully into the joints. Leftover dust should be removed before activation. Careless installation can leave a hazy residue on the paver face.
Watch for drainage and base failure
Inspect low spots after a strong rain. Water should move away from the house and shouldn’t sit on a driveway, patio, or walkway for long periods.
Shifting pavers, recurring low spots, and washed-out base material can point to a deeper issue. On walkways or pool-deck approaches, these problems can also create trip hazards.
A local paver professional can assess rocking pavers or a section that sinks repeatedly. Call one when water remains after storms or an edge restraint is failing.
The repair may require lifting pavers, correcting the base, restoring drainage, then reinstalling the surface.
I don’t recommend adding sand over a problem area and hoping it stays put. The visible gap is often only part of the problem.
Remove Stains Before They Set
Vacation properties can collect stains without anyone noticing, so prompt stain removal helps limit long-term discoloration.
A leaking vehicle can leave oil and grease marks, while rusting metal patio furniture or irrigation overspray can create rust stains. Fertilizer spills and palm berries may also discolor pavers after months of exposure.
Always identify the stain before choosing a cleaner. A property manager should photograph stains before applying chemicals.
Concrete pavers are porous, so check cleaner compatibility before use. The wrong product can spread the stain or harm nearby natural stone.
Oil and grease need patience
For fresh stains, absorb as much liquid as possible first. Avoid rubbing the stain across nearby pavers.
Use a paver-safe oil extractor or degreaser according to the product directions. Let the treatment work, then rinse gently. Deep stains may require more than one application because oil can move into the pores below the surface.
Never use a wire brush, torch, or harsh acid to force a quick result. The wrong cleaner, acid, or abrasive method can cause surface damage. It may scratch, pit, fade, or permanently change the paver face.
Efflorescence is not the same as dirt
A white, chalky film on pavers is often efflorescence. It happens when moisture moves naturally occurring salts to the surface, then the water evaporates.
It can appear on newer installations and after periods of rain. It may recur while moisture remains in the system.
Unilock’s efflorescence removal information recommends beginning with mild detergent and water for light surface residue before moving to a suitable remover. For compatible residue, use a stiff bristle brush with gentle pressure.
Have a local professional evaluate persistent discoloration, deep oil penetration, or unknown chemical stains.
Don’t seal over efflorescence, an oil stain, or any remaining cleaning residue. Sealer can trap the discoloration and make later restoration more difficult.
Prepare Pavers Before Leaving for the Season
The best time to care for vacation-home pavers is before the house sits empty. Add seasonal maintenance to the departure checklist. A clean, dry, stable surface is easier to protect than a neglected one.
Schedule a walk-through before a long summer absence or before returning north for the season.
Clear water paths around the home
Before leaving: Check downspouts, splash blocks, gutters, drains, and landscape borders. Water shouldn’t pour directly onto a paver driveway or pool deck.
Place a moisture or leak sensor near vulnerable downspouts when possible. Ask your property manager to check alerts and confirm drains are open before you leave.
Trim back plants that drop heavy debris on the patio. Move rusting metal furniture, or ask the manager to photograph rust stains before departure. If you use outdoor rugs, roll them up before leaving. Rugs can trap moisture and create uneven discoloration beneath them.
Belgard’s hardscape care guide also recommends routine seasonal cleaning and checking paver areas before applying a sealant.
After a major storm: Ask your property manager to inspect the property promptly. Set a storm-triggered inspection rule and require photos of standing water, displaced pavers, debris piles, and trip hazards.
Have the manager confirm gutters, drains, and downspouts remain open after each storm. Check low spots, washed-out joints, branches, mud, and other storm debris before they create larger problems.
If a storm causes shifting, settlement, drainage failure, or an unsafe walking surface, contact a local paver professional. Don’t wait until your next visit.
Cooler-month checklist: For properties left empty during cooler months, winter care includes keeping drains clear and arranging periodic inspections. Review the property before temperatures drop, especially where water may collect.
Conditional cold-climate note: For freeze-prone vacation properties outside Southwest Florida, winter care requires these precautions. Confirm de-icing products are compatible with the pavers before use. Keep de-icing products off paver surfaces. Don’t pile de-icing products near drains. Store de-icing products securely. After thawing, inspect for residue from de-icing products. These instructions aren’t for routine Florida paver care.
Don’t forget Florida’s wet season
In Fort Myers, Naples, Bonita Springs, Cape Coral, Sanibel Island, and nearby communities, rain and humidity can create fast buildup. A clean patio in May may look completely different by August.
Schedule spring cleaning before the rainy season to remove pollen, organic buildup, weeds, and drainage blockages. A follow-up spring cleaning check can confirm that low areas still drain properly.
Ask your property manager to inspect after major storms. This is when gutters overflow, joints wash out, and low areas become obvious.
If a storm leaves branches, mud, or standing water behind, get the area checked sooner. Waiting until your next visit can turn a simple cleaning job into a repair.
Know When Sealing Pavers Makes Sense
A protective sealant can reduce water absorption, simplify routine cleaning, improve color, and add stain protection. It should always follow cleaning, repairs, and complete drying.
Sealer isn’t a cover-up for loose pavers, deep stains, or failed joints. I inspect the full area before recommending a sealing service.
Plan for cleaning, sanding, then sealing
The right order matters. First, remove dirt, algae, stains, old failed sealer, and residue. Next, replace missing joint sand and address unstable pavers. Then allow the surface to dry fully before sealing pavers.
Belgard’s advice on sealing pavers also warns against sealing over efflorescence or unresolved surface problems.
Driveway sealing is often a smart choice when a paver driveway has faded, absorbs stains quickly, or has recently been restored. A professional can recommend a sealer that fits the paver material, surface condition, and finish you want.
For out-of-town homeowners, a qualified local paver professional can evaluate recurring stains, failed joints, and rocking or sinking pavers. They can also check drainage problems, visible edge-restraint failure, and trip hazards.
Ask for before-and-after photos, the products used, and the required drying time. Request a maintenance recommendation that your property manager can follow.
Frequently Asked Questions
How often should vacation home pavers be inspected?
Arrange a property check every 30 to 60 days, with more frequent visits during the rainy season or after major storms. Homes surrounded by mature trees may need additional inspections because debris and moisture build up faster.
Can a property manager handle routine paver maintenance?
A property manager can handle sweeping, basic inspections, drain checks, photos, and storm-related reporting. Give them a clear checklist and ask them to report rocking pavers, low spots, washed-out joints, stains, or trip hazards immediately.
Is pressure washing safe for pavers?
Pressure washing can remove dirt and algae, but excessive pressure or a narrow spray tip can damage the paver face, remove sealer, and wash out joint sand. Use a wide spray pattern, steady passes, appropriate pressure, and sufficient distance from the surface.
When should pavers be repaired instead of simply cleaned?
Recurring low spots, standing water, sinking or rocking pavers, washed-out base material, and failing edge restraints require more than cleaning. A local paver professional may need to lift the pavers, correct the base or drainage, and reinstall the surface.
Should vacation home pavers be sealed before leaving for the season?
Sealing can help reduce water absorption, simplify cleaning, and improve stain protection when the pavers are properly prepared. Clean the surface, remove stains, complete repairs, replace missing joint sand, and allow the pavers to dry fully before sealing.
Keep Your Pavers Ready for Every Return
Your vacation home should feel welcoming when you arrive, not like another repair project waiting for you. Regular checks, gentle cleaning, strong joints, and proper drainage keep paver problems under control.
The strongest vacation home paver maintenance plan catches trouble early through drainage checks, gentle cleaning, and stable joints. Schedule local professional help for trip hazards or recurring drainage or shifting problems.
A clean, stable driveway, patio, walkway, lanai, or pool deck protects your investment and lets you return to a property that’s ready to use.
