
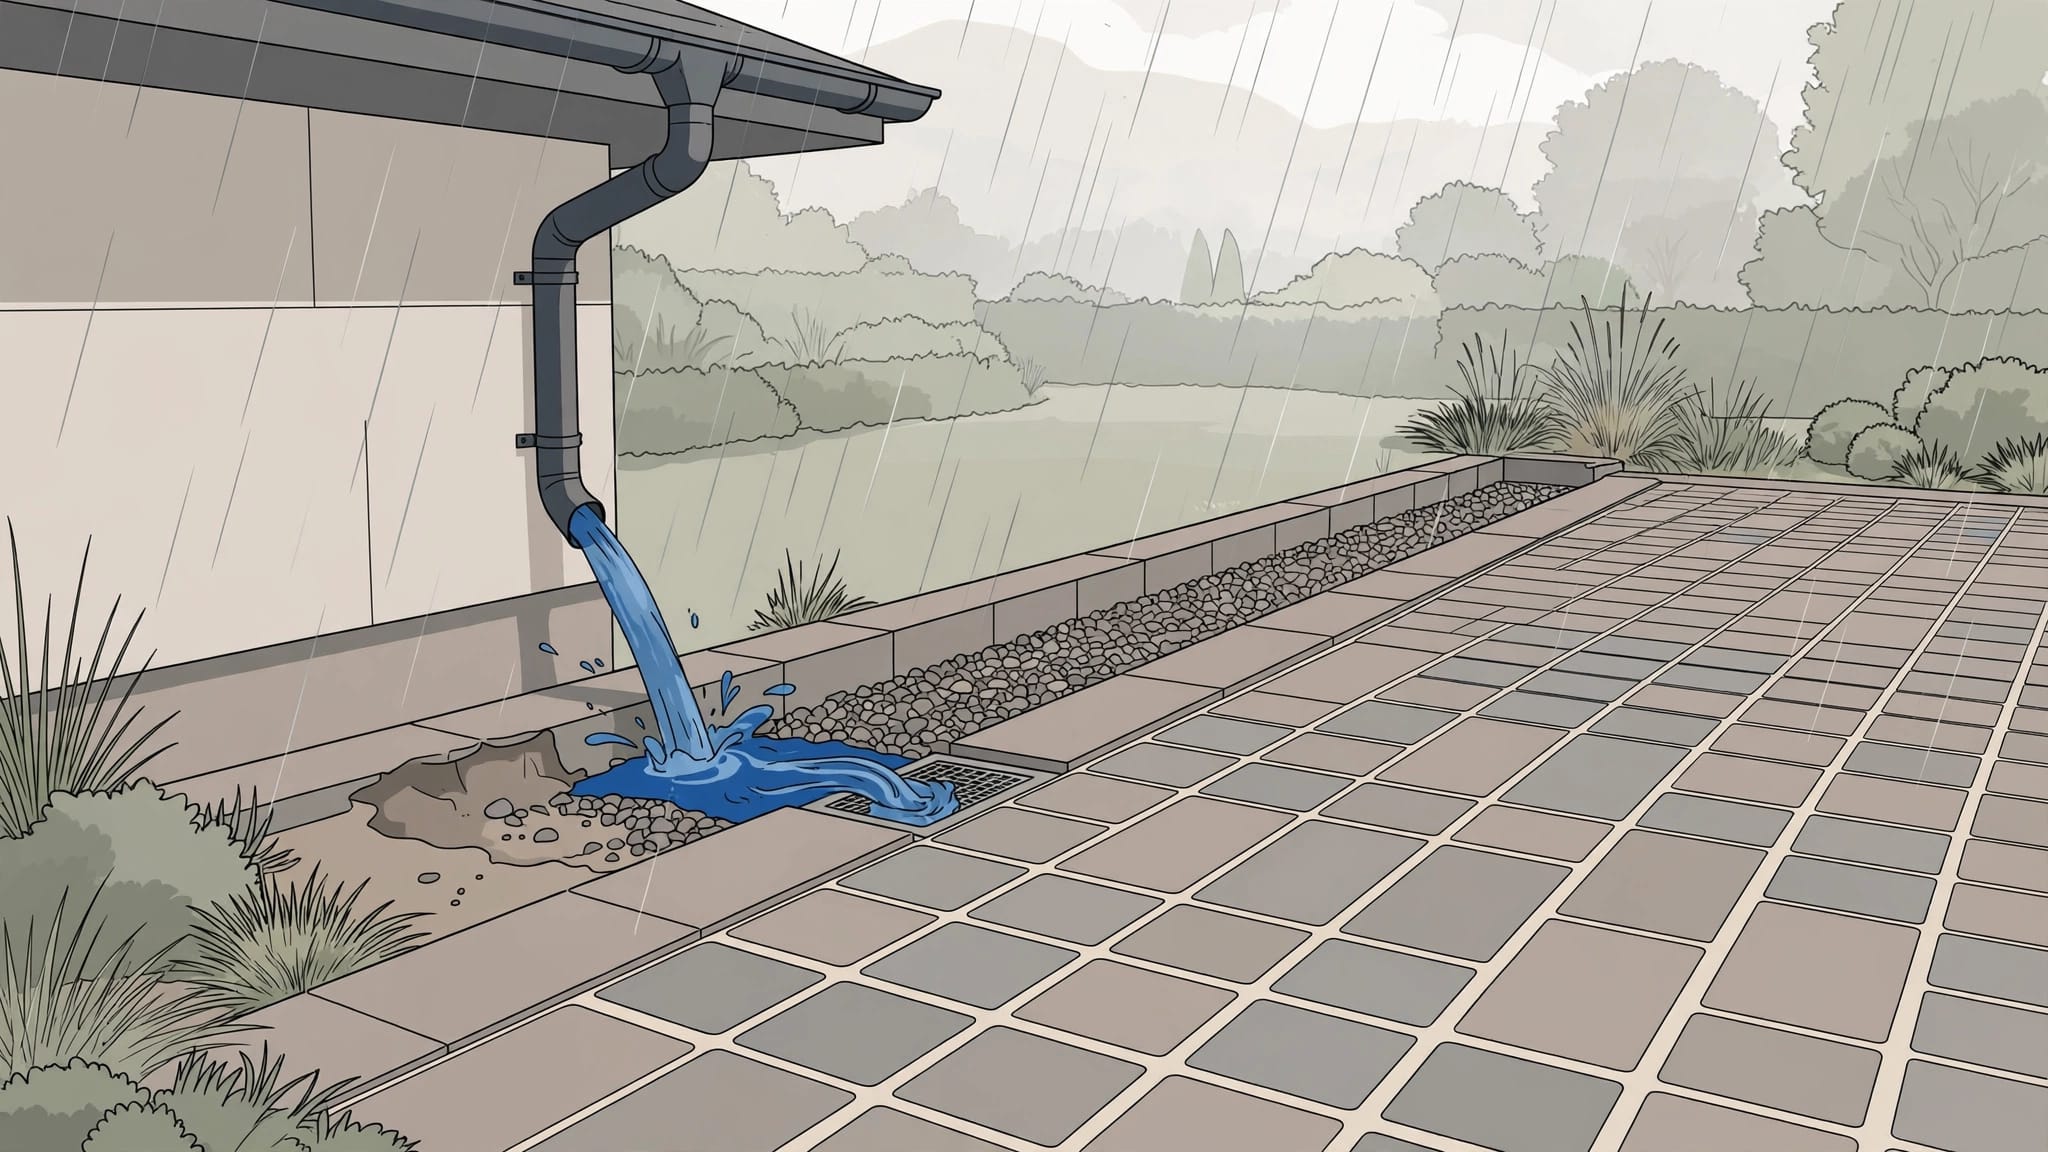
A clean paver driveway can start failing at one small wet corner. This erosion moves soil, joint sand, and base material beside the driveway, then heavy rain makes the washout obvious.
I see this often near garage entrances, roof valleys, and driveway edges, where gutter downspouts can direct roof discharge toward the driveway. The pavers may look fine at first, but shallow joints, puddles, and loose blocks tell a different story. The right fix is to control where stormwater runoff goes before it reaches your driveway.
How Runoff Damages Paver Driveways
Concentrated stormwater runoff causes problems when roof water hits the same spot during every storm. It doesn’t take long to cut a path through bare soil or mulch beside the driveway.
Once soil erosion removes the ground, the paver edge can lose support. Water may then move under the pavers, soften the bedding sand, and weaken the compacted base below.
Look for early warning signs
Walk the driveway after a hard rain, once it is safe. Pay close attention to areas below gutters, downspouts, roof valleys, and sloped landscape beds.
Watch for these signs:
- Joint sand looks lower or keeps disappearing in the same area.
- Pavers rock underfoot or sink along the outer edge.
- Soil, mulch, or small stones wash onto the driveway.
- Water stands near foundation walls, garage doors, or driveway borders.
- Dark runoff stains or white efflorescence return after cleaning.
Recurring movement or settlement is a sign of water damage, not just a surface problem. The material below the pavers may already be soft, missing, or washed out.
Don’t cover up a drainage problem
Adding sand to a low joint may make it look better for a few weeks. It won’t hold if poor grading lets roof water keep entering the base.
Driveway sealing can protect the visible paver surface and make future cleaning easier. It cannot correct drainage problems, repair a washed-out base, or stop water from flowing toward the house.
If the same paver edge keeps losing sand, the water path needs attention before any sealing or joint repair.
Start at the Gutter and Grade
The fastest way to find the cause is to trace stormwater runoff from the roofline to the driveway. Follow each roof area, gutter, and outlet to see where water lands.
Inspect gutter downspouts for clogs, overflow, and disconnected outlets. A small roof valley can also send a surprising amount of water to one spot. Rain barrels can reduce roof discharge, but their overflow still needs a safe route away from the pavers.
Keep roof water off the driveway edge
Gutters need regular cleaning, especially before the rainy season. Leaves, roof grit, and organic debris can force water over the gutter edge and create a new erosion path.
Inspect the ground along the drip line below the eaves. Look for bare soil, shallow channels, or pooling that shows where roof water reaches the driveway edge.
Check where the yard sends water
Your driveway, lawn, planting beds, and foundation should work together. Poor grading can direct water toward the driveway, while soil piled high along the paver border can push runoff across the surface.
The PNNL guidance on site grading, swales, and drains explains how grading and drainage features help reduce ponding and foundation saturation. If water remains beside foundation walls after normal rain, correct that path before adding decorative stone.
Use Simple Fixes for Downspout Erosion First
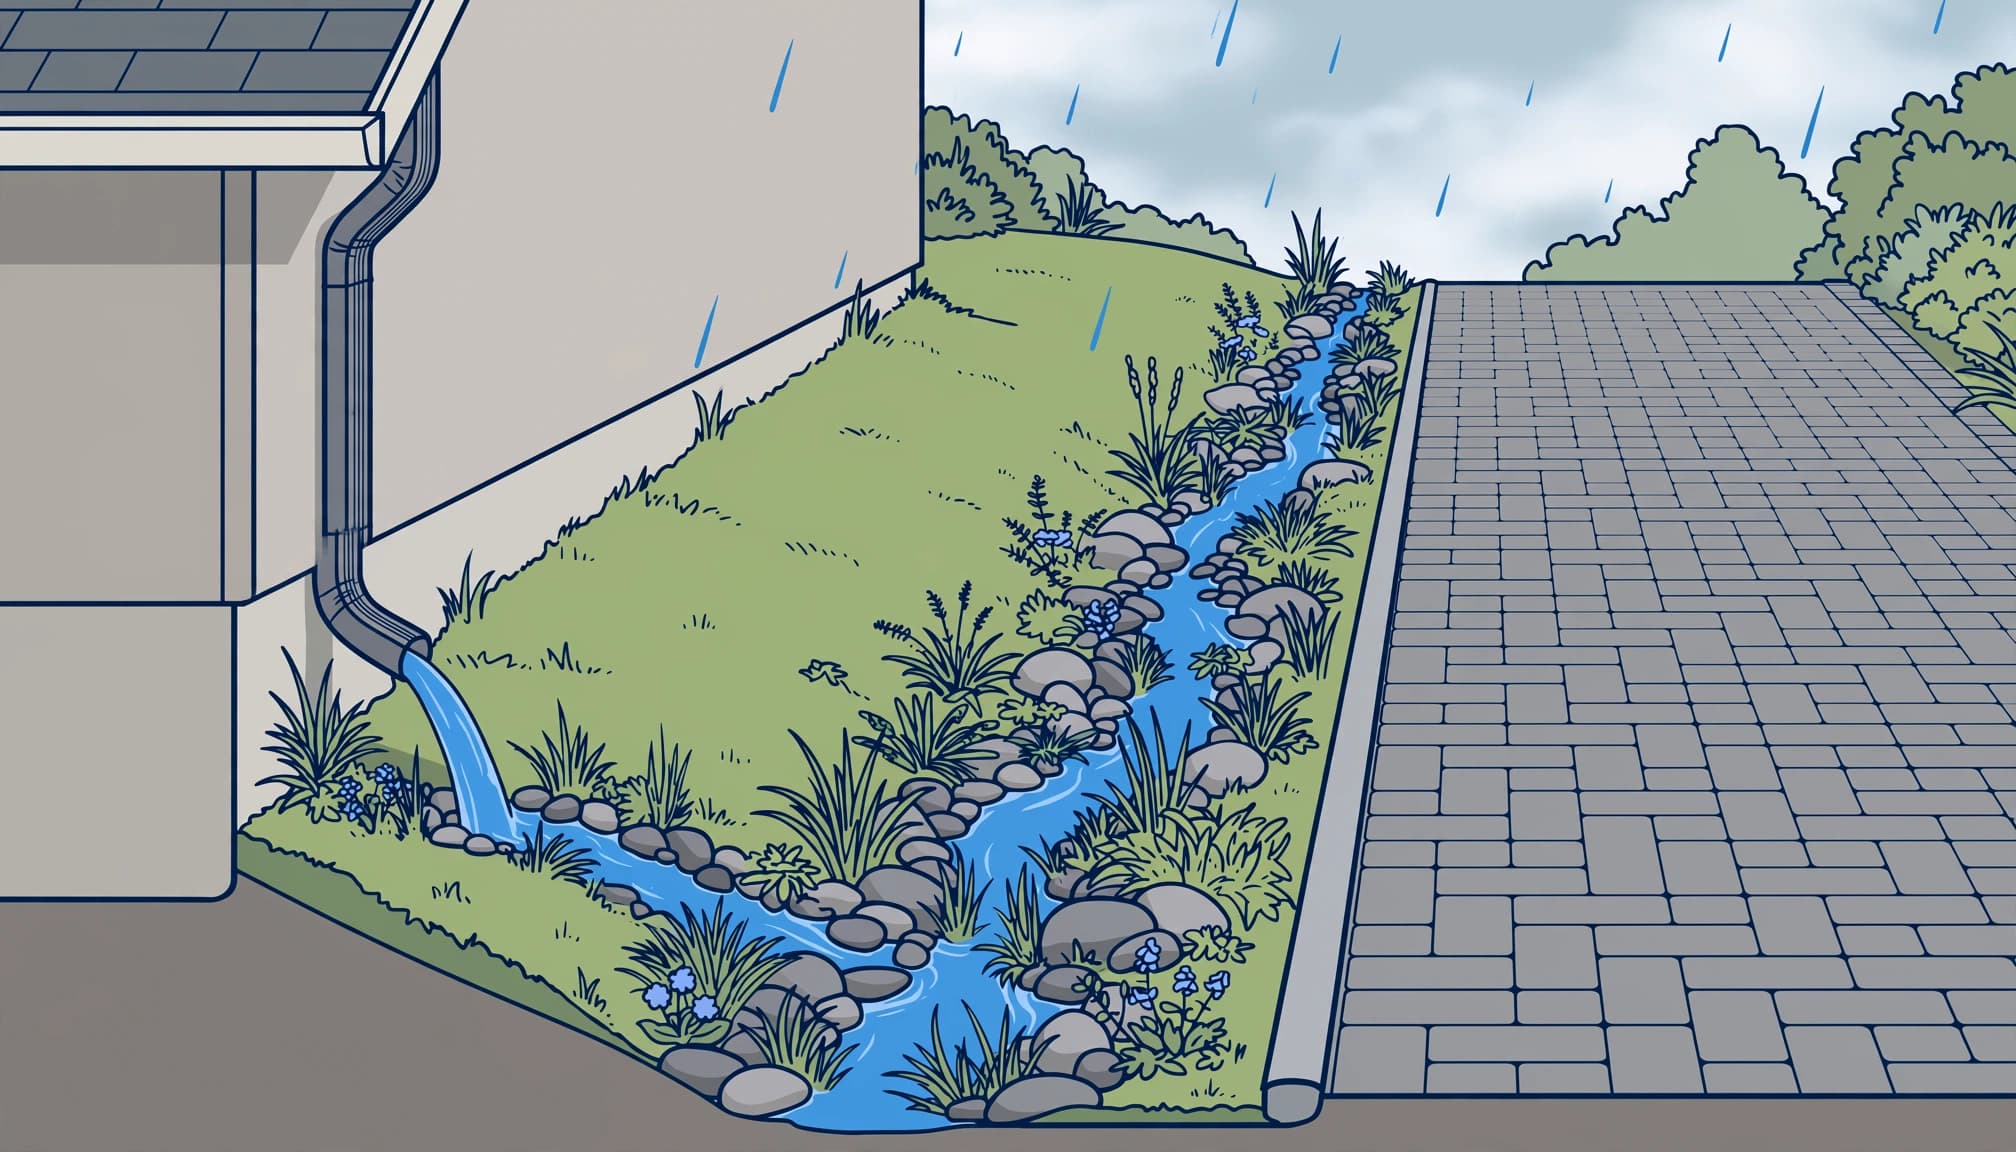
A major drainage project isn’t always needed. If one downspout causes the problem and the yard has a safe outlet, a simple surface solution may stop the washout.
Add an extension and splash block
Connect downspout extensions to the gutter downspouts, then direct the flow away from the foundation and driveway edge. Flexible extensions work well when the route bends around a planting bed. Solid extensions create a cleaner, more permanent path.
A splash block spreads discharge before it hits the soil. Place it on stable ground, with the outlet aimed away from the driveway, house, and neighboring property.
Don’t point the outlet toward a low spot that stays wet. Grade the area so it can slope away from the house, spread out, drain, or reach a planted area that can handle the flow.
Protect exposed soil with river rock
For a small washed-out area, remove loose soil and debris first. Shape the ground so water moves away from the house. Then install permeable landscape fabric and cover it with drainage rock or river rock.
Use stone large enough to stay in place during rain. Fine gravel can move quickly where a downspout releases water with force.
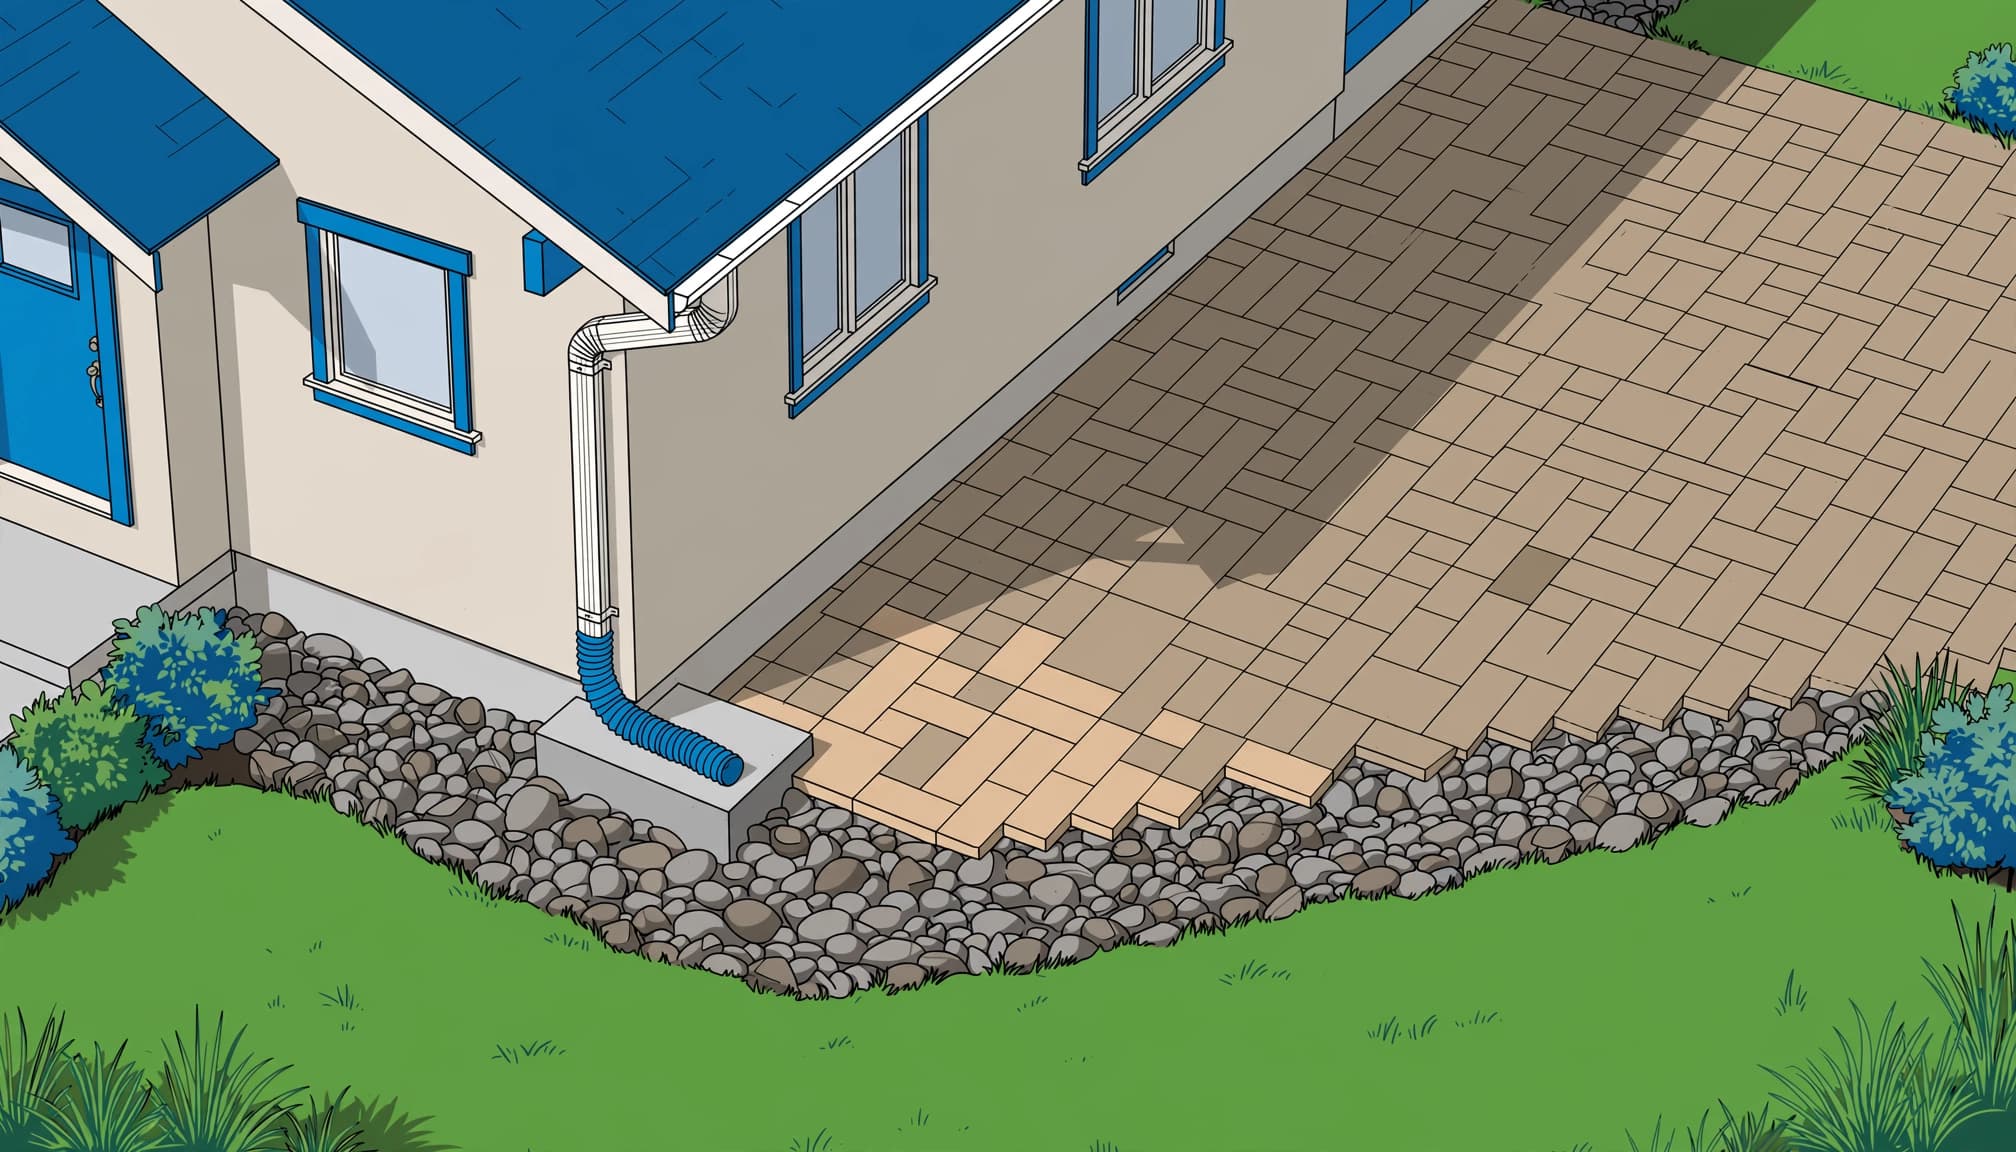
River rock reduces the water’s direct impact on soil, but it doesn’t eliminate runoff. The outlet still needs a safe route away from the paver base and foundation walls.
Build a Surface Drainage Path That Works
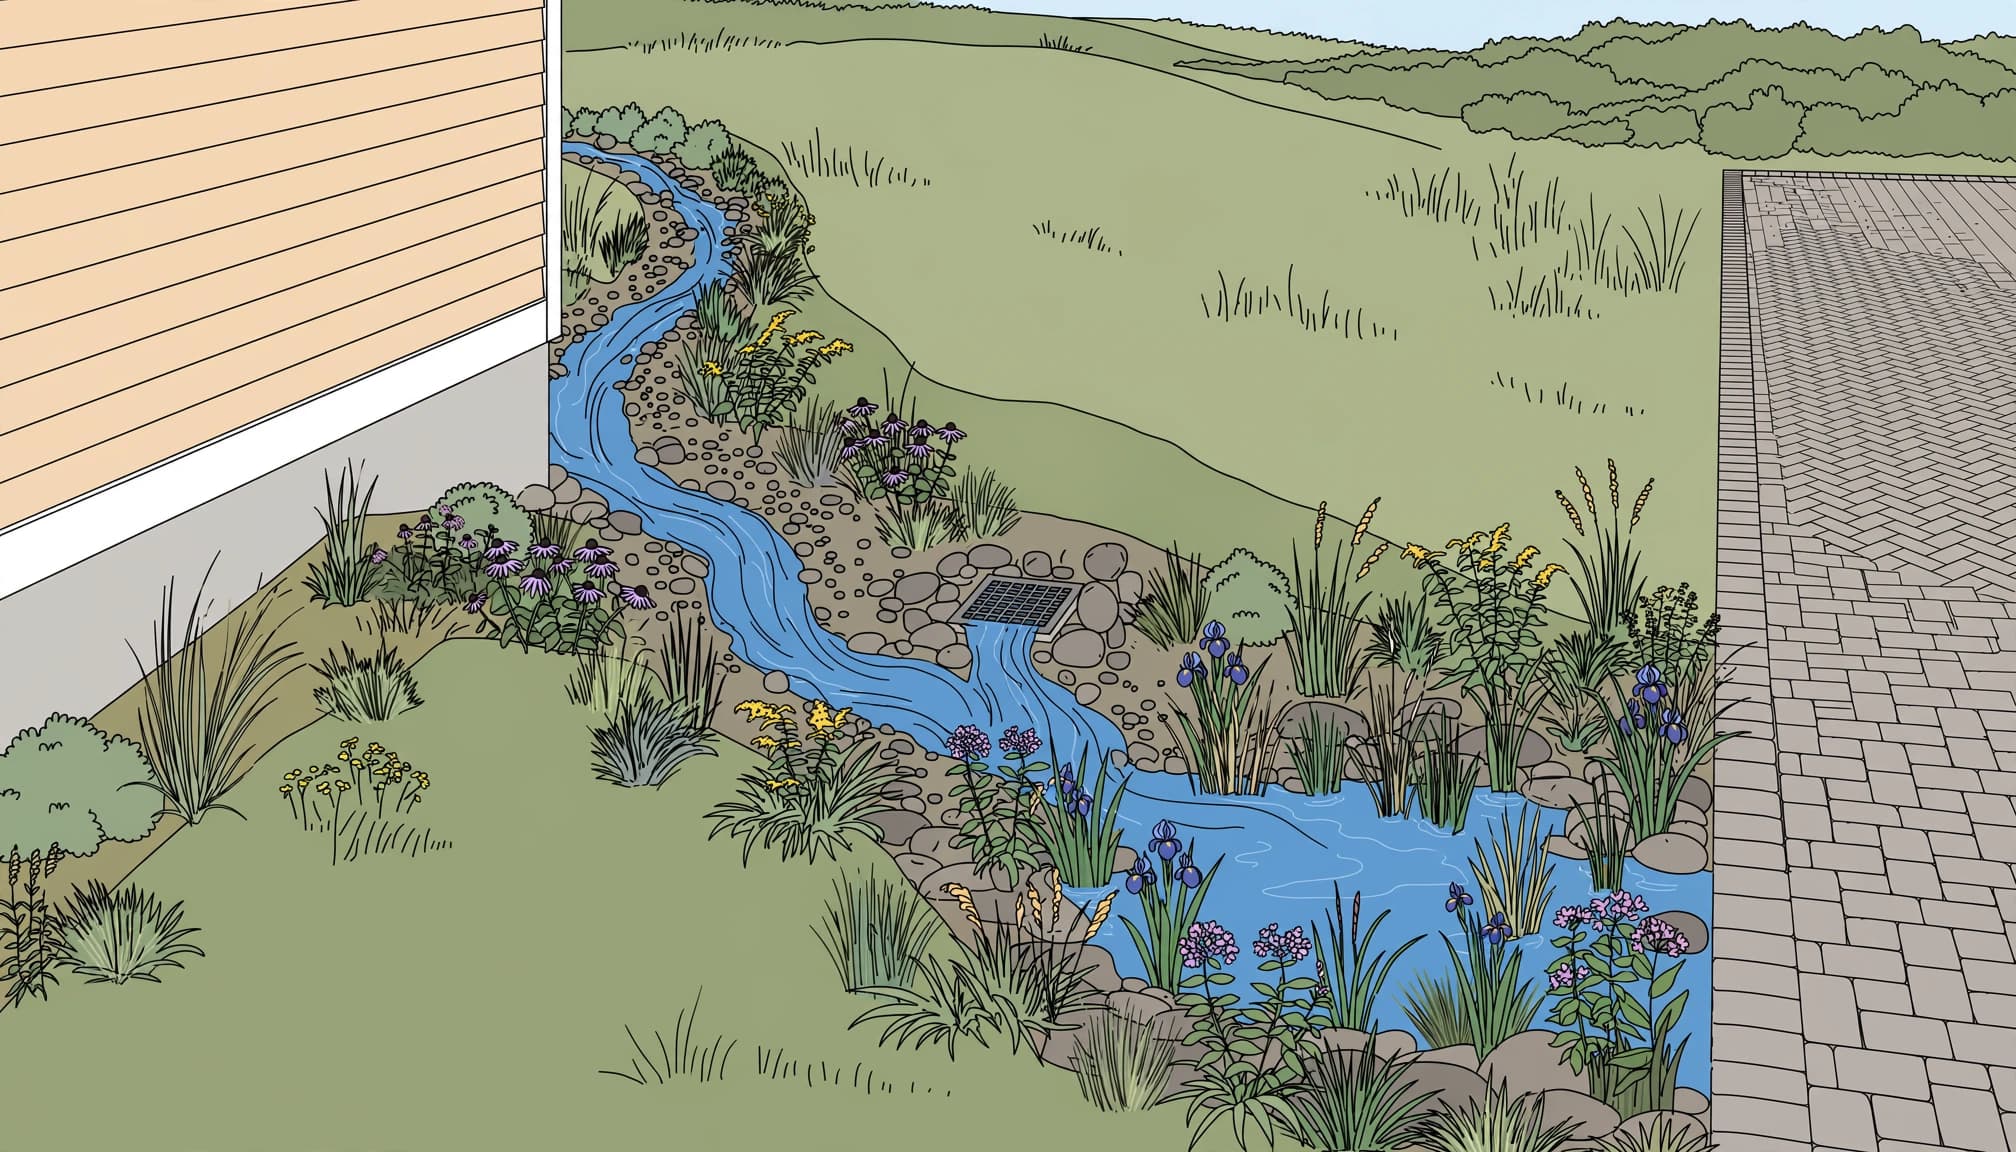
When a simple extension isn’t enough, give runoff a visible path through the landscape. This is often better than burying water without knowing where it will end up. A swale or planted channel may be needed when poor grading directs water toward the driveway.
Use a swale or dry riverbed
A shallow swale is a broad, gently shaped channel that directs water across the yard. A dry riverbed uses rock to create the same basic path with a more finished look.
Both options work well beside a paver driveway when they keep runoff away from the edge restraint and base. Stormwater runoff should move through the feature, not cut underneath it.
Use native plants to help hold soil together. Deep-rooted native plants can slow water, trap sediment, and improve water quality in the surrounding drainage system.
Match the plan to your soil
Soil matters. Sandy ground may drain quickly, while clay-heavy or compacted soil can hold water near the surface. Planted basins can work well, but only when the soil and drainage route support them.
The New Hampshire Homeowner’s Guide to Stormwater Management recommends soil testing and guidance for residential rain gardens. Test the soil and plan a reliable outlet before routing a large roof area into one planted basin.
For a planted basin, keep side slopes gentle. The DC Stormwater Management Guidebook calls for residential side slopes of 3:1 or flatter.
When Underground Drainage Makes Sense
A french drain, catch basin, or dry well may be needed when surface water has nowhere safe to go. Underground piping can be effective, but each system needs a planned outlet based on soil, slope, stormwater runoff volume, and final discharge.
Know what a french drain can do
A french drain is a perforated pipe set in a trench with a gravel layer of coarse, open-grade stone. The EPA description of French drains explains how this setup moves water through the gravel-filled trench.
It can help collect groundwater or water entering a low area beside the driveway. It isn’t a cure for every downspout problem.
If the pipe has no proper outlet, the soil stays saturated, or sediment fills the trench, the system can fail. Buried pipes also need cleanouts or accessible maintenance points.
Use catch basins with a planned outlet
A catch basin can collect water from gutter downspouts or a driveway low point. It needs a clear route to a safe discharge area, not a release beside the paver base. Keep discharge away from the house and foundation walls. Don’t combine sump pump discharge with a downspout route unless the outlet can handle the added flow.
Call before digging. Check local drainage rules, utility locations, and property lines. Water should never be redirected toward a neighbor’s yard or a location that creates new flooding.
Get professional drainage help when soil remains saturated, no safe outlet exists, flooding repeats, utilities conflict, or water continues collecting near the foundation.
Repair Pavers Only After the Water Is Controlled
Once the downspout route is fixed and water damage is no longer progressing, inspect the driveway itself. If pavers are settling, rocking, or spreading, the base may need repair before new sand goes into the joints.
Restore the base before resetting pavers
Lift the affected pavers and inspect the bedding course and aggregate base. Remove soft, wet, or washed-out material. Rebuild the area in compacted layers, then reset the pavers to the correct grade, with the repaired surface set to slope away from the affected edge.
Check the edge restraint too. If it has shifted or lost support, repair it before the outer row can stay tight.
Polymeric sand can help reduce joint migration when it’s compatible with the installation and installed correctly. It can’t hold together a failed base.
Clean After Repairs
After the base, joints, and drainage path are stable, clean the area. Careful cleaning can remove runoff stains, algae, and debris that hide problem areas.
For permeable systems, be careful with sealers and joint materials. This guide to permeable paver maintenance explains why standard coatings can restrict the drainage path in joints.
Key Takeaways
Downspout erosion along a paver driveway is a water-control problem first. Keep gutters clear, move discharge away from the paver edge, and give runoff a stable path through the yard.
Don’t ignore shallow joints, loose pavers, or recurring puddles. Those signs can mean water is affecting the sand and base below the surface.
Fix the water path first, then repair the pavers. That order protects the driveway and keeps the same washout from coming back after the next hard storm.
Frequently Asked Questions
How far should a downspout discharge from the foundation?
The right distance depends on your yard slope, soil, local requirements, and where the water can safely go. The main goal is to move water away from foundation walls and keep it from concentrating beside the paver driveway.
Watch the area during a hard rain. If water ponds near the house or turns toward the pavers, extend or reroute the downspout.
Can river rock stop soil erosion under a downspout?
River rock can protect exposed soil by spreading the force of falling water. It works best with landscape fabric, proper shaping, and an outlet that keeps water moving away from the house.
Rock alone won’t fix a low yard or a driveway base that has already washed out. It needs to be part of a drainage path.
Why does joint sand wash out after pressure washing?
Pressure washing can remove joint sand when the nozzle is held too close, pressure is too high, or the water is directed into the joints. This can leave pavers less stable and allow more rainwater into the base.
Use controlled cleaning methods and refill joints only after the pavers are dry and stable.
Keep Water Off the Paver Base
A downspout should never keep punishing the same driveway edge. Clear gutters, direct runoff away from the house, and inspect the pavers after major storms.
A stable base, full joints, and a working drainage path protect more than curb appeal. They help your driveway stay level, safe, and ready for the next heavy rain.
