
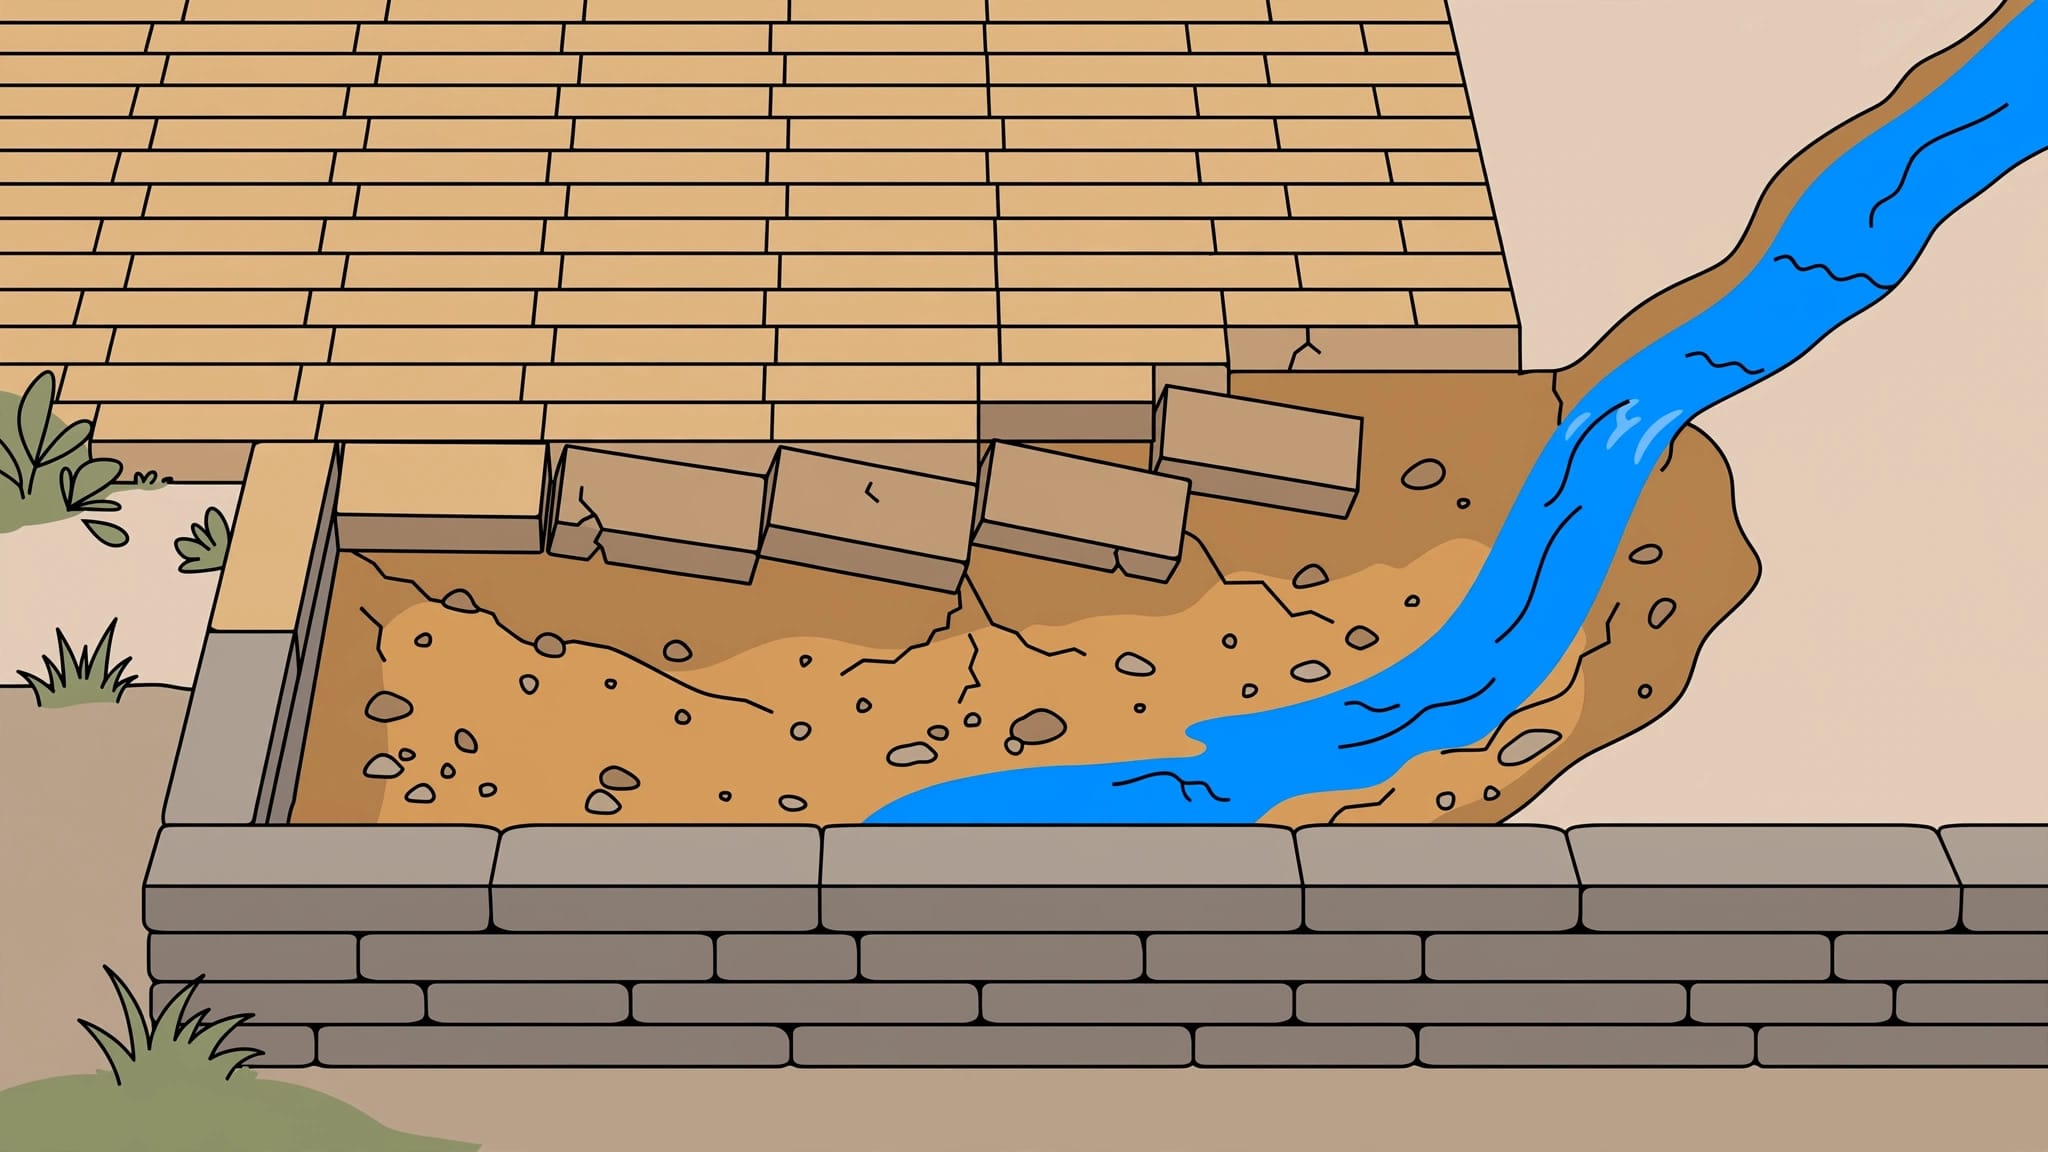
Pavers sink along retaining walls when the material underneath settles, washes away, or loses support at the edge. Loose backfill and runoff collecting beside the wall are common causes, especially where the wall and patio were built over recently disturbed soil.
I recommend finding the source of that lost support before resetting sinking pavers or adding sand. Start by looking at the wall, the water flow, and the shape of the sunken area.
Key Takeaways
- A narrow depression beside a retaining wall often points to settling backfill, weak compaction, or washout.
- A lasting repair rebuilds support and directs runoff appropriately before the pavers go back down.
- Wall movement, an expanding cavity, or persistent leaking requires professional attention.
Why the Wall-Side Strip Loses Support
Backfill settles differently than undisturbed ground
Building a retaining wall disturbs the soil around it. If the excavated area is filled too quickly or compacted unevenly, the backfill can settle after the patio is finished.
The strip beside the wall can also be difficult to compact. Tight access makes it harder to achieve even compaction along the border. Furniture, foot traffic, and vehicle loads then expose that weakness.
Poor base preparation is one of the most common reasons pavers sink. Adding extra bedding sand over loose backfill leaves the underlying problem in place.
Water carries support away
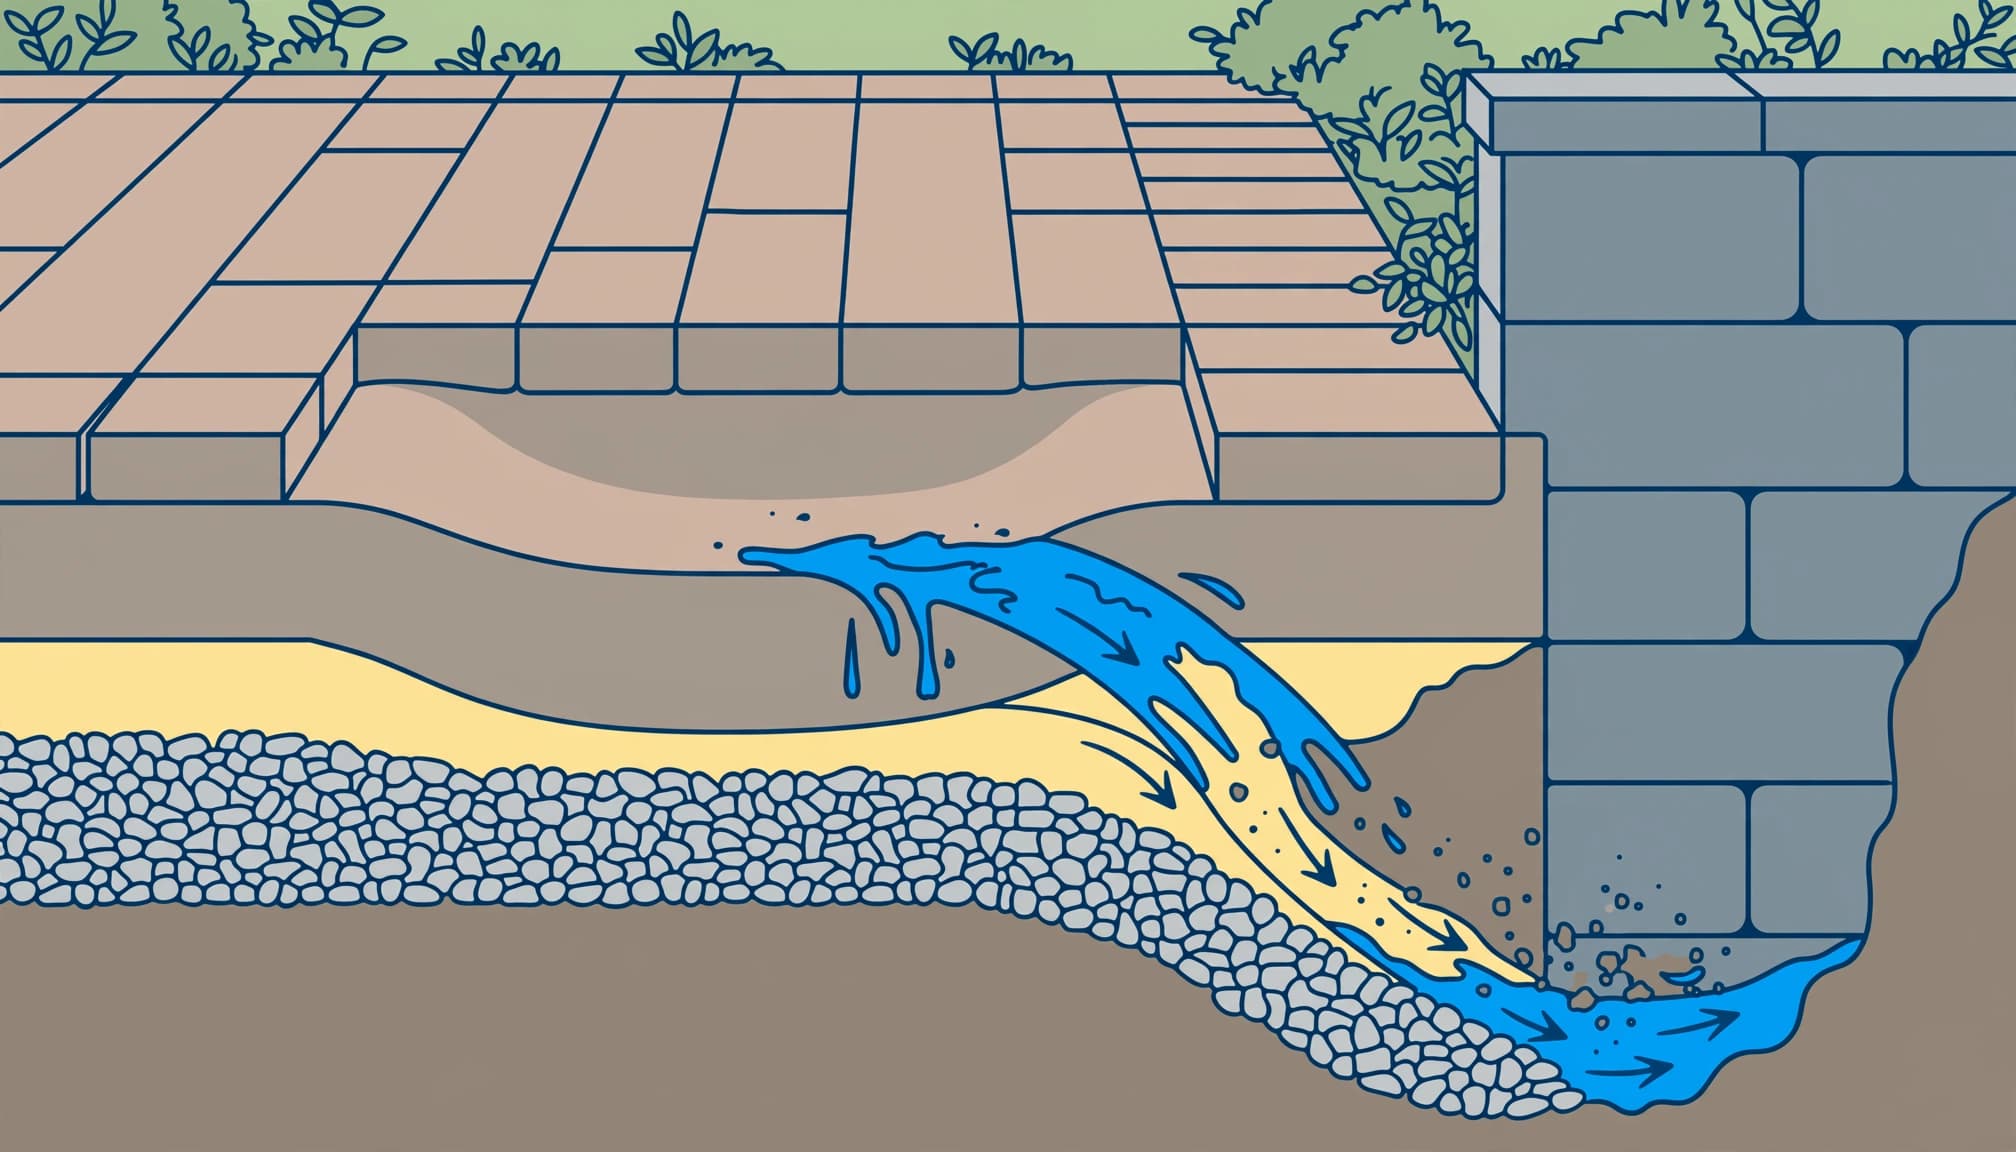
A retaining wall changes how water moves through the property. Runoff can collect beside it, enter open joints, or carry fine material into gaps below.
Runoff can cause soil erosion, washing away loose soil and fine material. Wet clay can also soften and lose strength. Blocked drainage outlets can add water pressure behind the wall.
I treat leaning blocks, bulging sections, and new wall gaps differently from a simple patio dip. Those signs call for a retaining-wall assessment before surface repairs begin.
How to Diagnose Pavers Sinking Along a Wall
Read the shape and condition of the depression
A long, narrow dip following the wall suggests settlement along the construction trench. Several separate low spots suggest a broader base problem.
After affected pavers are lifted, a firm gravel base with displaced setting material points toward a shallow repair. Loose gravel, deep cavities, or soft soil indicate failed support farther down.
Also inspect the border. Widening joints and outward-moving pavers can mean the edge restraint has failed. Our guide to paver movement and drainage problems covers those warning signs.
Follow the water and nearby ground movement
After rainfall, check for water pooling near the wall and compare conditions with a normal irrigation cycle. Wetness that appears only during irrigation suggests a leak rather than storm runoff.
A broken sewer line, roof drain, or footing drain can also undermine the base. Persistent wetness, odors, or an enlarging cavity needs professional investigation.
Roots usually lift pavers first, then leave uneven support around them. Burrowing animals, including moles, groundhogs, and gophers, can create cavities. Soil also settles over time.
In colder climates, freeze-thaw cycles can lift and shift the surface. Southwest Florida homeowners should focus more closely on rainfall, drainage, and disturbed soil.
What a Stable Paver Base Needs
Allow enough excavation for the complete assembly
About 6 to 8 inches of excavation is a common starting point for a pedestrian paver patio. That depth must accommodate the sub-base, setting layer, and pavers.
It isn’t a universal specification. Vehicles, weak soil, frost exposure, and wall construction can require a different design.
A typical paver patio assembly uses approximately 4 inches of compacted paver base for the sub-base, 1 inch of bedding sand, and the pavers above. The Oregon State paver installation guide describes calculating excavation using a 4- to 6-inch base plus the remaining layers.
Compact support layers and contain the edges
The soil beneath the base must be stable. Soft, muddy material needs removal or appropriate professional treatment before rebuilding.
Add compacted gravel in manageable layers, and level and compact each layer with a plate compactor. A hand tamper can suit a small repair. Proper seating of the finished pavers consolidates the setting layer; loose sand shouldn’t replace structural base.
The CMHA aggregate-base specification describes this layered pavement system.
Suitable geotextile separation fabric can help keep soil and aggregate apart where needed. Ordinary weed-control fabric isn’t automatically suitable. Edge restraints contain the paver field, while proper grading directs water toward a safe outlet.
When a Spot Repair Is Enough
A focused repair can work when the surrounding pavers remain firm, the wall is stable, and the cause is limited. Lift enough pavers to reach dependable support rather than resetting only the lowest unit.
Repeated settlement, multiple depressions, spreading borders, or widespread loose base calls for a larger assessment. The same installation defect may extend beyond the visible dip, but one low spot doesn’t automatically require replacing the whole patio.
Sound pavers can usually be reused. For damaged units, match shape, thickness, texture, and color blend. Natural stone replacements also need compatible thickness and installation requirements.
Polymeric sand stabilizes joints after repair. It can’t bridge a cavity or rebuild a weak base.
How to Repair Sunken Pavers
This sequence applies to a localized repair beside a stable wall. Before excavation, use Sunshine 811 homeowner services to request utility marking. Private irrigation and other private lines may require separate locating.
- Photograph the pattern, then lift the affected units and roughly 12 inches beyond them where safe. Carefully pry pavers out with flathead screwdrivers or putty knives to avoid chipping their edges.
- Shovel out the setting layer and inspect the gravel, soil, edges, and water route. Remove failed material and correct leaks or concentrated runoff before rebuilding.
- Add compatible base material in layers. Tamp each layer with a hand tamper or suitable rented plate compactor. The finished base shouldn’t visibly shift under tamping.
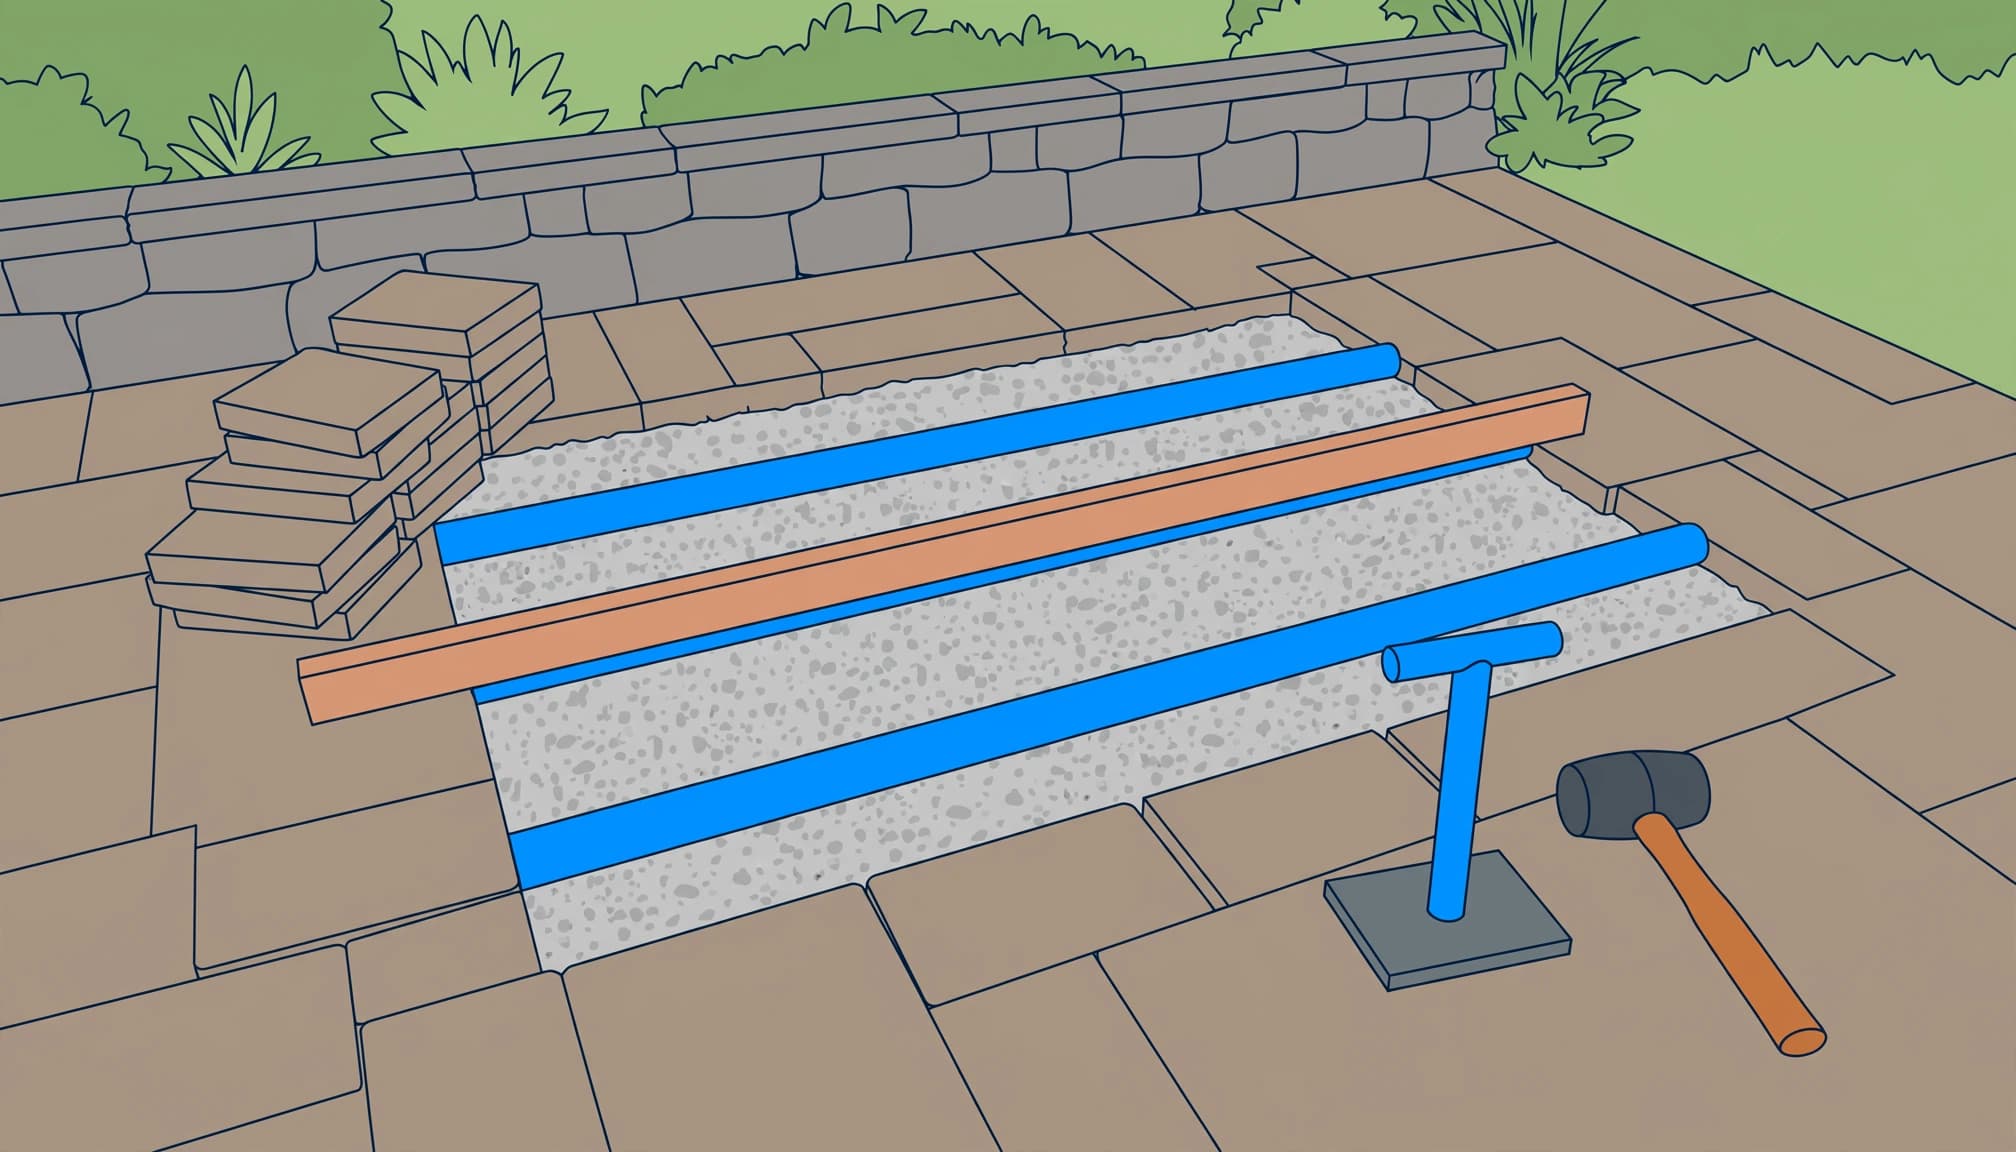
- Screed approximately 1 inch of concrete bedding sand or suitable paver sand over the base. A straight 2×4 and PVC screed rails help maintain consistent thickness. Remove the rails and fill their channels.
- Place a test paver in the center. Lay a level or straightedge across surrounding units to compare height while preserving the intended surface slope. Relay the original pattern and tap units flush with a rubber mallet.
- Sweep compatible joint sand into dry joints, using polymeric sand if the product suits the pavers. Seat the pavers with equipment appropriate for their material, then replenish the joints. Remove surface residue and activate with water according to the product instructions.
Don’t undermine the wall footing, disturb reinforcement, or block drainage outlets. Stop if the repair exposes wall components or unstable soil extending beneath the wall.
What Does Repairing Sunken Pavers Cost?
Access, excavation depth, water-control work, and irrigation damage can affect the cost to repair sunken pavers more than the number of visibly low pavers.
An anecdotal Reddit discussion supplied these budgeting figures.
| Work or material | Commenter’s estimate |
|---|---|
| Licensed contractor labor | About $100 per hour |
| Paver repair | About $1,000 to $2,000 |
| Polymeric sand allowance | About $200 |
| Plate compactor rental | About $150 |
| New pavers for DIY work | About $7 to $8 per square foot |
| New installation | About $25 per square foot |
These are individual estimates, not Kingsway pricing or a Southwest Florida rate survey.
A 225-square-foot budgeting example
At the discussion’s estimated $25 cost per square foot for installation, 225 square feet totals $5,625.
The same discussion estimated $2,000 to $2,500 for DIY materials. Its assumptions included pavers at $7 to $8 per square foot, sand, six 40-pound buckets of polymeric sand at about $23 each, and compactor rental.
That describes a larger project, not a few reused pavers reset beside a wall.
What a useful repair estimate covers
I recommend an estimate that identifies the cause, excavation area, base rebuilding, runoff correction, edge repairs, and joint restoration.
It should also explain whether existing pavers can be reused and how damaged replacements will match. Wall repairs or buried-line work need a separate scope.
Keep the Repaired Surface Stable
After repair, watch the area following heavy rain. Fresh sand deposits, returning puddles, or widening joints deserve attention before another depression develops.
Avoid installing pavers directly over large tree roots. In frost-prone areas, a thicker, properly designed base and drainage plan help reduce movement.
I recommend completing structural repairs before pressure washing or driveway sealing. Aggressive cleaning can remove joint material, and sealer won’t correct settlement. Our Florida paver restoration process explains how repairs, cleaning, and protection fit together.
Roof cleaning or a soft wash won’t resolve downspout discharge that repeatedly saturates the patio edge. Correct that water route separately.
Frequently Asked Questions
Can sand raise one sunken paver?
Yes, when the gravel base is firm and only the bedding needs adjustment. Lift the paver and restore a consistent bedding layer. A deep or wet cavity requires base repair rather than extra sand.
Should the pavers be perfectly level?
They should meet adjoining units without abrupt edges or rocking, but the overall surface needs a slope to shed water. A level helps measure that slope; a perfectly flat patio can hold water.
Can the retaining wall serve as the paver edge?
Only when the installation is designed for that arrangement. A nearby wall doesn’t automatically provide proper edge restraint or adequate support beneath the outer pavers.
Restore the Support Before Protecting the Surface
Pavers sinking beside a retaining wall need a repair that addresses what moved underneath. Stable support, contained edges, and controlled runoff give the reset surface a better chance of staying firm.
Once structural repairs are complete, I can help with cleaning and sealing. Get a Quote for a free estimate on sealing or pressure cleaning your repaired surface.