
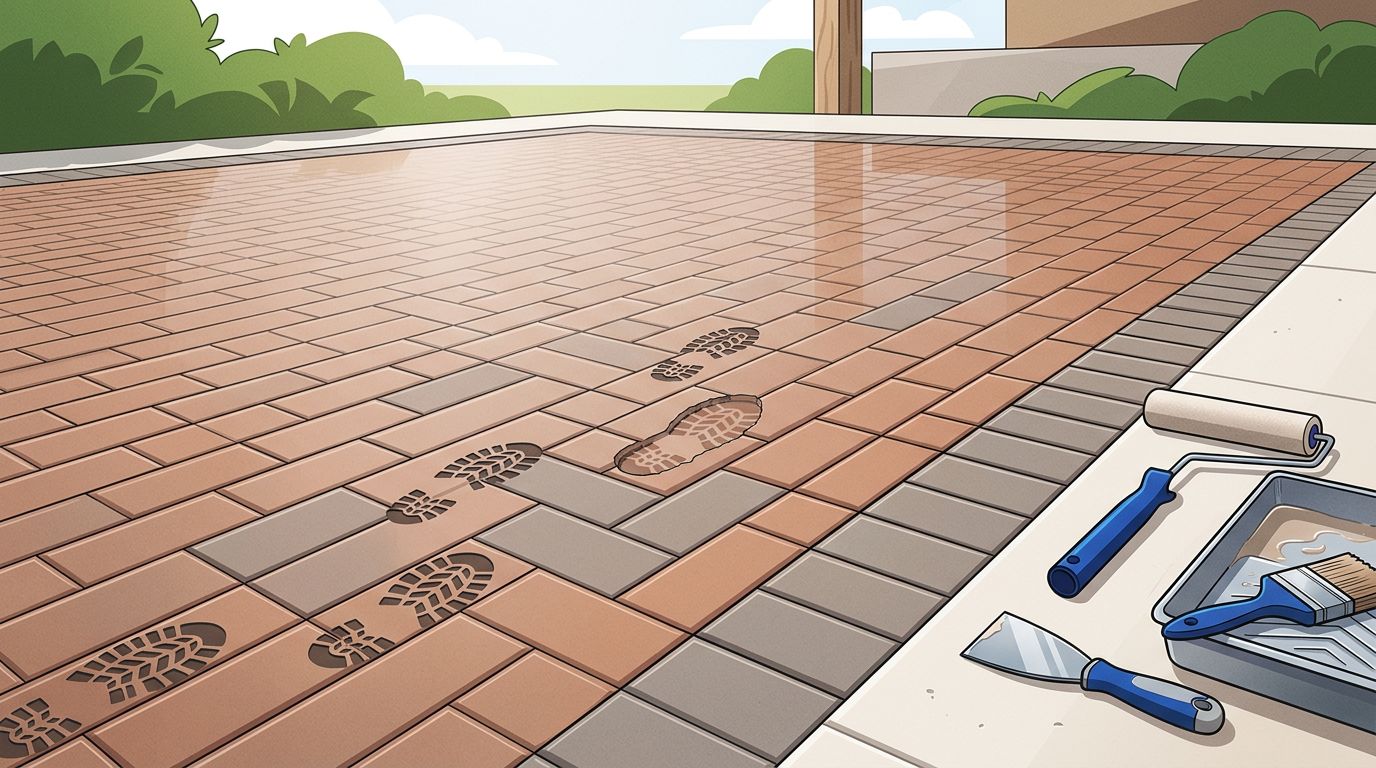
A few steps across wet paver sealer can leave a permanent-looking mess on an otherwise clean patio or driveway. Paver sealer footprints are usually repairable, but the method depends on coating chemistry, curing stage, and damage depth. If color enhancement lies beneath an acrylic paver sealer, the mark may affect that layer too.
Visible coatings such as acrylic paver sealer can hold marks in the surface film and may sometimes be re-leveled. A penetrating paver sealer absorbs into the paver instead of forming a visible layer, while severe adhesion loss can signal delamination. I always identify the paver sealer and confirm the acrylic paver sealer has cured before choosing a repair.
Key Takeaways
- Fresh footprints in an acrylic paver sealer are often repairable when they only disturb the surface film, but deep marks may involve color loss or localized delamination.
- Identify the paver sealer before choosing a correction method. Penetrating sealers, water-based acrylics, and solvent-based acrylics respond differently to cleaning and re-leveling.
- Keep traffic away, document the damage, and test any manufacturer-approved solvent or blush repair product in a hidden area first. Never apply a random solvent or another coat simply to conceal the footprint.
- Stripping and recoating may be necessary for peeling, severe haze, large tire tracks, exposed pavers, repeated coating failure, or incompatible products.
- Prevent future marks by preparing a clean, dry surface, applying the paver sealer in manageable sections, maintaining an exit path, and keeping people and vehicles away until the coating has cured.
Can Fresh Acrylic Paver Sealer Footprints Be Repaired?
Most fresh footprints in acrylic paver sealer can be corrected without replacing the pavers. A shoe mark may only disturb the wet paver sealer’s surface film, leaving a dull outline, ridge, or shiny patch. When handled early and carefully, the film can often be softened and blended back into an even gloss finish.
The situation changes when someone walks through acrylic paver sealer after it starts to firm up. A deep footprint can pull up the paver sealer, disturb pigments used for color enhancement, or expose the paver underneath. That loss of adhesion in acrylic paver sealer can cause localized delamination, rather than an ordinary surface disturbance. Tire tracks can create an even larger problem because heat and weight may cause hot tire pickup, pulling the paver sealer away as it firms.
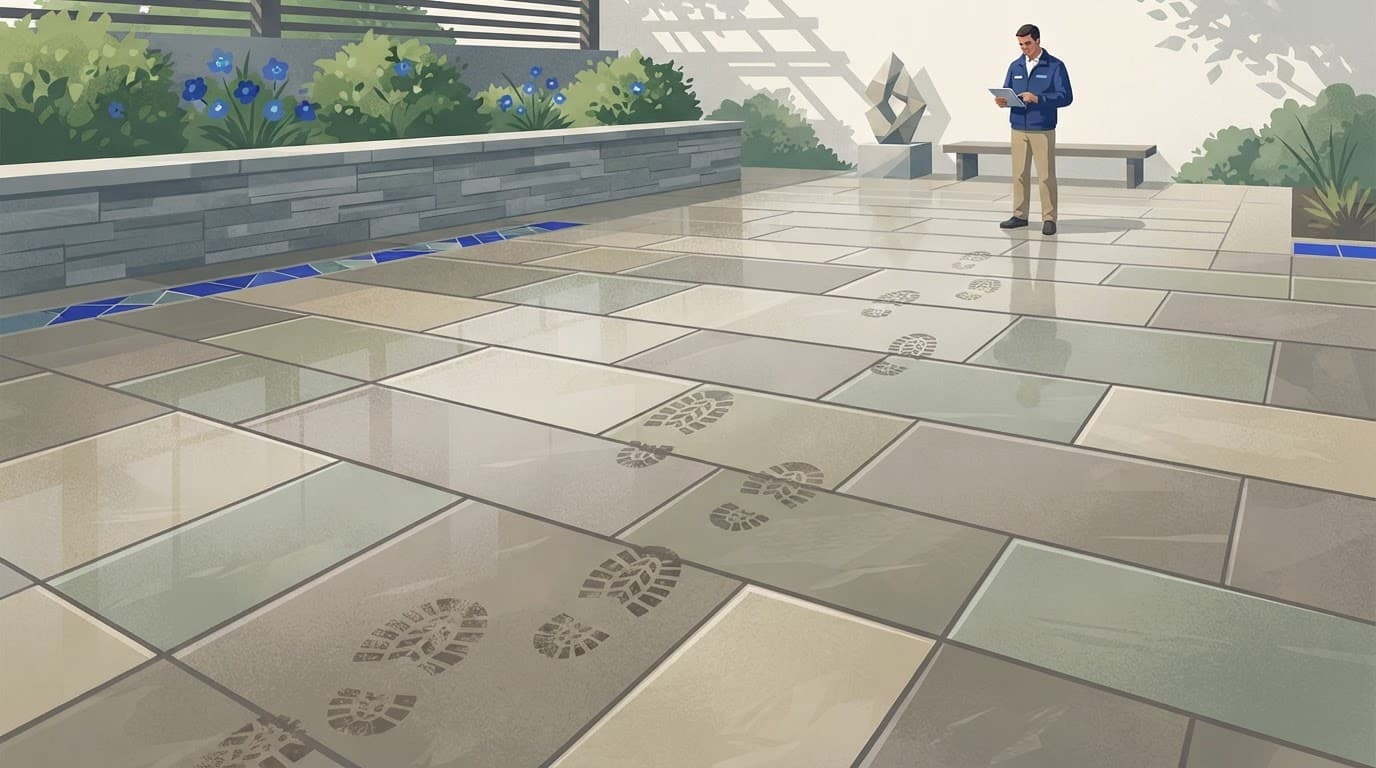
The first step is to keep everyone off the area while the acrylic paver sealer is still wet. Don’t scrub, use a pressure washer, or apply another coat over the mark. These actions can spread the defect and make the final repair harder.
Identify the Sealer Before Choosing a Repair
Not every paver sealer forms a coating. Knowing what was applied helps separate a simple correction from a larger restoration job.
| Sealer type | What a footprint usually affects | Typical repair approach |
|---|---|---|
| Penetrating paver sealer (silane siloxane) | Absorbed moisture, dirt marks, or temporary color changes | Let it cure, then clean gently if needed |
| Topical acrylic paver sealer | The visible coating, including early delamination | Re-emulsify, blend, or remove and recoat |
| Water-based acrylic | A thinner coating that may haze or show lap marks | Use the manufacturer’s approved correction method |
| Solvent-based acrylic | A stronger coating that may soften with an incompatible product | Test and re-level with professional care |
An acrylic paver sealer forms a coating, while a penetrating product absorbs into the masonry. The solids content of a paver sealer affects film build and correction choices. A water based sealer may re-wet differently from a solvent based sealer, so follow the manufacturer’s instructions.
A water drop test can show whether the paver is absorbing water or already protected by an acrylic paver sealer. Quick darkening suggests a more open, absorbent paver and a natural look, while beading suggests a paver sealer is present. The test doesn’t identify the exact product.
An acid fizz test can help distinguish concrete pavers from brick pavers, but it isn’t reliable for natural stone. It doesn’t tell you whether the old sealer was acrylic, polyurethane, or penetrating. Efflorescence can also confuse either test.
I use testing as a starting point, not permission to apply a random solvent or choose a paver sealer without checking its label. Neither test can diagnose coating delamination or confirm compatibility with an acrylic paver sealer.
Repairing Footprints in an Acrylic Paver Sealer
Footprints and tire tracks in an acrylic paver sealer are often surface problems. The goal of a paver sealer repair is to soften the surface film enough to level it. The correction should protect paver color, preserve joint sand, and restore an even gloss finish.
I recommend this repair sequence:
- Stop traffic and photograph the paver sealer damage. Take close pictures and wider pictures showing the entire area. This helps you compare the acrylic paver sealer as it dries. It also gives you a record if a contractor completed the work.
- Let the paver sealer become stable. The acrylic paver sealer may look different while wet. Give it enough time to firm up based on the product label and its solids content. Trying to repair a puddle of uncured sealer can spread the defect across surrounding pavers.
- Test a hidden section of the paver sealer. A professional may apply a small amount of the manufacturer-approved solvent or blush repair product to a hidden area. The test should show whether the acrylic paver sealer softens evenly or shows unwanted color enhancement, clouding, stickiness, or delamination.
- Re-emulsify the surface film when appropriate. Some solvent based sealer coatings may soften with a compatible xylene solvent. Alliance Gator describes this xylene sealer repair method for paver sealer repairs. The product label and coating chemistry still control the repair, because an incompatible correction can worsen adhesion and cause delamination.
- Allow the corrected area to cure. Keep people, pets, furniture, and vehicles away until the finish is dry and stable. Don’t apply another coat simply to conceal a defect, since that can create sealer failure. Apply it only when the first coat is ready and the products are compatible.
Xylene solvent is not a universal cleaner. It produces strong vapors and requires ventilation, PPE, and a compatibility test. It can damage nearby paint, plants, plastics, and some coatings, and it creates a fire risk. I don’t recommend pouring it across a driveway or attempting a large repair without proper training and product knowledge.
A water based sealer may not respond to the same method as an acrylic paver sealer. Using the wrong solvent on a solvent based sealer can create more hazing or soften the coating unevenly. An incompatible solvent can also cause delamination, making the problem more serious than a simple film defect. If you don’t know what was applied, professional testing is safer than guessing.
When an Acrylic Paver Sealer Needs Stripping and Recoating
Some paver sealer damage is a repairable coating defect, while adhesion loss signals delamination. If the coating covered antiquing or release powder, foot traffic may have shifted the color enhancement beneath it. A solvent correction can smooth an acrylic paver sealer, but it can’t restore displaced pigment. Exposed or stained concrete pavers and brick pavers may need material-specific assessment.
Stripping may be needed when you see:
- Deep footprints with exposed or discolored paver faces, indicating localized delamination.
- Large tire tracks across several sections.
- Peeling, flaking, or delamination of the paver sealer around the marks.
- White haze caused by moisture or trapped efflorescence.
- Uneven color after repeated coating attempts.
- A previous sealer that is incompatible with the new product.
Moisture can cause delamination, while incompatible coatings can block adhesion and accelerate failure.
Stripping a paver sealer isn’t a quick wash. It may remove the current coating, some underlying color, and loose sand. The area then needs cleaning, drying, possible re-sanding, and treatment for mold and mildew before recoating. Delamination can return if the replacement coating doesn’t bond to the pavers.
Foundation Armor’s guide on preventing and fixing acrylic sealer problems stresses comparing the existing coating with a replacement acrylic paver sealer. Before choosing a paver sealer, check both products’ chemistry and solids content to help prevent another sealer failure.
Fix or Discount? What Homeowners Should Ask For
If a contractor left visible footprints in your new paver sealer, ask for a repair plan before accepting a discount. The contractor should identify the coating, including whether it is an acrylic paver sealer, document the proposed correction, and explain whether the area will be blended, stripped, or recoated.
I’d ask these questions:
- Was the product an acrylic paver sealer, a penetrating coating, or another type of finish?
- Is the mark superficial, or does it involve delamination between coating layers?
- Will the repair require solvent work, stripping, or a full recoat?
- Could the process change the color or finish of nearby pavers?
- Does the repair include an agreement to reapply sealer to the affected area?
- How long must the repaired area stay closed?
- Is the repair covered by the contractor’s workmanship guarantee?
A financial discount can be reasonable if the paver sealer mark is minor and you accept the appearance. It is not a fair replacement for proper repair when the footprint is obvious across a main walkway, pool deck, patio, or driveway. Avoid allowing another coat to hide the defect. That often traps the problem beneath a thicker coating.
Preventing Footprints During Driveway Sealing
Good planning prevents most fresh marks. At Kingsway, I treat the work area like a controlled job site, because one open gate or misplaced vehicle can create a problem before the coating has cured.
After using a pressure washer, cleaning the surface, and re-sanding, allow brick pavers or concrete pavers to dry for at least 24 to 48 hours. Complete surface preparation includes cleaning, drying, stable joint sand, and a final inspection before applying an acrylic paver sealer. Florida humidity, shade, damp joints, and recent rain can extend that time. The top may feel dry while moisture remains below, causing a paver sealer to delaminate through poor adhesion.
I also check for:
- Mold and mildew that still need treatment.
- Efflorescence or white residue that can return beneath a coating.
- Old sealer that may block adhesion.
- Loose joints and unstable pavers.
- Rain, irrigation, shade, drainage, and freeze thaw cycles that can affect drying.
- Furniture, vehicles, pets, and gates that could enter the work area.
Any mold and mildew treatment must be rinsed clean and fully dry before sealing. Before application, I select an acrylic paver sealer based on its label, solids content, and intended use. For walkways or pool decks, the paver sealer must also provide suitable slip resistance.
If other exterior services are scheduled, I complete roof cleaning and soft wash work before sealing the pavers. Dirty runoff from a later cleaning can stain or dull a fresh finish.
For application, I prefer a clean, solvent-resistant pump sprayer with a suitable fan tip and controlled pressure when applying an acrylic paver sealer. Apply the paver sealer in manageable sections, using even coverage without flooding. Edges and tight areas may require a roller, but heavy rolling over a wet coating can create lap marks.
The applicator should work toward the exit when applying an acrylic paver sealer and maintain a wet edge. Avoid stepping back across finished sections. This keeps the paver sealer undisturbed as it begins to set. A hardscape sealer mistake training video shows why application timing and coverage control matter.
Keep foot traffic away until the acrylic paver sealer is dry and ready for use, often about 24 hours. Curing time for the paver sealer varies with temperature, humidity, shade, and product chemistry. Vehicle traffic commonly requires 48 to 72 hours, or longer in humid, shaded, or cool conditions. The label takes priority. Premature driving can cause hot tire pickup, delamination, and coating damage. Never park a hot vehicle on a curing wet look sealer.
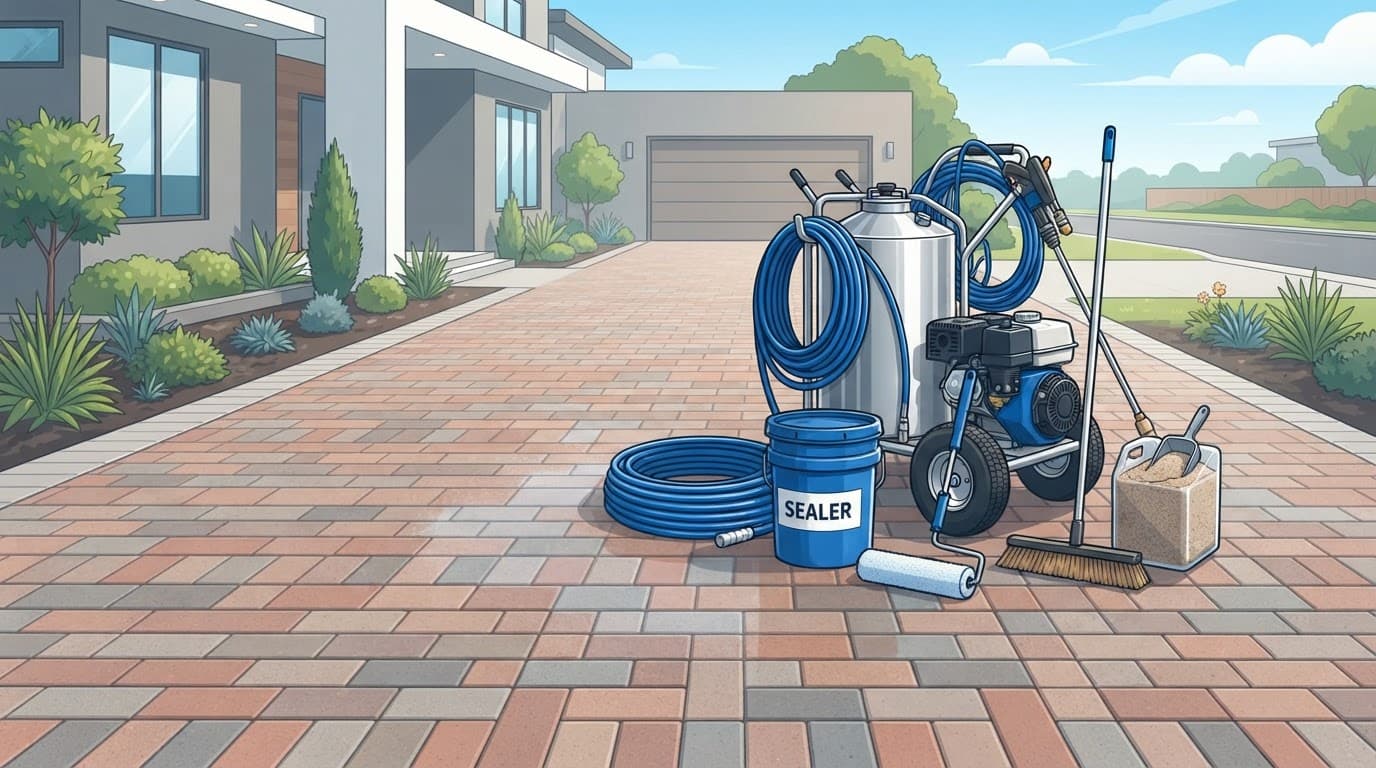
If the coating is still tacky, the driveway is not ready for traffic. A short delay is much less expensive than repairing tire tracks across a newly sealed surface.
Frequently Asked Questions
Can footprints in fresh paver sealer be repaired?
Most shallow footprints in a topical acrylic paver sealer can be blended or re-leveled if the surface film is still suitable for correction. Deep marks that expose the paver or disturb underlying color enhancement may require stripping and recoating.
Can I use xylene to remove paver sealer footprints?
Xylene may soften some compatible solvent-based acrylic coatings, but it is not a universal cleaner or repair product. Test it in a hidden area, follow the product instructions, and use proper ventilation and protective equipment because an incompatible solvent can worsen hazing or delamination.
How do I know whether the damage involves delamination?
Peeling, flaking, exposed paver faces, or coating that pulls away from the surface can indicate delamination rather than a simple footprint. Moisture, poor adhesion, and incompatible coatings can cause this problem and may require removing the failed sealer before recoating.
How long should a fresh paver sealer stay closed to traffic?
Foot traffic often needs to remain off the surface for about 24 hours, while vehicles commonly require 48 to 72 hours or longer. Temperature, humidity, shade, and product chemistry affect curing, so the sealer label should take priority.
Should a contractor offer a discount instead of repairing footprints?
A discount may be reasonable when the mark is minor and you accept the appearance. Obvious footprints across a walkway, patio, pool deck, or driveway should usually be addressed with a documented repair plan rather than covered with another coat.
Conclusion
Fresh marks in an acrylic paver sealer can often be blended or re-leveled, especially on concrete pavers. Deep color damage, haze, efflorescence, or mold and mildew may require stripping and re-sealing, particularly when delamination indicates a broader sealer failure.
The safest repair starts with identifying the paver sealer and whether it is a wet look sealer, then testing a small area. Keep pressure washing and solvents under control. If you need help inspecting fresh marks or correcting a failed paver sealer project in Southwest Florida, request a Get a Quote before another coat of acrylic paver sealer makes the problem harder to fix.
