
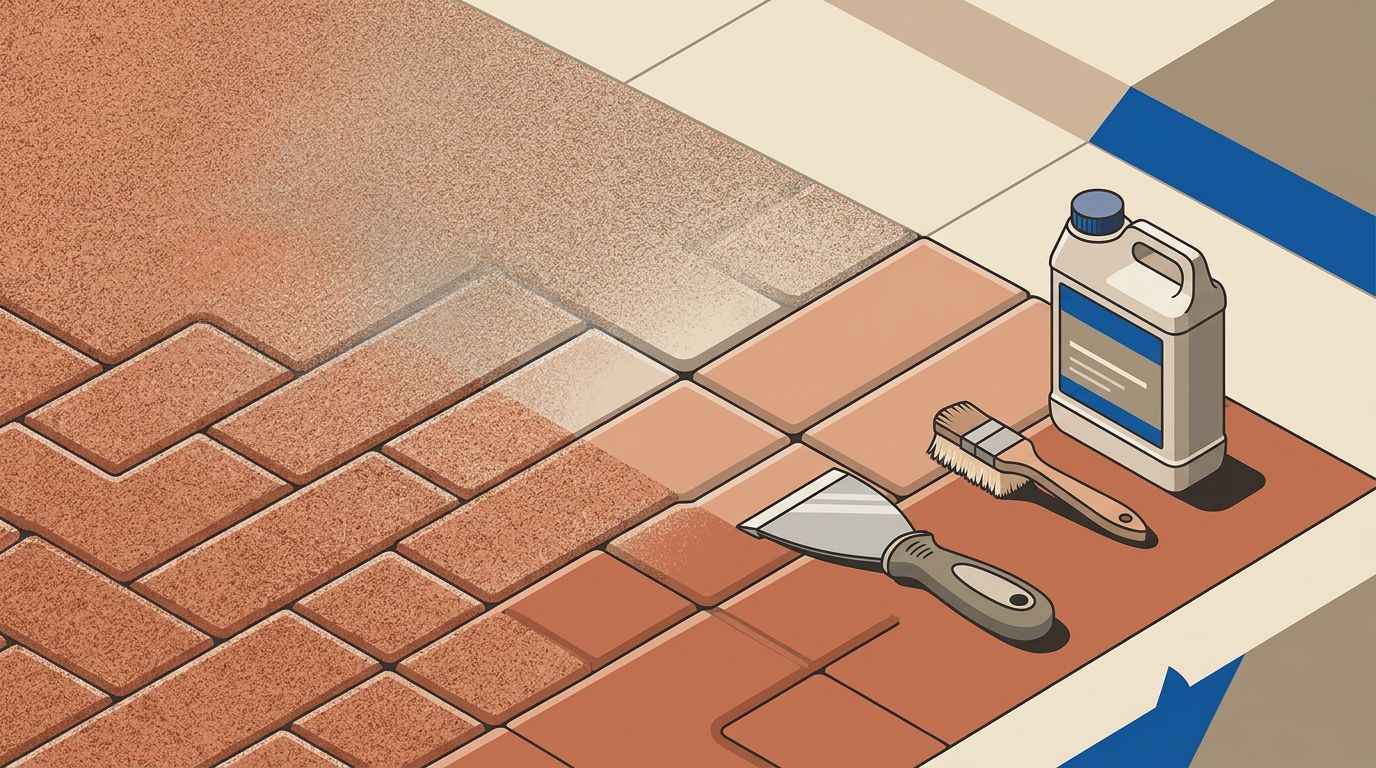
Freshly sealed pavers should feel clean and solid under bare feet. If your gritty sealed pavers feel like fine sandpaper, the paver sealer may not be the only cause.
I see this issue on brick pavers, concrete pavers, and travertine pavers throughout Southwest Florida. Loose joint sand, trapped moisture, old coating residue, and poor preparation can all leave a rough finish. The right fix starts with identifying what you are feeling before adding another product.
Key Takeaways
- Gritty sealed pavers can result from loose joint sand, cleaner residue, excess coating, trapped moisture, efflorescence, or actual paver damage.
- Let the surface dry completely and identify the type of grit before cleaning, stripping, or applying another sealer.
- Use a paver-safe cleaner and controlled pressure suited to the material, then allow at least 24 to 48 hours of drying time before sealing.
- Choose a compatible topical or penetrating sealer based on the paver material, desired appearance, moisture conditions, and expected traffic.
- If the finish remains sticky, cloudy, or streaky, test a small area and consider professional restoration instead of adding another coat.
Why Sealed Pavers Feel Rough Underfoot
A rough surface does not always mean the pavers are permanently damaged. In many cases, loose grit sits on top of the coating or collects inside the joints.
Loose sand is one common cause. If joint sand remains on the pavers after sanding, the sealer can bond around those particles. Once dry, the surface feels rough even though the pavers underneath are in good condition. Dust from pressure washing can create a similar problem when the area is sealed before the fine residue is removed.
Over-application is another common issue. Topical sealers contain resins and solids that dry into a film. A high-solids paver sealer can build a heavy film, with excessive solids content creating raised spots or roller marks. Uneven back-roll technique can leave overlapping ridges and uneven color enhancement.
Moisture creates a different type of rough finish. Pavers and natural stone are porous, so water can remain below the surface after cleaning. Humid Florida weather, shaded areas, irrigation, pool splashes, and poor drainage can slow evaporation, while mold and mildew may add surface buildup. The sealer then dries over trapped moisture instead of bonding to a dry surface.
Efflorescence can also leave a white, chalky, or sandy deposit. This mineral residue moves toward the surface as moisture travels through the pavers. If you seal too soon, the coating can trap the residue underneath and create a cloudy film.
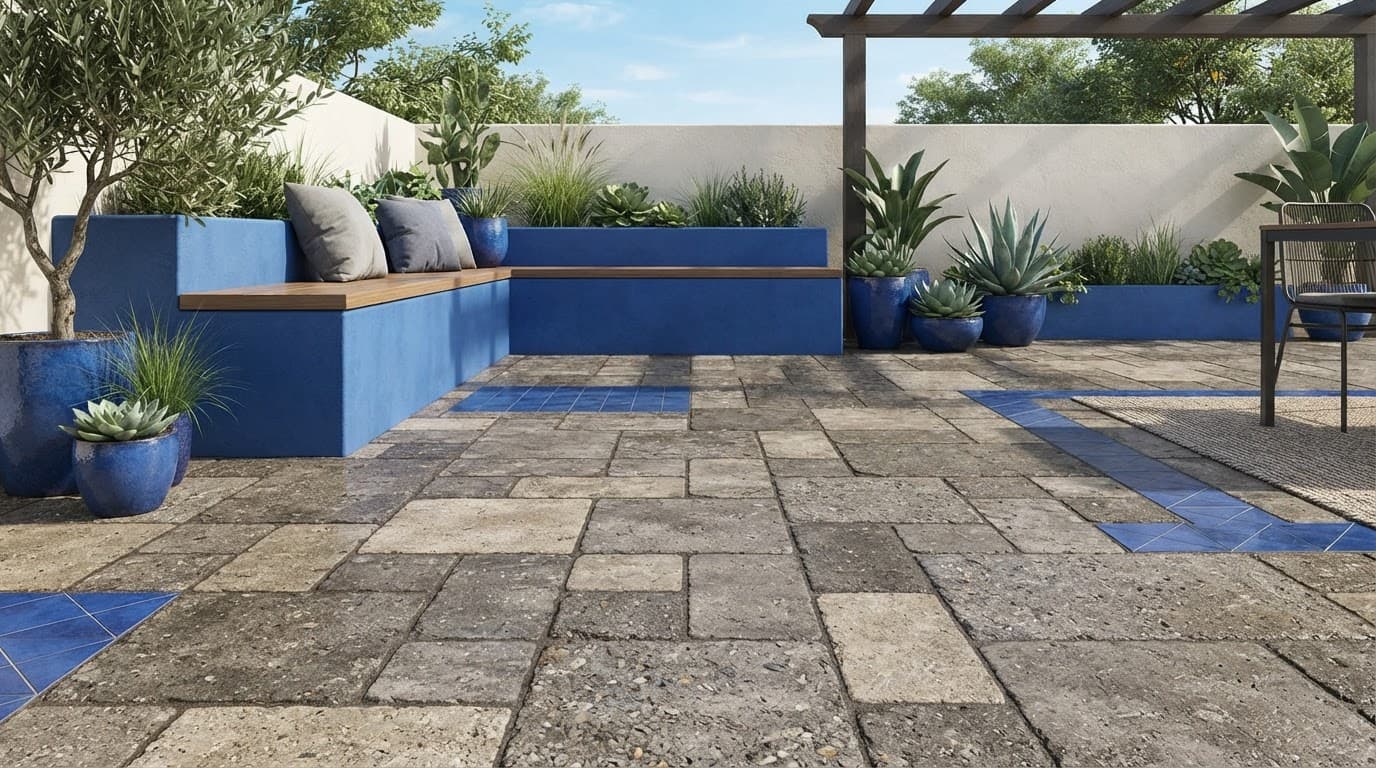
If the roughness returns after rain or looks white and cloudy, check for moisture and efflorescence before blaming the sealer alone.
How to Diagnose the Finish Before Cleaning
I start by letting the surface dry completely because proper surface preparation begins only when the pavers are dry. A wet paver can hide discoloration, soften residue, and make a coating appear worse than it is. Give recently washed pavers at least 24 to 48 hours in suitable weather before judging the finish.
Next, look at the type of grit:
- Loose, pale grains usually point to leftover joint sand, dust, or cleaner residue.
- White powder or crystals often indicate efflorescence or moisture movement.
- Clear or amber bumps may be excess coating.
- Dark, sticky particles can come from oils, soot, melted coating, organic buildup, or mold and mildew.
- A rough, bleached, or pitted area may be surface damage rather than residue.
A simple water-drop test can help identify an existing paver sealer. Place a few drops of water in an inconspicuous area and watch what happens. If the water beads for several minutes, the surface may have a topical coating or a water-repellent treatment. If it absorbs quickly, the pavers may be unsealed or protected by a penetrating product. Concrete pavers can absorb water at different rates.
This test is not perfect. Penetrating sealers can be difficult to see because they soak into the paver instead of forming a visible film. Topical sealers usually leave more sheen, darkening, or a noticeable coating edge. A professional can use a small test area and an appropriate solvent to determine whether an old film is present.
Never seal over a cigarette burn, acid mark, deep oil stain, or damaged paver. Heat can melt the coating and darken the brick pores. Acid can roughen or bleach concrete and natural stone. Cleaning or replacing the affected paver comes before sealing.
Cleaning and Drying Steps That Prevent Grit
The entire area needs attention, not only the spot that feels rough. Removing debris and choosing the right cleaner are essential parts of surface preparation. Spot cleaning often creates a visible color difference and leaves the same residue on surrounding pavers.
I begin by removing furniture, leaves, loose sand, and surface debris. A broom or commercial vacuum can remove dry particles before water moves them into the joints. Polymeric sand may need gentler handling and careful rinsing to avoid unnecessary displacement. Then I choose the cleaner based on the type of buildup.
A paver-safe, pH-neutral cleaner works well for routine dirt. Oil and sunscreen need a compatible degreaser. White mineral deposits may require an efflorescence cleaner made for masonry. Mold and mildew need an appropriate treatment followed by a thorough rinse. On delicate travertine and other natural stone, I prefer soft agitation and a gentle rinse rather than aggressive chemicals.
A soft wash approach can help with mold and mildew or other organic growth when the surface cannot tolerate heavy force. The cleaning method must still match the material. Travertine, older brick, and worn concrete can be damaged by a nozzle held too close, while excessive pressure can damage natural stone.
Controlled pressure washing can help remove loose sand, residue, and cleaner buildup from concrete or suitable brick surfaces. I use a wide spray pattern, test a small area first, and avoid stripping out more joint sand than necessary. Maximum pressure is not the goal. The goal is a clean surface without etching, paver damage, or uneven removal of old sealer.
If an incompatible topical coating is causing roughness, chemical stripping may be an option only when the coating and paver material are compatible. A suitable stripper, such as FloorStrip HP or PowerStrip, must be handled carefully, with nearby plants protected and the surface completely rinsed afterward.
Drying is just as important as cleaning. I wait at least 24 to 48 hours after washing before applying a new paver sealer. That dry time may extend in humid weather or when the base holds moisture. Check shaded joints, low areas, and pavers near pool water. They often remain damp after the rest of the surface looks dry.
Water-based sealers can stay cloudy or tacky when trapped moisture remains below the film. Solvent-based sealers can also haze, soften, or streak over a damp surface or incompatible coating. Good airflow helps, but it cannot correct a wet substrate.
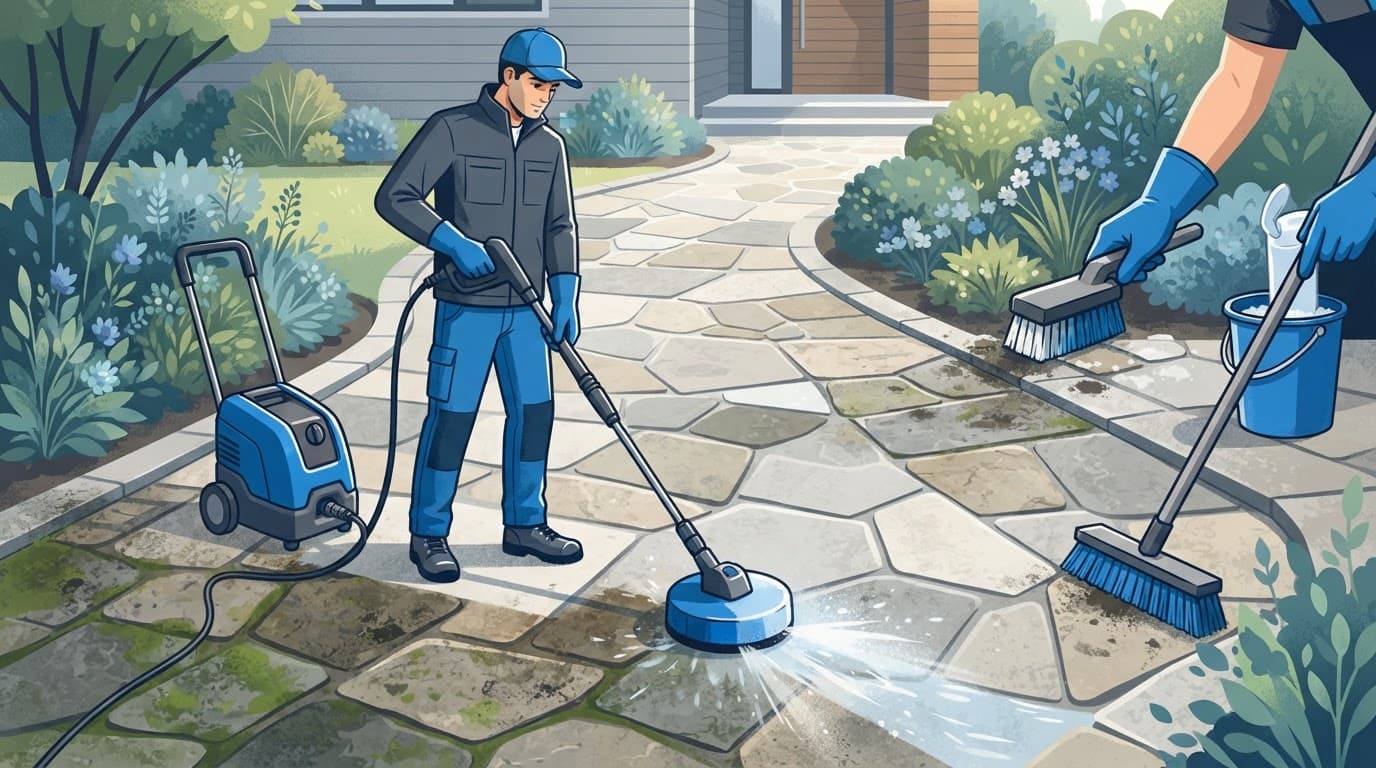
If roof cleaning runoff reaches a patio or driveway, rinse the area before the solution dries and collects in the joints. After pressure washing, inspect nearby surfaces and rinse away any remaining residue. This is one reason exterior cleaning work needs a careful plan around the whole property.
Choosing a Sealer That Fits the Pavers
The right paver sealer affects the surface’s appearance, feel, performance, and stain protection. Compare solids content and film build before choosing a finish.
| Sealer type | Best fit | Surface appearance | Main concern |
|---|---|---|---|
| Topical sealers | Concrete pavers and many brick pavers | Darkened appearance, color enhancement, or wet look | Can turn sticky, streaky, or rough |
| Penetrating sealer | Natural stone and areas needing a natural look | Little visible change | Does not hide stains or form a heavy film |
| High-solids topical sealer | Surfaces needing stronger film protection | Rich color and more sheen | More sensitive to over-application and moisture |
| Water-repellent penetrating sealer | Porous brick, concrete, and some stone | Natural appearance | May not lock joint sand like a topical product |
Topical sealers sit near the surface and can lock joint sand in place. They are also more exposed to foot traffic, heat, and tires. Penetrating sealers enter the pores and reduce water absorption without leaving the same heavy coating.
Chemistry also affects the finish and cleanup process. Water-based sealers may suit projects needing easier cleanup and a lighter appearance. Solvent-based sealers can provide richer color, but may have stronger odor and greater moisture sensitivity during curing.
For natural stone, I usually favor a product that respects the stone’s texture, natural appearance, and desired level of color enhancement. Travertine can become blotchy when a thick film traps sunscreen, mineral residue, or moisture.
Driveway sealing needs extra attention because hot tire pickup is more likely on a topical coating that has not cured fully. Warm tires can soften the film and pull it away from the pavers. High humidity, excessive solids content, and direct heat during application can increase the risk.
In colder climates, freeze-thaw protection also matters. Southwest Florida properties should prioritize moisture, traffic, and heat performance.
Follow the paver sealer label for the required dry time before allowing traffic. Many products allow light foot traffic after the surface dries and cures for several hours, while vehicles commonly need 24 to 48 hours or longer. If the driveway still feels soft, smells strongly of solvent, or marks under a shoe, keep traffic off it.
Fixing a Sticky, Cloudy, or Streaky Sealer
A fresh paver sealer may be repairable without complete removal. Keep people, pets, furniture, and vehicles away from the area. Improve airflow, provide shade, and allow the product time to cure according to the label.
If the finish remains tacky, a trained professional may consider re-emulsification only when the manufacturer specifies a compatible liquid and procedure. For water-based sealers, that liquid may be compatible water; solvent-based sealers require the manufacturer-approved compatible solvent process. Excessive solids content in topical sealers, especially high-solids products, can leave a thick, slow-curing, or uneven film. The surface can then be worked evenly with a roller or back-roll method, not another coat, because more product usually thickens the sticky layer.
White haze may improve as trapped moisture leaves the pavers. If it remains after the surface dries, the cause may be efflorescence, leftover cleaner, or an incompatible old sealer. A small test area should be cleaned before treating the entire driveway or patio.
When the paver sealer has cured badly, partial stripping or full removal may be needed. The safest approach depends on the coating, the paver material, and the condition of the joint sand. A full reset often gives a better result than trying to disguise isolated streaks with another coat.
At Kingsway Paver Sealing & Pressure Cleaning, I inspect the surface before recommending cleaning, restoration, re-sanding, or sealing. Homeowners in Fort Myers, Naples, Bonita Springs, Port Charlotte, Sanibel Island, and nearby areas can Get a Quote when the finish needs professional attention.
Keep the Surface Clean and Comfortable
Gritty sealed pavers usually signal a preparation or curing problem, not a reason to apply more sealer. Let the surface dry, identify the residue, and test the cleaning method in a small area first.
Keep pavers clean and dry, and remove mold and mildew promptly before recurring moisture creates residue. Proper preparation, the right sealer, and enough traffic time make the biggest difference. Your patio, pool deck, walkway, or driveway can look attractive with a desired color enhancement, not a rough or uneven coating.
Frequently Asked Questions
Why do my sealed pavers feel gritty?
Gritty sealed pavers commonly have loose joint sand, dust, cleaner residue, efflorescence, or excess sealer on the surface. Trapped moisture and surface damage can also create a rough or sandy feel.
Can I apply another coat of sealer to fix the rough finish?
Usually, adding more sealer makes the problem worse by increasing film thickness and trapping more residue or moisture. Identify and remove the cause first, and test any cleaning or repair method in a small area.
How long should pavers dry before sealing?
Allow at least 24 to 48 hours after washing before applying a new paver sealer. Humid weather, shaded joints, low areas, pool splashes, and a damp base may require additional drying time.
How can I tell whether the roughness is efflorescence?
Efflorescence often appears as white powder, crystals, or a chalky deposit caused by moisture moving through the pavers. If the white haze returns after rain or remains cloudy beneath the coating, check for moisture and mineral residue before resealing.
When should a professional remove the sealer?
Professional help is appropriate when the coating is badly cured, sticky, incompatible, heavily streaked, or bonded to damaged pavers. The safest removal method depends on the sealer chemistry, paver material, and condition of the joint sand.
Conclusion
A gritty finish can come from loose sand, excess coating, efflorescence, trapped moisture, or surface damage. The right repair starts with inspection before cleaning, stripping, or resealing.
I never recommend sealing over residue, stains, or burned pavers. Confirm the surface is clean and fully dry, then choose a compatible sealer. If white haze returns, inspect for moisture or residue again instead of applying another coat.
