
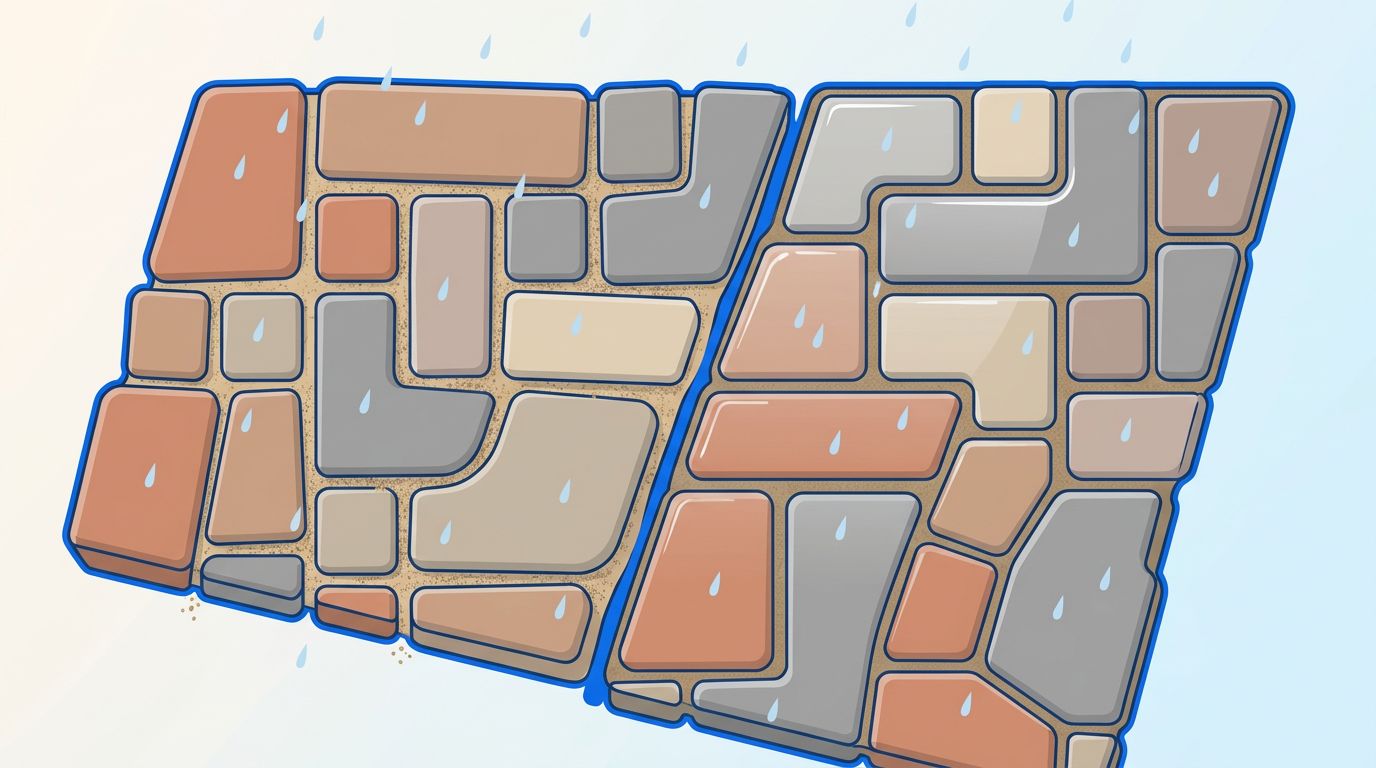
Florida weather can be relentless, often causing paver joints to fail much faster than homeowners expect. Heavy rain frequently washes loose sand away, constant irrigation keeps joints damp, and invasive weeds find every open space between your hardscaping. Choosing the right joint material is essential if you want your driveway pavers, patio pavers, or pool deck to stay clean, stable, and weed-free.
I work with both regular natural sand and polymeric sand on Florida pavers. Each option has a specific place in hardscape maintenance, but they do not provide the same level of protection. The right choice depends on the type of pavers, joint width, local drainage, foot traffic, and how much ongoing maintenance you are willing to handle over the years.
Key Takeaways
- Polymeric sand locks paver joints together after water activates its binding material.
- Natural sand costs less and works well for some smaller or temporary projects, but it needs more maintenance.
- Florida’s rain, humidity, irrigation, and storms make loose paver joints more likely to experience washout.
- Polymeric sand only works when the pavers are properly cleaned, dry, stable, and installed according to the product instructions.
- Joint sand won’t correct a weak base, shifting pavers, drainage problems, or damaged edges.
What Makes Polymeric Sand Different in Florida
Polymeric sand looks like ordinary fine sand, but it contains a specialized polymer binder that activates when it meets water. After the initial watering and curing phase, the material undergoes a hardening process that creates a firm, stable bond within the paver joints. While it still allows for minor movement between pavers to accommodate soil shifts, it resists being swept or washed away significantly better than loose sand.
That difference matters in Southwest Florida. A short afternoon storm can easily displace regular sand from open joints, and a prolonged tropical storm can leave low spots, exposed edges, and bare gaps across a driveway. Once the sand disappears, pavers become more prone to shifting, and the open gaps provide ideal conditions for weed growth and the development of unsightly ant hills.
Polymeric sand helps mitigate these issues by sealing the gaps, which limits both vegetation and insect activity. It is not a permanent weed barrier, however. Dirt, leaves, and organic seeds can still collect on the surface, especially when the pavers are located under trees.
The success of this material depends heavily on the installation process. The joints must be completely free of old sand, dirt, moss, and organic debris, and the pavers must be perfectly dry before application. Furthermore, the installation must account for specific joint width and depth requirements. Water must be applied with precision because too much water can wash the binder out of the joint, while high Florida humidity can significantly impact the necessary curing times for the product to reach its maximum strength.
I follow the specific manufacturer requirements for the selected product instead of treating every patio project the same. Variables such as joint width, joint depth, paver type, temperature, and the daily chance of rain all influence the final result. The Interlocking Concrete Pavement Institute provides additional installation information for professionals and homeowners who want to understand proper paver construction.
Polymeric sand is not a shortcut for a poorly built patio. It works best when the pavers are stable and the joints are prepared correctly.
When Natural Sand Still Makes Sense
Natural sand remains useful in certain situations. It is usually less expensive, easy to apply, and simple to remove when a homeowner needs to repair or adjust a few pavers. As a form of permeable paver sand, this material allows water to move through the joints freely without creating a hardened surface.
For a small garden path, a low-traffic patio, or temporary patio pavers, natural sand may be a practical choice. It can also work well when the owner expects to reposition the stones later. If the joints need frequent adjustment, using a bonded product may create extra work during repairs.
The downside is maintenance. Natural sand can wash out around downspouts, driveway edges, pool decks, and areas that receive sprinkler spray. Ant hills may develop within the joints, weeds may grow in the gaps, and debris collection can lead to unsightly staining. Furthermore, strong pressure washing can easily remove the sand along with surface dirt.
Beach sand is not a good replacement for proper joint sand. Its grains are often rounded and may not lock together as well. I recommend using clean, compatible paver joint sand that matches the paver manufacturer’s instructions.
Natural sand also cannot hide movement. If the stones rock under foot or vehicle traffic, adding more sand may improve the appearance for a short time. However, the movement will return if the base, edge restraint, or drainage problem remains.
Homeowners should also think about the surrounding property. Routine pressure washing can clean paver surfaces, but using a pressure washer directly on open joints can cause significant washout. Roof cleaning, gutter overflow, and landscape irrigation can create additional runoff that carries loose material away.
Florida-friendly landscape planning can help reduce some of these problems. The University of Florida’s Florida-Friendly Landscaping program offers guidance on water management, plant placement, and landscape maintenance around the home.
Polymeric Sand vs. Regular Sand: A Practical Comparison
The table below shows how these two materials compare for common Florida paver applications.
| Feature | Polymeric Sand | Natural Sand |
|---|---|---|
| Resistance to heavy rain | Better once cured; prevents washout | Prone to significant washout |
| Weed and insect control | Helps limit growth and movement | Provides little resistance |
| Initial material cost | Higher | Lower |
| Installation requirements | Needs careful preparation and watering | Easier to spread and replace |
| Repair flexibility | More difficult to remove | Easy to remove and replenish |
| Maintenance needs | Usually lower | Usually higher |
| Best use | Driveways, patios, pool decks, busy walkways | Small paths, temporary work, easy-access repairs |
For most permanent Florida driveways and patios, I usually prefer polymeric sand when the joint conditions support it. It gives homeowners better protection against heavy rain and regular use. It also reduces the cycle of filling joints every time a storm moves sand across the property. Whether you have concrete pavers or brick, this hardened barrier keeps your outdoor surfaces looking neat and tidy.
Natural sand can still be the better option for a flexible repair plan or a low-traffic area. The choice is not about picking the most expensive material; it is about matching the joint material to the way the surface is built and used.
Paver color and surface type matter as well. Concrete pavers, clay brick, and travertine each respond differently to cleaning and water. Travertine has a porous surface that needs careful handling. Choosing the right sand installation method and avoiding aggressive cleaning is essential to prevent staining on these delicate, natural textures.
How I Install Polymeric Sand on Florida Pavers
To ensure the best results, I treat this as a two-day process. Proper preparation is essential, as any old material left in the joints will prevent the new polymeric sand from bonding evenly. Furthermore, if the pavers are damp, the binder can activate prematurely before the material reaches the required depth.
My installation process begins with a thorough inspection. I check for rocking pavers, low spots, damaged edges, and any missing joint sand that could impact structural integrity. I also evaluate whether the pavers have an existing coating that is peeling, as this can create a patchy appearance.
Next, I remove the old joint material and deep clean the surface using a pressure washer. I am careful to control the spray intensity, as aggressive water pressure can displace the bedding sand and weaken the edges of the installation.
After cleaning, the surface must dry completely. Florida humidity often extends this waiting period, especially in shaded areas or near a pool. Polymeric sand should never be installed if the joints or the surfaces of the pavers contain lingering moisture.
Once dry, I sweep the new sand into the joints and compact it to ensure the material reaches the proper depth. Low joints often require more than one pass to reach full capacity. It is critical that the sand sits slightly below the surface of the paver to avoid a haze.
The watering process is the most vital step for activation. I apply water in controlled sections to trigger the binder without washing the material out of the joints. I strictly follow manufacturer guidelines regarding spray patterns and timing. It is also important to keep rain, sprinklers, and foot traffic away from the area during the recommended curing period.
Paver sealing is a separate, final step. If you want enhanced color protection or easier cleaning in the future, paver sealing can be scheduled once the joint material has fully cured. Applying a sealant or joint stabilizing sealer too soon can interfere with the sand and cause an uneven finish. While a sealed surface is not entirely stain-proof, it gives dirt, soot, and oil less room to absorb into the material. This makes regular maintenance much easier, especially for driveway pavers that are frequently exposed to vehicle traffic and organic residue.
Common Problems With Paver Joint Sand
Most joint sand failures come from installation or drainage problems rather than the specific product name on the bag. Here are the issues I see most often:
- Sand washes out near edges: Downspouts, sloped driveways, and sprinkler heads can send stormwater runoff through the joints, leading to significant washout. Improving the water drainage path often matters as much as replacing the sand itself.
- Polymeric sand turns hazy: Sand left on the paver face can leave a film after it gets wet. Thorough cleanup before activation helps prevent this aesthetic problem.
- Joints stay soft: Excess water, damp pavers, improper depth, incorrect joint width, or cool curing conditions can prevent the binder from setting properly.
- Pavers continue moving: Joint sand cannot repair a weak base or missing edge restraint. Those structural problems must be corrected first.
- Weeds return: Polymeric sand inhibits weed growth, but it does not stop seeds and dirt from collecting above the joint. Regular sweeping and rinsing remain important maintenance tasks.
- Pressure washing removes the joints: A narrow spray tip or close-range cleaning can strip sand from both regular and polymeric joints. The surface should be cleaned with controlled pressure and the correct distance from the paver.
I also recommend separating cleaning services by surface and purpose. A soft wash is better for some exterior areas, while paver cleaning may require a different process. Roof cleaning chemicals and runoff should not be allowed to sit on unprotected pavers because they can cause permanent staining. Keeping gutters clear can also reduce concentrated water flow across a driveway or walkway.
If the pavers are uneven, the joint sand is missing across a large area, or the old sealer is failing, cleaning alone will not solve the issue. The surface may require comprehensive paver restoration, re-sanding, and sealing as one complete service. Homeowners in Fort Myers, Cape Coral, Bonita Springs, Naples, and nearby Southwest Florida communities can Get a Quote for a professional assessment.
Frequently Asked Questions
How long should I wait after installation before walking on or wetting the polymeric sand?
You should avoid walking on the pavers for at least 24 hours to allow the binder to begin its initial set. It is also critical to keep the area completely dry and free from sprinkler activity for at least 24 to 48 hours, depending on humidity levels, to ensure the product cures properly.
Can I use polymeric sand to fix a paver area that is already sinking or shifting?
No, polymeric sand is intended for filling joints rather than providing structural support. If your pavers are rocking or sinking, you must address the underlying base issues or edge restraints first before reapplying any joint material.
Does polymeric sand make a surface completely weed-proof and stain-proof?
While it significantly reduces weed growth and insect activity by sealing the gaps, it is not an absolute barrier against nature. Organic matter such as leaves and dirt can still accumulate on the surface, which may eventually support new weed growth if the pavers are not kept clean and maintained.
Can I apply polymeric sand over existing old sand in the joints?
No, you must remove all old sand, dirt, and organic debris from the joints prior to installation. If the new sand is poured over contaminated old material, the binder will not achieve a consistent bond, leading to premature failure and potentially an uneven, hazy appearance.
Conclusion
For most permanent driveways, patios, and pool decks, using polymeric sand for Florida pavers offers superior protection against heavy rain, invasive weeds, persistent insects, and routine wear. While regular sand remains a viable, low-cost choice for projects that require a more flexible, easy-to-replace option, some homeowners may find that a joint stabilizing sealer combined with natural sand provides a reliable alternative for their specific needs.
Ultimately, the performance of these materials depends on stable base preparation, clean joints, and careful installation. Because Florida weather can be harsh on concrete pavers, prioritizing proper joint stabilization is essential to ensure your hardscape stays clean, stable, and easy to maintain throughout the year. Whether you choose polymeric options or traditional methods, a high-quality joint system is the best way to protect your investment through the next rainy season.
