
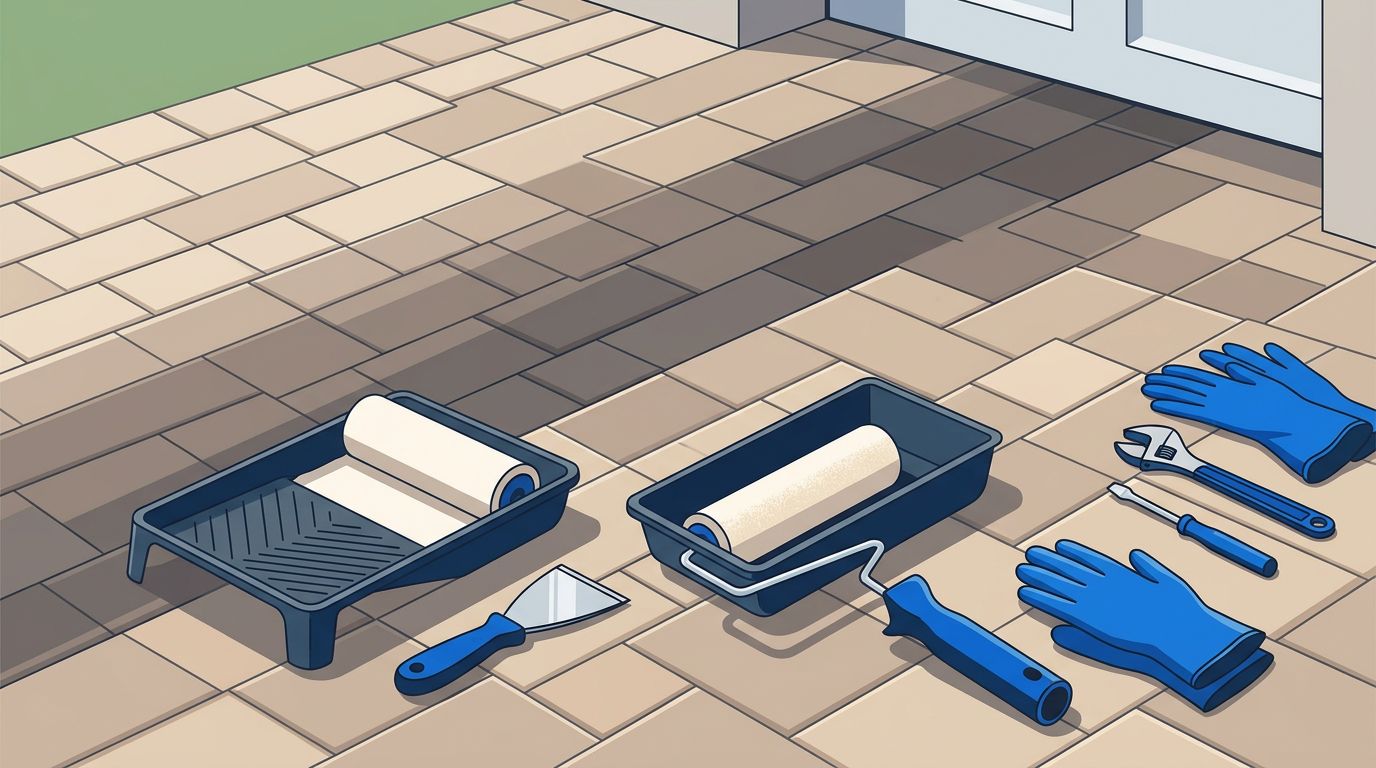
Paver sealer overlap marks can make a freshly cleaned driveway look patchy, streaked, or darker in certain sections. These visible roller marks usually appear when applying a concrete sealer where one area receives more product than another, or when the acrylic sealer starts drying before the application is finished.
I see these issues most often after rushed DIY applications, hot-weather sealing, and improper surface preparation. Lap lines and uneven roller marks frequently occur during hasty projects using an acrylic sealer or standard concrete sealer without adequate technique. The good news is that many cases can be corrected without replacing the pavers. The right fix depends on the specific concrete sealer used, the paver material, and how deeply the coating has bonded.
Key Takeaways
- Paver sealer overlap marks, lap lines, and uneven roller marks are typically caused by applying fresh sealer over sections that have already started drying without maintaining a wet edge.
- Weather conditions like strong sun and high temperatures can accelerate drying times, making it difficult to blend passes and leading to a patchy, uneven gloss.
- Avoid immediately adding another coat over overlap marks; instead, start by testing a small area to determine whether the coating needs cleaning, softening, or stripping.
- Proper preparation—including thorough cleaning, ensuring the surface is completely dry, and applying thin coats—prevents future sealer failures and ensures a uniform finish.
What Paver Sealer Overlap Marks Look Like
Overlap marks are visible lines, darker bands, glossy patches, or sections that look wet even after the rest of the surface has dried. When applying a concrete sealer to a concrete floor or stamped concrete patio, these imperfections often follow the path of a roller, pump sprayer, or applicator wand, leading to noticeable lap lines and roller marks.
Some marks are easy to see right away. Others become more noticeable after the sun warms the pavers or after rain reaches the surface. A driveway may look acceptable in the morning, then show clear stripes by the afternoon, highlighting an uneven gloss across the treated area.
The appearance depends on the type of product used. A water based sealer and a solvent based acrylic sealer behave quite differently as they dry. An acrylic sealer often creates stronger lap lines and roller marks because it leaves a visible coating on top of the pavers, a concrete floor, or stamped concrete. A solvent based acrylic sealer can also trap moisture, leading to white spots or air bubbles. Penetrating sealers usually produce a more natural finish, but they can still look uneven when the masonry absorbs the liquid at different rates.
I also look at the joints, edges, and low spots. Sealer can collect in recessed areas, around pool decks, or along the edge of a driveway, creating an uneven gloss. These sections may stay darker or glossier because they received extra product.
A few signs usually point to an application problem:
- Straight or repeated roller marks that match the applicator’s path
- Unwanted lap lines across the surface
- Glossy sections beside dull sections, resulting in an uneven gloss
- Dark areas that are not caused by dirt or moisture
- Sticky or soft patches after the recommended curing period
- White spots, a white haze, cloudy areas, or air bubbles trapped within the film
The first step is to let the surface dry fully. Damp pavers can make a minor color difference look like a major failure in your concrete sealer.
What Causes Paver Sealer Overlap Marks?
The most common cause is applying fresh sealer over an area that has already started to dry, failing to maintain a wet edge. The new coat does not blend evenly with the first pass. Instead, it leaves a visible lap line where the two sections meet.
Southwest Florida weather can make this problem worse. Strong sun, high temperatures, wind, and low surface moisture can shorten the curing time of the sealer. A crew may begin with a reasonable application pace, then find the product drying faster across exposed sections, which quickly creates stubborn roller marks.
Other common causes include:
- Too much sealer
More product does not always provide more protection. Excess concrete sealer can sit on the surface, collect in low areas, and dry with a heavier sheen. A high solids coating with high solids content creates a thick film that traps air bubbles if you do not use a low viscosity water based sealer or thin solvent based acrylic sealer instead. - Uneven absorption
Older pavers, repaired areas, and worn sections do not absorb sealer at the same rate. A surface with open pores may look dull beside a section that still has older sealer. This uneven porosity often affects stamped concrete, a concrete floor, and regular pavers differently, leading to patchy lap lines. - Insufficient cleaning
Dirt, algae, old coating, joint sand, and organic residue can prevent the product from bonding evenly. Proper surface preparation is critical. Sealer applied over a dirty surface or a stained concrete floor often dries with cloudy or blotchy areas, or it may fail prematurely under hot tire marks. - Sealing while the pavers are damp
Moisture trapped in the pavers or joints can interfere with the finish. It may create a white haze, air bubbles, cloudy patches, or uneven color, especially when using a solvent based acrylic sealer that reacts poorly to trapped humidity. - Poor application technique
A roller loaded with too much product can leave heavy roller marks and harsh lap lines. Failing to maintain a wet edge across stamped concrete or a concrete floor causes distinct boundaries. A sprayer held too close can create concentrated areas, and failing to back-roll puddled material also creates visible marks. - Wrong product for the surface
Brick pavers, concrete pavers, and natural stone do not all respond the same way. Choosing the right concrete sealer matters because travertine and stamped concrete are softer or denser, so a standard formula for a concrete floor may leave an unwanted finish or create lap lines on specialty surfaces.
A sealer problem is not always a sealer problem. Uneven cleaning, moisture, old coatings, and surface wear can all change the final appearance.
Professional Fixes for Uneven Sealer
I don’t recommend adding another coat over overlap marks before identifying the cause. A second coat may darken the surface, increase the gloss, or make the lines more difficult to remove.
The first part of a professional repair is a close inspection. I check whether the marks are raised, sticky, cloudy, dark, or simply uneven in color. I also look at the paver type, the age of the concrete sealer, moisture levels, and the condition of the joint sand. Determining if the existing product is a water based sealer, polyurethane sealer, epoxy sealer, or solvent based acrylic sealer helps dictate the safest approach.
A small test area comes next. The test helps show whether the coating can be softened, cleaned, or blended. It also helps prevent a large repair from creating a larger damaged area.
A typical correction may include these steps:
- Remove loose dirt and surface debris.
Sand, leaves, dust, and organic buildup need to be cleared before any treatment begins. Scrubbing or rinsing over loose debris can spread it across the surface. - Identify the existing sealer.
An acrylic sealer, solvent-based coating, water-based formula, or protective concrete sealer can react differently to cleaning solutions. If the product is unknown, I treat the area carefully and test before using a stronger method. - Clean the pavers with a suitable solution.
A pH-neutral or masonry-safe cleaner may remove light residue and surface contamination. The cleaner needs enough time to work, but it should not dry on the pavers. - Soften or remove excess coating when needed.
Some overlap marks respond to a compatible concrete sealer remover. This is a controlled process, not a reason to flood the entire surface with strong chemicals. On a concrete floor or stamped concrete surface, a mild solvent, careful light sanding, or targeted light sanding can encourage better sealer diffusion and fix uneven gloss without harming the stone. - Rinse with controlled pressure.
Pressure washing can remove loosened residue, but excessive force can chip brick, disturb joint sand, or drive contaminants deeper into porous pavers. I prefer a wide spray pattern and measured passes. - Allow the surface to dry completely.
Recoating damp pavers can create another uneven finish. Drying time depends on sun, shade, humidity, drainage, and the amount of moisture held in the joints. Monitoring the curing time prevents trapping moisture under a new concrete sealer. - Blend or reseal the surface.
If the old coating has been corrected and the pavers are clean, a uniform application may improve the appearance. Applying thin coats of an acrylic sealer or compatible concrete sealer, while respecting the proper curing time, helps avoid new heavy build-ups. In other cases, partial stripping or full removal is needed before applying a new coat.
Travertine requires extra care. I handle natural stone more like a soft wash job than a heavy cleaning project. A soft brush, stone-safe cleaner, and low-pressure rinse are often safer than an aggressive nozzle.
Harsh acids, random solvents, wire brushes, and heat guns can cause permanent damage. Heat may create thermal shock, which can lead to cracking, spalling, or discoloration. A professional repair should protect the stone instead of trading overlap marks for etching or surface damage.
When Pressure Washing Helps, and When It Doesn’t
Pressure washing is useful during paver restoration, but it is not the first answer for every sealer mark. High pressure cannot correct an uneven coating by itself, especially when dealing with stubborn roller marks or lap lines left by a curing polyurethane sealer, epoxy sealer, or standard concrete sealer. It may remove loose residue, but it can also strip joint sand, cut lines into the pavers, or expose differences between old and new surfaces.
I use pressure only after the affected material has been loosened. Flat brick or concrete areas may be cleaned with a surface cleaner and an appropriate spray pattern. Edges, joints, and delicate stone need more control. When addressing a concrete floor or stamped concrete driveway, preparation might also involve stripping a failing acrylic concrete sealer or clearing away embedded hot tire marks.
Travertine and other soft natural stone surfaces need particular attention. Too much force can mark the stone or remove more joint material than necessary. That is why I select the cleaner and pressure setting based on the surface, not simply on how dark the stain looks.
A soft wash approach is often better for organic growth, mildew, or nearby areas that cannot handle heavy force. Whether you are maintaining an interior concrete floor, a decorative stamped concrete patio, or exterior flatwork, let the chemical cleaner do most of the work instead of relying entirely on a high-pressure blast.
How to Prevent Sealer Lap Marks
Good surface preparation prevents most overlap problems. Before sealing a concrete floor, stamped concrete, or paver surface, it should be clean, dry, free of residue, and stable. Loose pavers, damaged joints, drainage issues, and old coating failures need attention before the concrete sealer is applied. Thorough prep also prevents hot tire marks, moisture issues that cause white spots, and trapped air bubbles.
The weather also matters. I avoid sealing when the surface is wet or when the product is likely to dry too quickly. Shaded areas, exposed sections, and edges may need different working speeds.
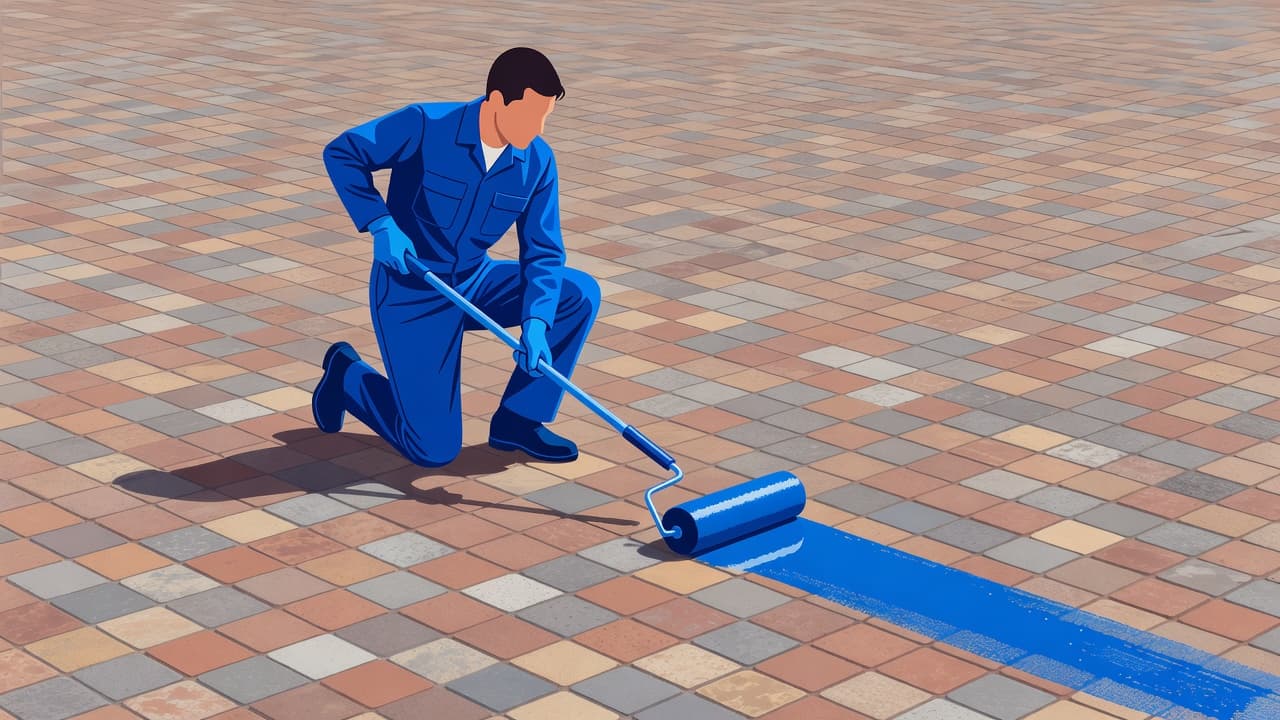
A consistent application helps keep the finish uniform. That usually means applying manageable sections in thin coats, maintaining a wet edge, avoiding puddles, and spreading excess product before it begins to set. Whether you are using a water based sealer, a solvent based acrylic sealer, a low viscosity formula, or a high solids coating with specific solids content, working methodically along a wet edge is essential. The product label should guide coverage rates and proper curing time.
Homeowners should also protect the area while the concrete sealer cures. Keep vehicles, furniture, sprinklers, pets, and foot traffic away until the curing time is complete and the product has hardened as directed in thin coats. If someone steps into the fresh finish before it cures, the mark can often be repaired instead of recoated. See how to fix fresh paver sealer footprints before deciding on a correction.
A professional paver sealing service can also identify whether the surface needs cleaning, sanding, repairs, or full restoration first. The same meticulous surface preparation matters with driveway sealing, especially when tire marks, oil, dirt, and old coatings are already present.
If the surface has visible overlap marks and you want a clear plan, Get a Quote for professional paver cleaning, restoration, and sealing in Southwest Florida.
Frequently Asked Questions
What causes paver sealer overlap marks?
Overlap marks happen when fresh sealer is applied over an area that has already begun to dry, failing to maintain a wet edge. Environmental factors like high heat and direct sun can also cause the product to dry too quickly, creating visible stripes and uneven gloss.
Can I just add another coat of sealer to fix the marks?
No, adding another coat over existing overlap marks is generally discouraged because it can darken the surface, increase the gloss, or make the lines even more noticeable. You must first identify the underlying cause and test a small area before attempting any correction.
How do you fix uneven paver sealer?
Fixing uneven sealer typically involves cleaning the surface, allowing it to dry completely, and using compatible methods such as mild solvents, light sanding, or a concrete sealer remover to soften and blend the coating. In more severe cases, partial or full stripping of the old sealer may be required before reapplying a thin, uniform coat.
The Right Repair Protects the Whole Surface
Paver sealer overlap marks, lap lines, uneven gloss, white spots, and roller marks stem from rushed application, improper solids content, or lack of wet edge management. They should not be covered with another coat until the existing finish has been tested and understood.
I always prefer a controlled repair. Clean the surface, test a small area, and use the least aggressive method that works, such as light sanding or solvent re-activation for sealer diffusion. Applying thin coats of concrete sealer, whether you are using an acrylic sealer, epoxy sealer, or polyurethane sealer, helps ensure uniform results. Allow the pavers to dry before deciding on the next step. That approach protects the brick, travertine, joint sand, and finished appearance.
A smooth, even concrete sealer finish starts before the first roller pass. With proper preparation and careful application of your concrete sealer, your pavers can look clean, protected, and consistent again.
