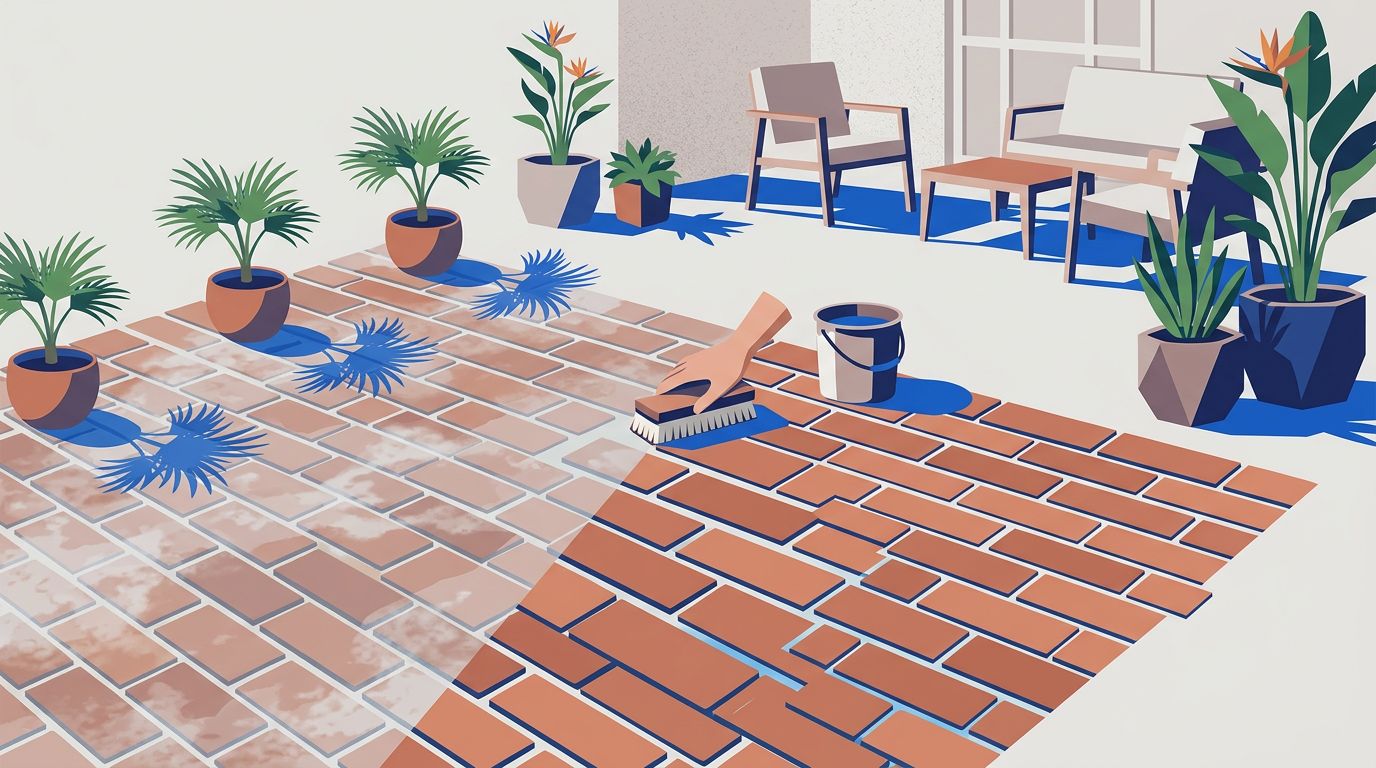
A bad sealer job usually gives itself away before I ever reach for a pressure washer to start the restoration process. If your pavers look cloudy, tacky, patchy, or worn in odd spots, simply adding another coat often fails to fix the underlying issues. In these cases, you likely need to strip old paver sealer to ensure a high quality result.
I see this a lot on driveways and patios featuring brick pavers in Southwest Florida. Intense heat, heavy rain, deep shade, and low quality product all work against the finish, and a rushed recoat can lock the existing problems in.
When I decide to strip old paver sealer, my goal is to reach a clean, bare surface rather than just applying a prettier version of a bad job. That success starts with reading the signs the pavers are already giving me.
Key Takeaways
- Recognize Failure Early: Signs like cloudy haze, tacky spots, peeling, or uneven blotchiness indicate that your current sealer has failed and needs removal rather than a simple recoat.
- Avoid Trapping Problems: Adding a new layer of sealer over an existing, compromised coat will lock in moisture, grime, and uneven textures, leading to worse results over time.
- Test Before You Strip: Always perform a small test patch to determine if the issue can be cleaned or if a full chemical strip is necessary for the surface.
- Prioritize Proper Prep: The secret to a long-lasting finish is a clean, bare surface. This includes removing old, failed sealer and ensuring the pavers are completely dry before reapplying any new product.
Why old sealer starts breaking down
Sealer does not fail all at once. It usually starts with small changes, then the whole surface becomes harder to manage.
Too much product is one of the biggest problems. Whether you are using a solvent-based sealer, a water-based sealer, or a standard acrylic sealer, applying these film-forming products too heavily can cause the top to dry while the layer underneath stays soft. That is where the gummy feel comes from, often caused by trapped moisture beneath the coating. If pavers were still damp during application, or if rain got under the finish later, the coating can cloud up, lift, or remain tacky.
Traffic wears it down too. Car tires, foot traffic, sprinklers, and UV rays all chip away at the finish. Dirt gets ground into the surface, and once that happens, the sealer stops looking even. On a driveway, the problem usually shows up faster near the turning spots and the sunniest stretches.
I also look at prep. A dirty or dusty surface can ruin a good product fast. If old sand, residue, or stains were left behind, the new layer may not bond the way it should. That is why I treat the entire process as a matter of thorough surface preparation, whether I am working on pavers or concrete surfaces.
Signs I look for before adding another coat
If the finish is still sound, I can usually clean it and move on. If it is failing, I stop thinking about touch-ups and start thinking about stripping.
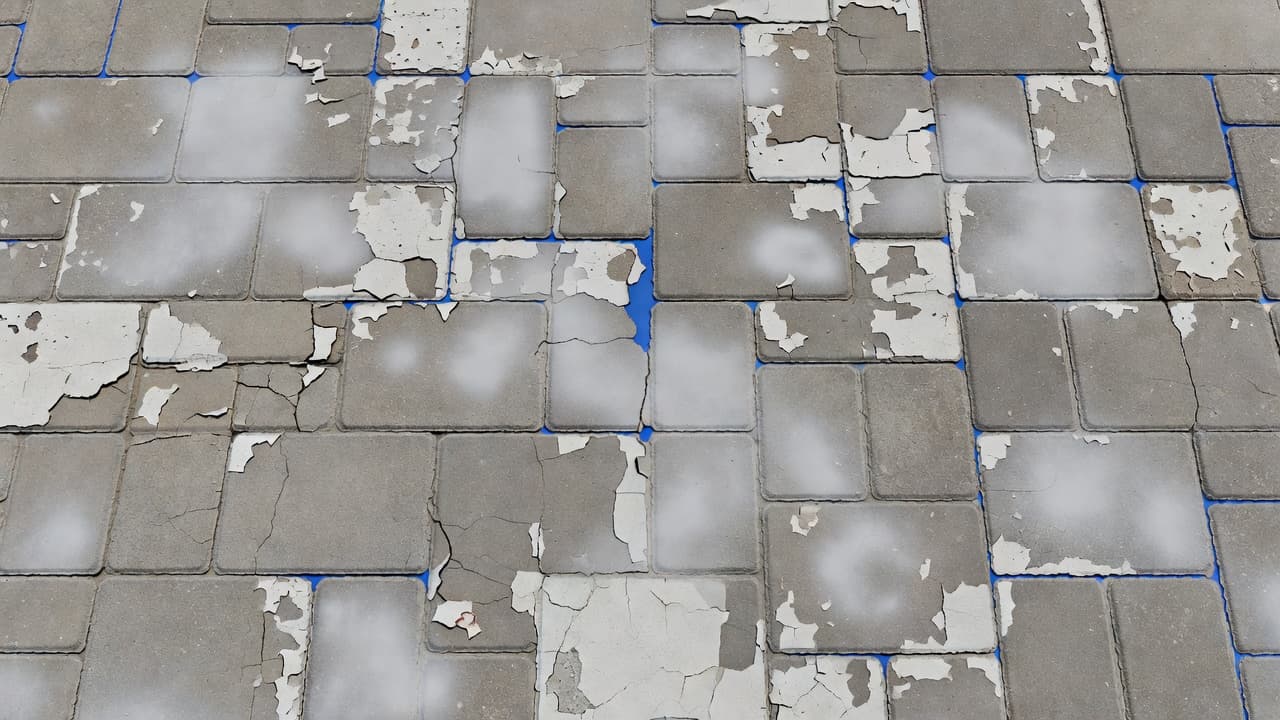
- Cloudy haze or a milky look. The pavers may have looked good at first, then turned dull or chalky later. That white haze often means moisture or trapped residue is sitting under the finish.
- Sticky or tacky spots. If the surface grabs dust, shoes, or leaves a slight gummy feel after rain, I do not trust it. A fresh coat over that mess usually makes it worse.
- Peeling, flaking, or shelling. Once the finish starts lifting in thin chips or curling edges, the bond is already gone in those spots. Another coat will not reattach it.
- Patchy shine or dark and light blotches. Uneven color is a big clue. It can mean the sealer was applied unevenly, or that some areas are failing faster because they hold more moisture or shade.
- Dirt that keeps coming back fast. If the driveway looks dirty again right after cleaning, the finish may be holding onto grime instead of repelling it. That is a common sign the top layer is tired.
- Footprints, tire marks, or sand sticking to the surface. When marks stay behind longer than they should, the sealer is not curing the way it should because of trapped moisture interfering with the process. I pay attention to that one because it usually gets worse with time.
If the finish feels gummy, cloudy, or flaky, I do not add another coat and hope for the best.
One sign by itself might just be a spill or a bad cleaning day. Two or three signs together usually point to a failed sealer that needs to come off before you can start fresh.
Strip, clean, or recoat? I use a simple rule
Not every ugly paver surface needs a full strip. Sometimes the problem is plain dirt, and sometimes the right fix is softer than people expect. I use the same common sense I use for roof cleaning. A roof gets a soft wash because too much force can damage it. Pavers are tougher, but the finish and the stone still tell me how hard I can push.
| Surface condition | What I usually do | Why |
|---|---|---|
| Light dirt, pollen, and intact gloss | Clean and rinse | The sealer is still doing its job |
| Cloudy film, peeling, or tacky spots | Apply a paver sealer stripper | A new coat will trap the failure |
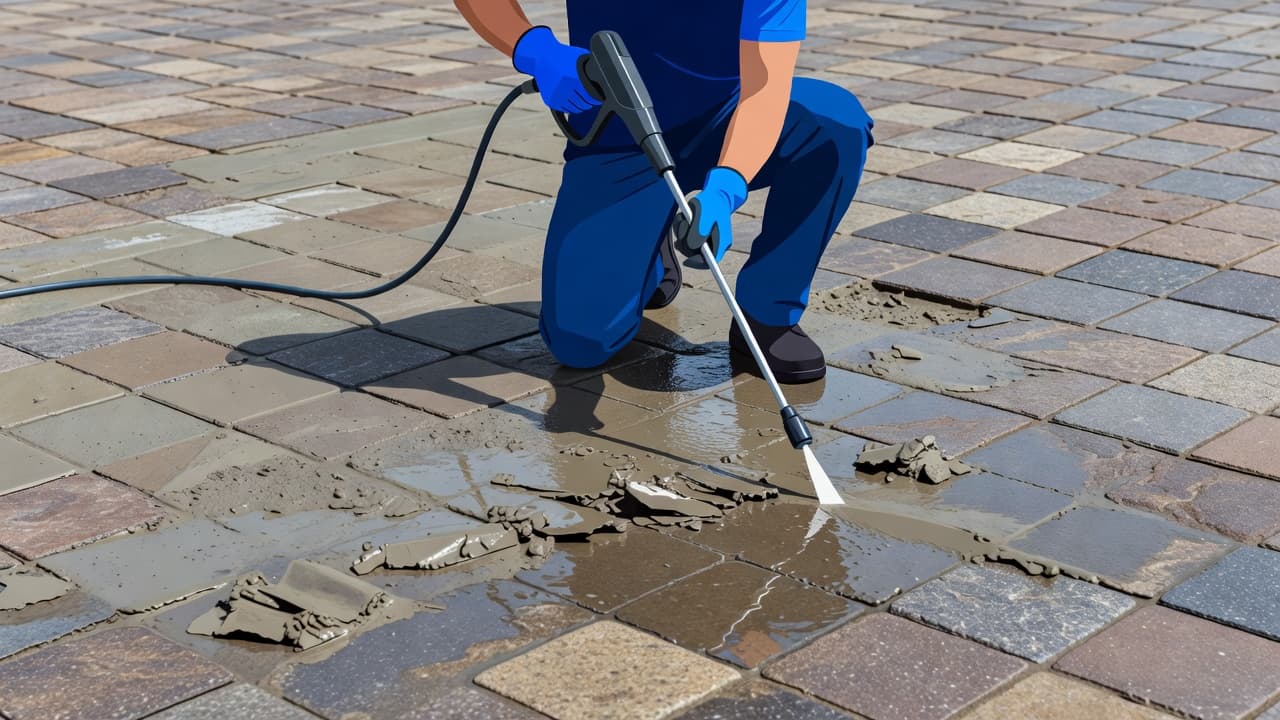
| Concrete with stubborn grime | High-pressure cleaning may help | The surface can handle more force |
| Travertine or other soft stone | Soft wash or low-pressure cleaning | Too much pressure can etch the face |
The takeaway is simple. Pressure washing has its place, but it is not the first move for every surface. On softer stone, I back off and use a soft wash approach instead. That is the same reason I do not treat roof cleaning like driveway cleaning. The material decides the method, not my mood or how fast I want the job done.
I always evaluate a small test patch first. That tells me whether I am dealing with fresh film, old residue, or a stain that has worked into the pores. If the test area cleans up well, I may not need to strip the whole area. If it turns cloudy, sticky, or blotchy, I know the old layer is the problem.
What happens after I strip the old layer
I treat the removal process as essential prep work rather than a punishment. The goal is to remove the failed finish without chewing up the face of the stone. To get started, I apply a quality paver sealer stripper using a pump sprayer, ensuring an even coat across the entire surface. After letting it sit for the proper dwell time, I use a stiff-bristled brush to agitate the area and break down the old, stubborn layers. Because these chemicals are potent, wearing proper PPE is non-negotiable throughout this stage.
Once the old sealer is gone, I rinse away the residue and let the surface dry completely. That part matters more than people think. A paver can look dry on top while moisture is still trapped deep inside the pores. If I rush that step, the next sealer can fail for the same reason the first one did. To avoid these issues, I often recommend using a breathable sealer that allows trapped moisture to escape.
After the surface is prepped, I check the joints. If joint sand has washed out or broken down, I replace it before applying new sealer. That helps the pavers stay locked in place and keeps the finish looking uniform. Then I assess the color, sheen, and texture one more time before applying any new product.
If the old finish was only mildly tacky, a professional might be able to correct the top layer with the right solvent. That is not a casual DIY move, though. If the failure is heavy, a full strip is the safer route.
That same careful approach is why I avoid aggressive high-pressure cleaning on every surface. The wrong tip, the wrong angle, or too much force can leave brick pavers rough, uneven, or permanently damaged. On concrete that may be acceptable in a few cases, but on travertine, it is a bad bet. Once the surface is open or etched, driveway sealing becomes much harder to get right.
If your pavers are already peeling, cloudy, or sticky, I would stop guessing and Get a Quote before the next coat makes the job even more difficult.
Frequently Asked Questions
Can I just pressure wash the old sealer off instead of using a stripper?
While a pressure washer can help remove loose debris, it is often not strong enough to remove chemical sealer without damaging the surface of your pavers. Using high pressure can etch or roughen the stone, whereas a dedicated sealer stripper safely breaks down the chemical bonds of the old coating.
How long do I need to wait after stripping before I can reseal my pavers?
It is crucial that the pavers are completely dry throughout their entire depth, not just on the surface, which can take 24 to 48 hours depending on humidity and weather. If you seal the pavers while moisture is still trapped deep in the pores, the new sealer will likely cloud up or peel just like the previous layer.
Why do my pavers look sticky even though it hasn’t rained?
Stickiness is a classic sign of over-application or trapped moisture beneath the sealer film. When too much product is applied, the bottom layer remains soft and gummy, which continues to attract dirt and debris long after the application is finished.
Do I need to strip the sealer if only a small area is peeling?
If the failure is localized and the rest of the sealer is perfectly intact, you might be able to spot-treat the area; however, this is rarely a simple DIY task. In most cases, it is safer and provides a more uniform look to address the entire surface rather than risking a mismatched patch.
Conclusion
Old sealer usually gives warning signs long before it fails completely. A cloudy haze, tacky spots, peeling, patchy shine, and dirt that keeps coming back are all clear indicators that you are dealing with a failed sealer. Identifying these issues early is essential to maintaining the integrity of your surfaces.
When I see those signs together, I do not try to cover them up. I strip the bad layer first, then move forward with a cleaner surface and a better shot at a solid result.
That is the part homeowners usually miss when maintaining their brick pavers. A good, long-lasting finish starts with knowing exactly when the old layer needs to come off.