
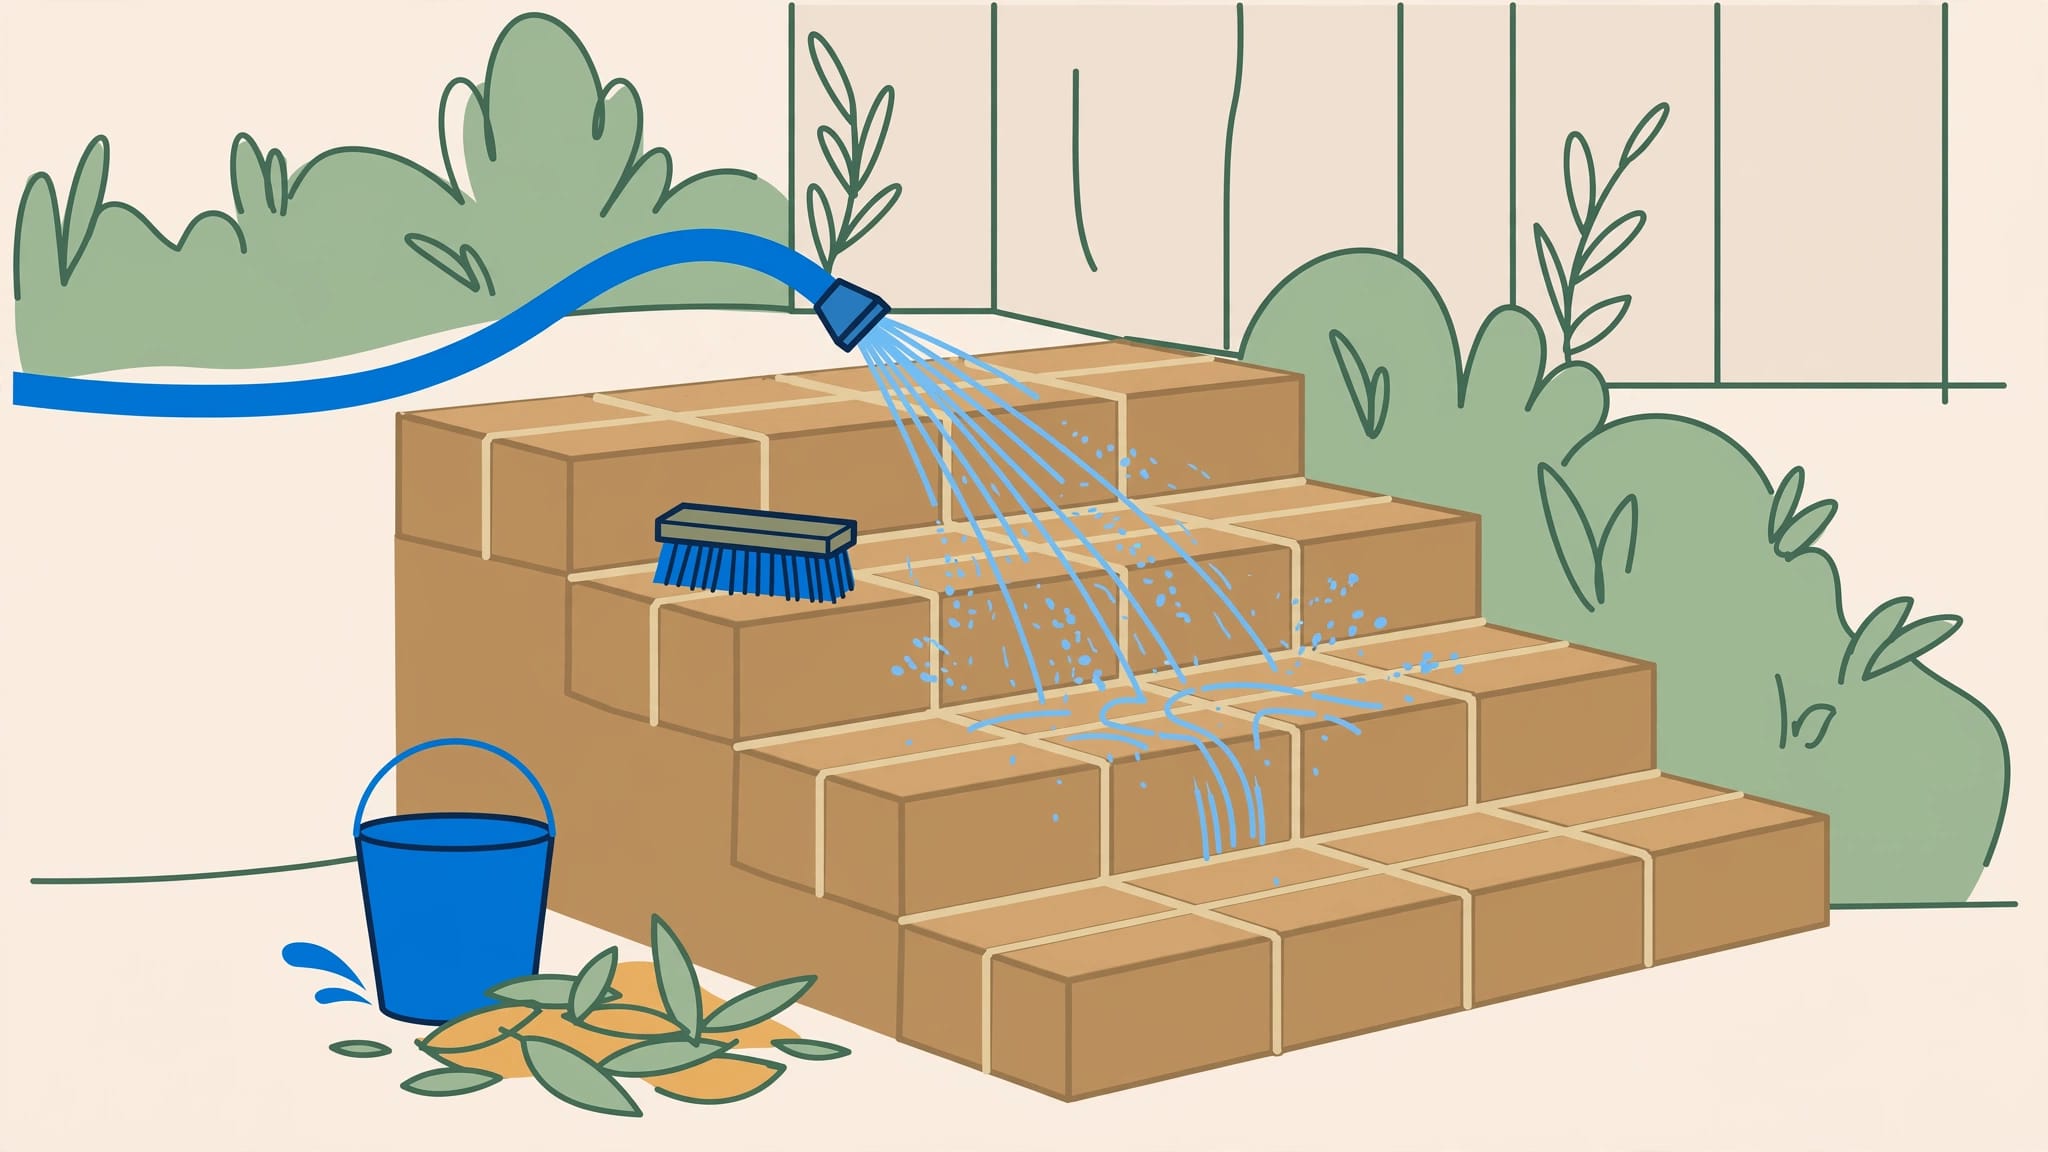
The safest way to clean brick paver steps is to sweep first, use a suitable cleaning solution and brush, then rinse gently with a garden hose. Controlled runoff matters just as much because water flowing down the staircase can carry sand out of lower joints.
I recommend starting with the gentlest method that removes the buildup. Your steps need clean walking surfaces, sound edges, and properly filled joints.
Before adding water, inspect the installation and identify what needs cleaning.
Key Takeaways
- Sweep away dry debris before using water, and clean one tread at a time with a suitable cleaner and a brush.
- Use a gentle, broad hose spray and control runoff to protect joint sand, especially on lower steps and the landing.
- Match stain treatments to the stain and paver material. Test stronger cleaners on a small area and follow the product label.
- Let the steps dry fully before replacing joint sand or sealing. Repair loose pavers and recurring drainage problems first.
Inspect the steps before starting
Check the joints and step edges
Look for missing sand, cracked mortar, loose edge bricks, and pavers that rock underfoot. Sand-filled joints and mortar joints need different repairs. Sweeping joint sand into cracked mortar won’t restore the bond.
Pay close attention to the front edge of each tread. These exposed edges are vulnerable to chipping and movement.
If several bricks have shifted or a tread has settled, stop before wet cleaning. I recommend professional evaluation because fresh sand can’t repair an eroded base or stabilize a loose step.
Identify the surface and water path
Brick-colored pavers aren’t always clay brick. As with a patio, identifying the material matters before cleaning. Concrete, natural stone, and porcelain need different cleaners. Porcelain generally tolerates mild dish soap and warm water, while natural stone needs stone-compatible products.
The Brick Industry Association’s brickwork cleaning guidance addresses brick-specific methods and stain removal.
Also inspect where rinse water will travel. Clear debris from the lower landing so dirty water doesn’t collect there. Protect plants, painted trim, metal railings, and electrical fixtures.
Wear gloves, eye protection, and sturdy shoes. Keep children and pets away until the steps are clean, dry, and safe to use.
Choose a cleaner for the stain
I start with mild dish soap for ordinary dirt. Stubborn stains need treatment matched to their source, rather than stronger pressure.
Choose a cleaning solution that suits both the stain and the surface. Check that the product is safe for brick or natural stone, and follow its label.
Use this guide to choose your first approach.
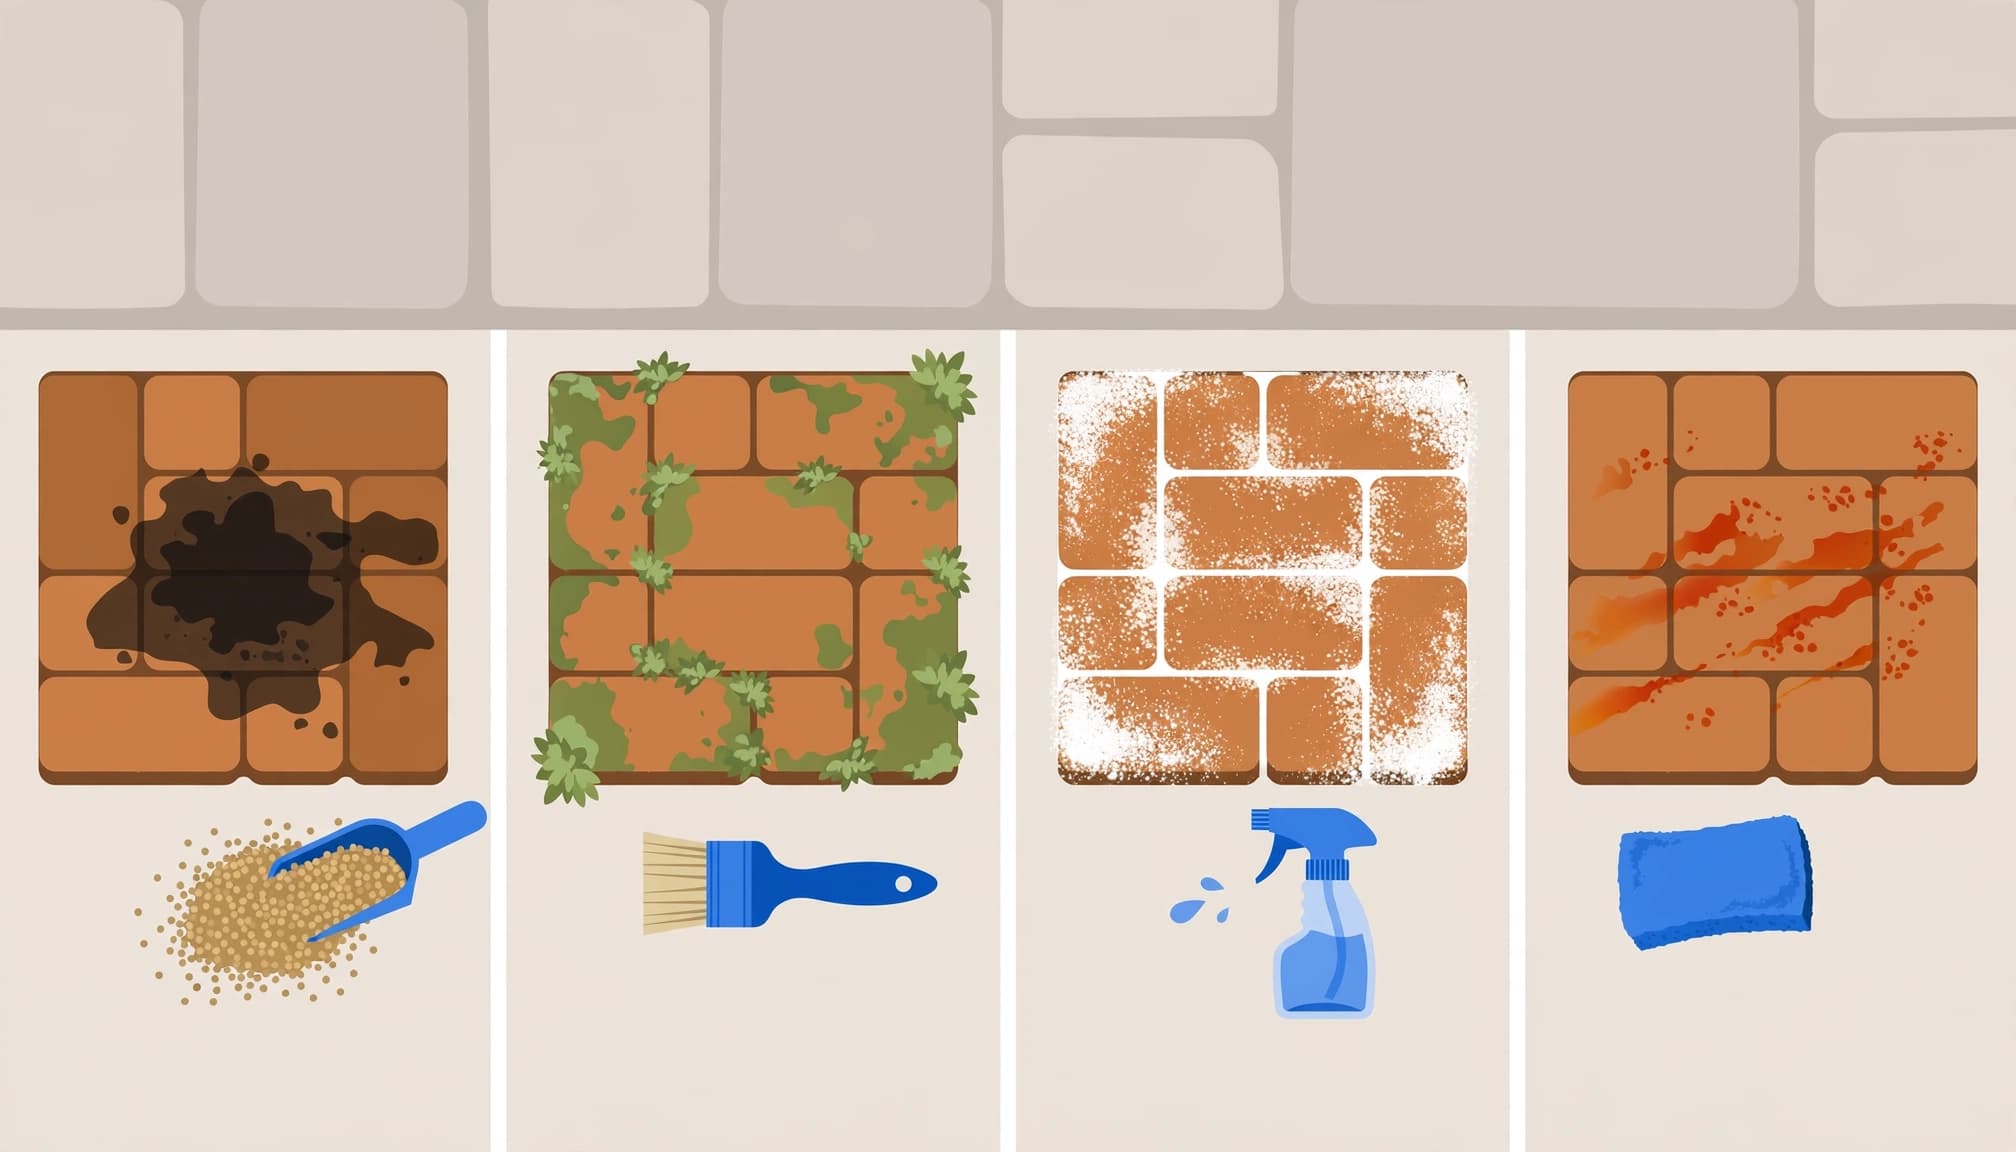
| Stain or buildup | Suitable starting treatment | Joint-protection concern |
|---|---|---|
| Dirt and compacted silt | Sweep, gently rinse, then use mild dish soap and brushing if needed. Rinse thoroughly. | Remove loose grit before it washes into lower joints. |
| Moss, algae, mold, and mildew | Remove loose growth and use a compatible masonry treatment. | Don’t dig through sound joint sand. |
| Fresh oil and grease | Absorb with cat litter or sawdust, then scrub with dish soap and warm water. | Sweep up absorbent material before rinsing. |
| Beverage, leaf, wood-rot, and tobacco stains | Use a stain-compatible cleaner; Nicolock lists diluted bleach for these stains. | Test the surface and existing sealer first. |
| White efflorescence | Dry-brush loose deposits and use a brick-compatible efflorescence cleaner if needed. | Address continuing moisture movement. |
| Rust | Remove the rust source and use a compatible masonry rust remover. | Keep chemical treatment localized. |
Oil penetrates porous pavers and can remain dark after rinsing. A persistent spot needs targeted degreasing, not repeated blasting. Choose a paver cleaner labeled for the stain and surface.
As PROSOCO’s paver-cleaning guide explains, efflorescence forms when moisture carries soluble salts to the surface and evaporates. It can return if moisture keeps moving through the paver or base.
Rust also returns when the source remains. Look for metal furniture, irrigation water, fertilizer, or tools.
Use stronger cleaners carefully and only where appropriate
Understand the published mixtures
Pine Hall Brick’s cleaning instructions specify 4 cups of bleach mixed with 1 gallon of warm water for mold and mildew. The method uses small sections and a stiff-bristle brush.
Nicolock gives a different dilution for beverage, leaf, wood-rot, and tobacco stains: 10 parts water to 1 part of the product.
These are separate recommendations, not interchangeable recipes for every installation. Product strength varies, and an existing sealer can react differently than bare brick.
Start with a mild cleaner such as dish soap, and test a small area before using a stronger mixture. Let the test area dry so you can see any color or finish changes.
Protect nearby surfaces and prevent drying
Never mix bleach with vinegar, acids, ammonia, or another cleaner. Wear protective gloves and eyewear, and keep the solution away from plants, metal fixtures, natural stone, and nearby finishes.
Work in shade or during a cooler part of the day. Warm pavers can dry the cleaner quickly.
Cleaning residue shouldn’t dry on the surface. It can settle back into the pores and leave streaks. Apply only what you can scrub and rinse thoroughly while it remains wet, following the product’s directions.
Don’t pour concentrated product onto individual spots. A stronger treatment can create uneven color without solving the underlying stain.
How to clean brick paver steps, one tread at a time
Small sections give you better control over the tread, riser, and rinse water. This sequence works for sound steps with stable joints. Unlike a broad patio, steps need careful runoff control to protect the surfaces below.
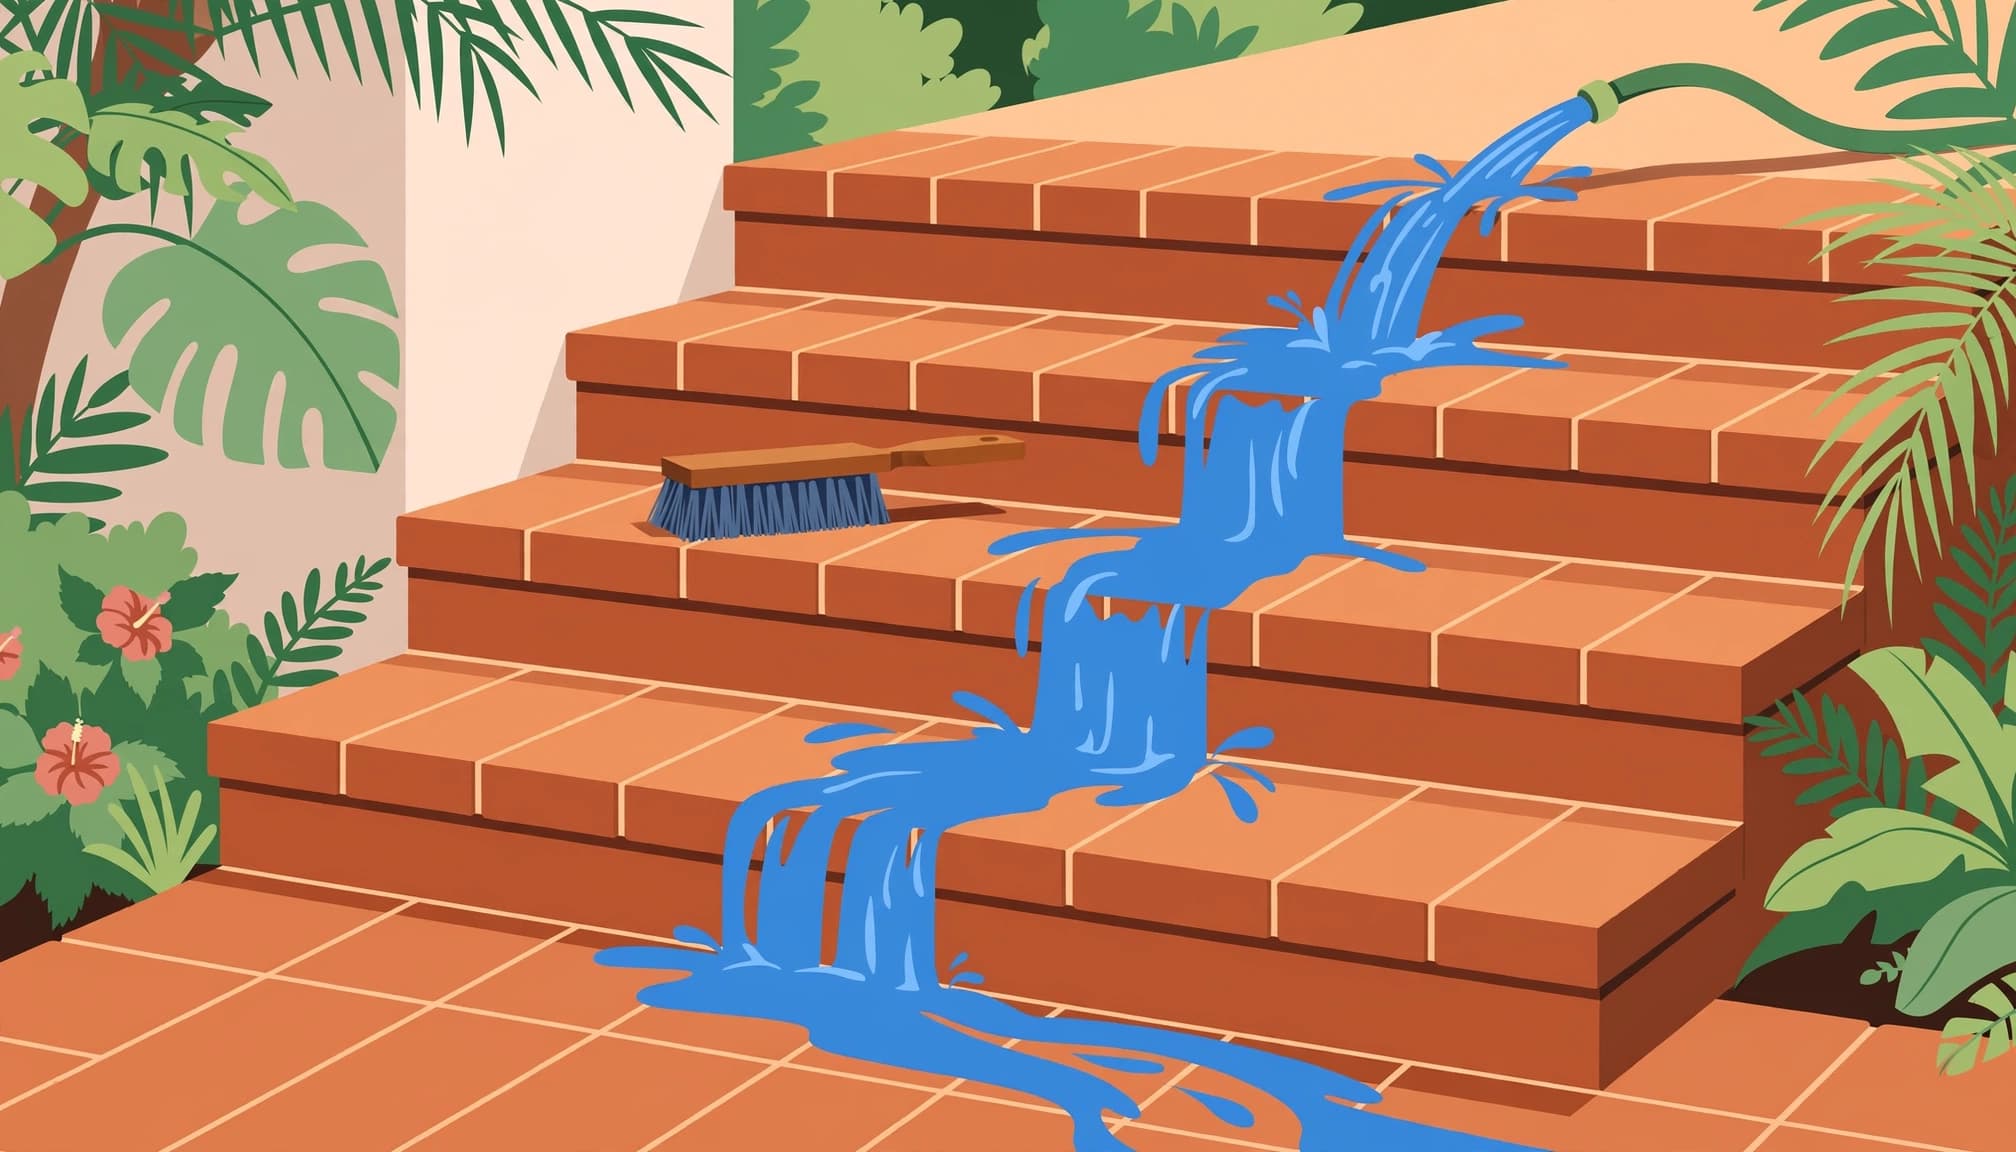
- Remove dry debris first. Sweep leaves, grit, and loose soil off every tread and the landing. Lift weeds carefully without scraping out sound sand. Don’t use water to push debris down the staircase.
- Pre-wet with a gentle spray. Lightly wet the brick faces and adjacent surfaces with a garden hose. Avoid saturating the joints or aiming a concentrated stream into them. A trigger nozzle helps limit flow between sections.
- Apply cleaner to a manageable section. Start at the upper tread and work downward. For ordinary dirt, use a mild dish soap solution; for a specific stain, choose a paver cleaner. Treat the tread and exposed riser without flooding the step below. Keep lower surfaces damp so runoff doesn’t dry into streaks.
- Scrub the brick faces carefully. Use a nylon or stiff nonmetallic bristle brush suited to the surface. Sound, unsealed brick can tolerate firmer brushing than worn or coated pavers. Work across the faces, avoiding aggressive scrubbing along the joints and front edges.
- Rinse thoroughly with low force. Use a broad, gentle spray to carry loosened dirt toward the landing. Rinse each section until the water runs clear. Give the lower steps and landing a final gentle rinse because they receive runoff from everything above.
Stop if joint sand starts moving visibly. Reduce water flow and change the spray direction before continuing.
Lower joints can wash out even when you never spray them directly. Repeated runoff from upper treads is enough to carry loose sand away.
Pressure washing needs extra restraint on steps
A pressure washer or high-pressure hose nozzle can remove joint sand and chip paver edges. Close, narrow sprays can also strip sealer and leave visible cleaning lines.
Nicolock’s paver-cleaning recommendations call for the lowest pressure setting and a round brush attachment when a pressure washer is used. Nicolock also recommends testing cleaners on a small section first.
A round attachment needs a suitable, level working surface. Don’t balance it across a step edge, and remember that equipment suited to a broad patio may not fit a narrow tread.
I recommend a hose and brush for routine homeowner cleaning. If pressure equipment is needed, keep the spray wide, moving, and away from joints.
A soft wash used for roof cleaning isn’t automatically right for brick steps or nearby natural stone. Masonry and joint materials need their own cleaning plan.
Our pressure and soft washing comparison explains these surface differences.
Avoid damaging cleaning shortcuts
Wire brushes and abrasive scouring pads can scratch pavers and damage sealant. Metal scrapers can also chip the exposed edges of a step.
I don’t recommend vinegar as a general brick-step cleaner. Its acidity isn’t useful for every stain and can affect nearby materials or finishes.
Keep muriatic or hydrochloric acid out of routine homeowner cleaning. It can permanently etch natural stone beside your brick steps. Acid also isn’t an appropriate substitute for an oil degreaser.
Mild dish soap, including ordinary Dawn, can help with dirt and fresh greasy residue. Use a small amount in warm water, brush carefully, and rinse thoroughly. Dish soap isn’t a substitute for a targeted cleaner for set-in oil and grease. Even mild dish soap won’t remove mineral deposits, deep oil staining, or every type of biological growth.
Don’t use boiling water, grinding tools, or repeated aggressive cleaning to chase a remaining mark. Let the brick dry before deciding whether it needs another treatment.
Let the steps dry before restoring joints
Replace missing sand with the right material
Allow the pavers and joints to dry completely before re-sanding. Wet sand won’t settle properly, and damp brick can hide stains or uneven color.
Pine Hall Brick recommends concrete sand or river sand for refilling joints, with angular grains that lock together. Proper grading and compatibility with the installation matter.
Standard sand differs from polymeric sand, which contains binders and requires product-specific filling, compaction, and activation.
Replace missing material where needed. Don’t cover sound joints with extra sand or leave loose residue on the brick faces.
Repair movement and drainage before sealing
Inspect the dry steps for rocking bricks, widening gaps, or settled areas. Filling the joints won’t replace missing base material.
Repeated washout also needs a drainage fix. A downspout, irrigation spray, or concentrated storm runoff can empty repaired joints again.
Sealer can’t replace missing sand or stabilize a failed base. Applying it too early can trap moisture and leave a cloudy or blotchy finish.
Complete cleaning, repairs, and joint restoration before sealing. The surface needs to be clean, dry, stable, and free of cleaner residue.
Keep maintenance simple and condition-based
Sweep your steps weekly and plan a thorough cleaning once or twice a year, depending on traffic and climate. Remove fallen leaves promptly so they don’t leave stains or collect in the joints.
In Southwest Florida, inspect the lower treads and landing after heavy rain. Runoff can collect at step edges more readily than on a patio. New gaps, piles of displaced sand, or recurring pooling deserve attention before another cleaning.
Our brick paver maintenance advice covers routine care and protection.
I treat step sealing with the same preparation priorities as driveway paver sealing: clean surfaces, stable pavers, full joints, and proper drying. Maintenance should follow the condition of the installation rather than rush it into another coating.
Frequently Asked Questions
How do you clean brick paver steps without washing out the joints?
Sweep away loose debris, then clean one tread at a time with a suitable solution and brush. Rinse with a broad, gentle spray, and stop if joint sand starts to move.
Can I pressure wash brick paver steps?
Pressure washing can remove joint sand, chip edges, or strip sealer. Use a hose and brush for routine cleaning; if you use a pressure washer, keep the spray wide and moving, at the lowest pressure setting, and away from joints.
What cleaner should I use for stains on paver steps?
Mild dish soap works for ordinary dirt, while stubborn stains need a cleaner suited to both the stain and the paver material. Test stronger products on a small area and follow the label.
When should I re-sand or seal the steps?
Wait until the pavers and joints are completely dry before replacing missing sand. Repair loose steps and recurring drainage problems, then seal only after cleaning and joint restoration are complete and the surface is clean, dry, and stable.
Protect the joints while restoring clean steps
Clean brick paver steps with the least force needed to remove buildup. Careful brushing and stain-specific treatment help keep joints stable and limit runoff.
Let the steps dry fully before re-sanding or judging whether stains remain. Repair loose steps and recurring joint washout before sealing.
For help with cleaning, restoration, or sealing, Get a Quote from Kingsway. We’ll help you plan the service your pavers need.
