
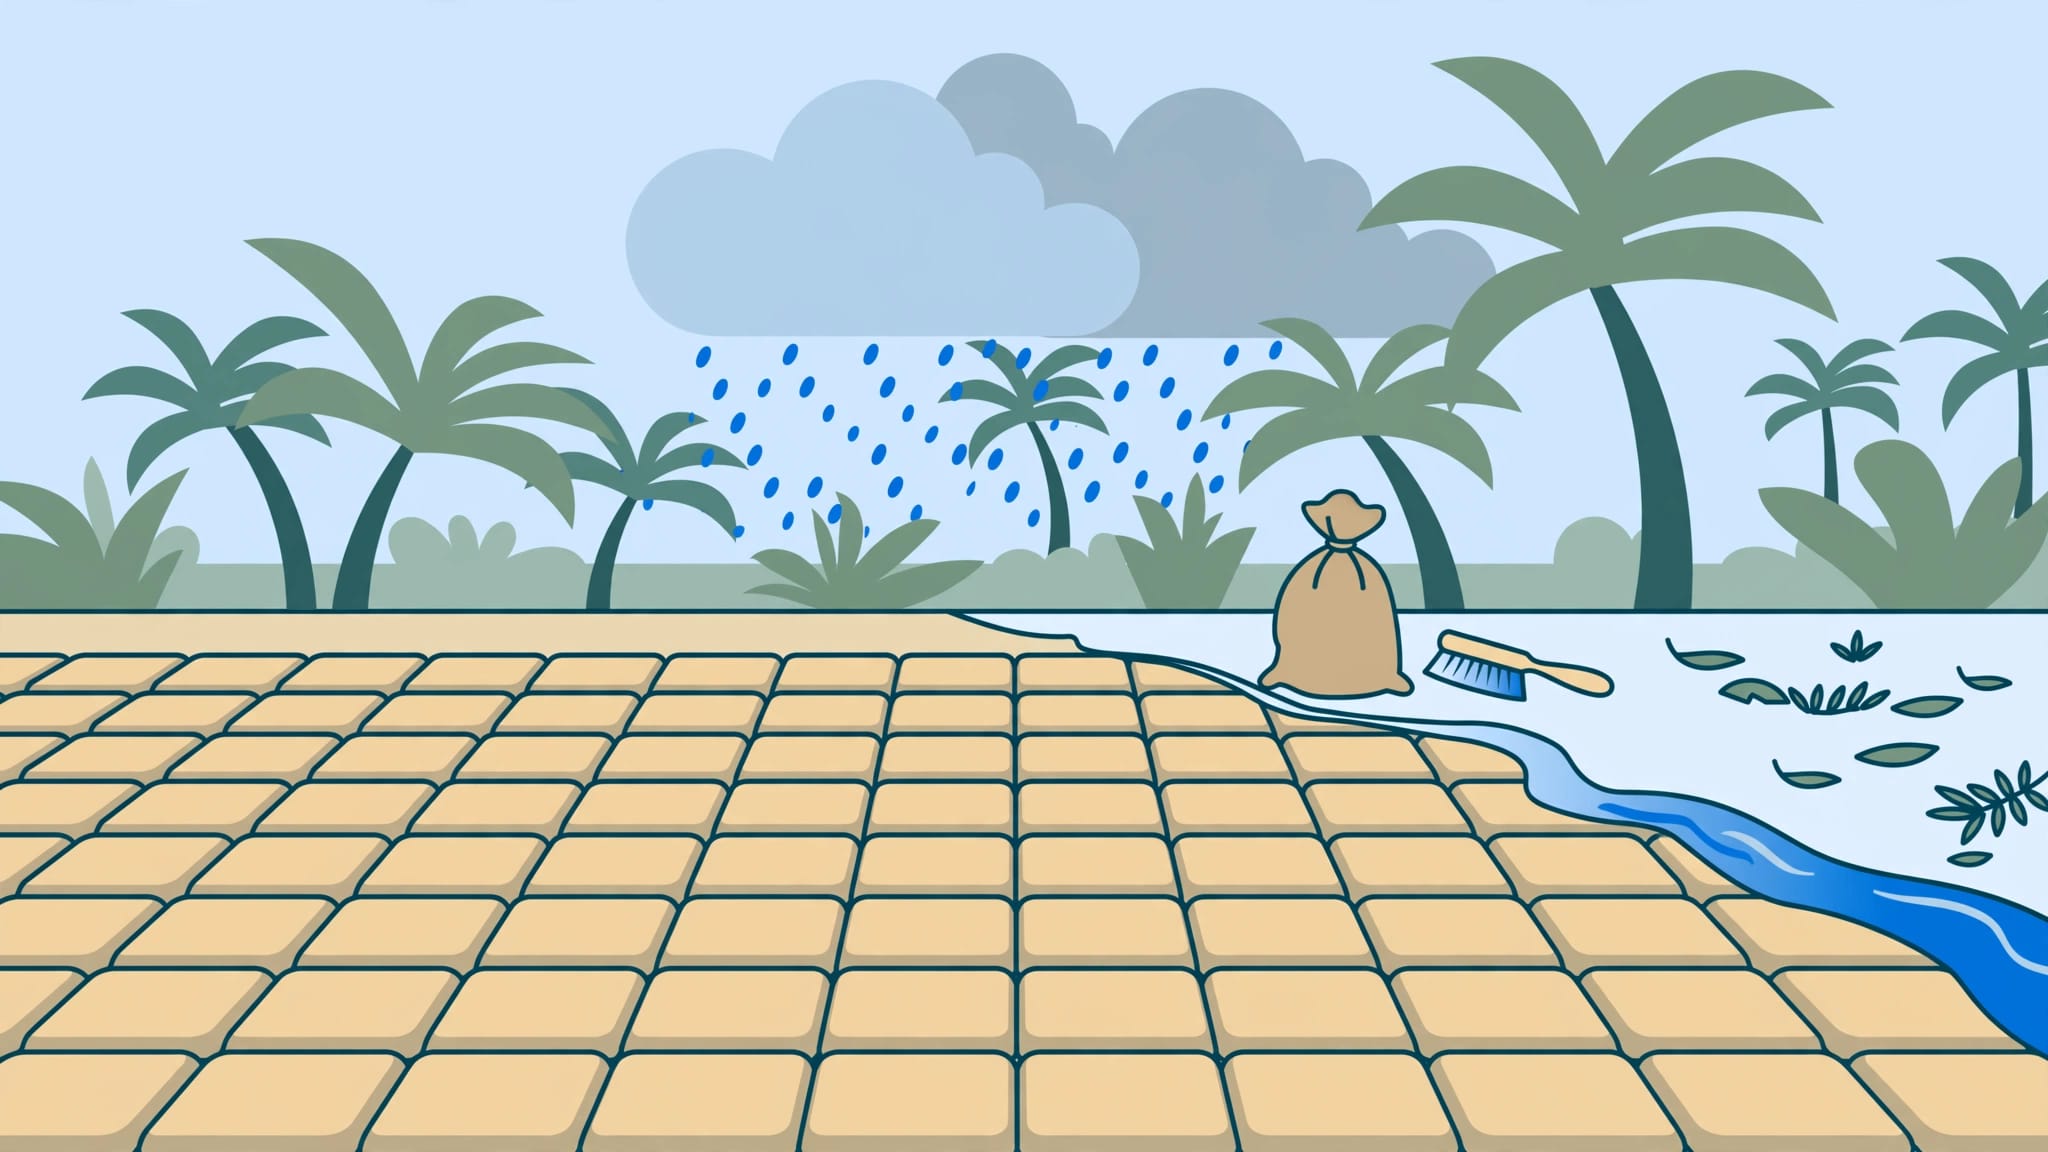
A clean driveway can look worn again when rain, irrigation, and leaves build up between service visits. Southwest Florida paver maintenance works best when you plan around surface condition and seasonal weather, rather than waiting for heavy staining.
I recommend maintenance plans to help homeowners in Fort Myers, Naples, and Bonita Springs organize recurring inspections. Clean when needed, and complete repairs before sealing. Driveway pavers, patios, and pool decks may need different schedules.
Start with this calendar, then adjust it for shade, traffic, drainage, and the condition of your existing finish.
Key Takeaways
- Plan paver maintenance around the surface’s condition, drainage, shade, traffic, and seasonal weather—not a fixed schedule.
- Inspect joints and runoff before and during the rainy season; recurring pooling or sand loss may point to drainage or base problems that refilling alone won’t fix.
- Clean and repair pavers before sealing, and choose products suited to the paver material, existing coating, and intended finish.
- Allow the selected products’ moisture, temperature, application, and curing requirements to guide scheduling; a dry-looking surface may still have damp joints.
Your Southwest Florida paver maintenance calendar
I use seasonal checkpoints to keep maintenance organized without scheduling unnecessary work. These months are planning windows, not guarantees of suitable cleaning or sealing weather.
Here is a practical schedule for an established paver installation. Pool decks may need different timing based on shade, drainage, and use.
| Time of year | Homeowner maintenance | Professional service to consider |
|---|---|---|
| January and February | Sweep leaves, check irrigation overspray, and inspect shaded areas for slippery growth. | Evaluate persistent stains, damaged joints, or failing sealer. |
| March and April | Check paver edges, drainage paths, loose sand, and uneven areas. | Arrange cleaning and necessary repairs before summer storms. |
| May | Clear drain openings and inspect downspout discharge areas. | Restore deficient joints after correcting drainage problems. |
| June through September | Remove storm debris and inspect after heavy rain. | Address recurring algae, joint erosion, settlement, or blocked drainage. |
| October | Review damage and finish wear after the wetter months. | Assess cleaning, paver repair, and restoration needs. |
| November and December | Remove leaf buildup and review the year’s maintenance records. | Schedule sealing when needed and when product requirements can be met. |
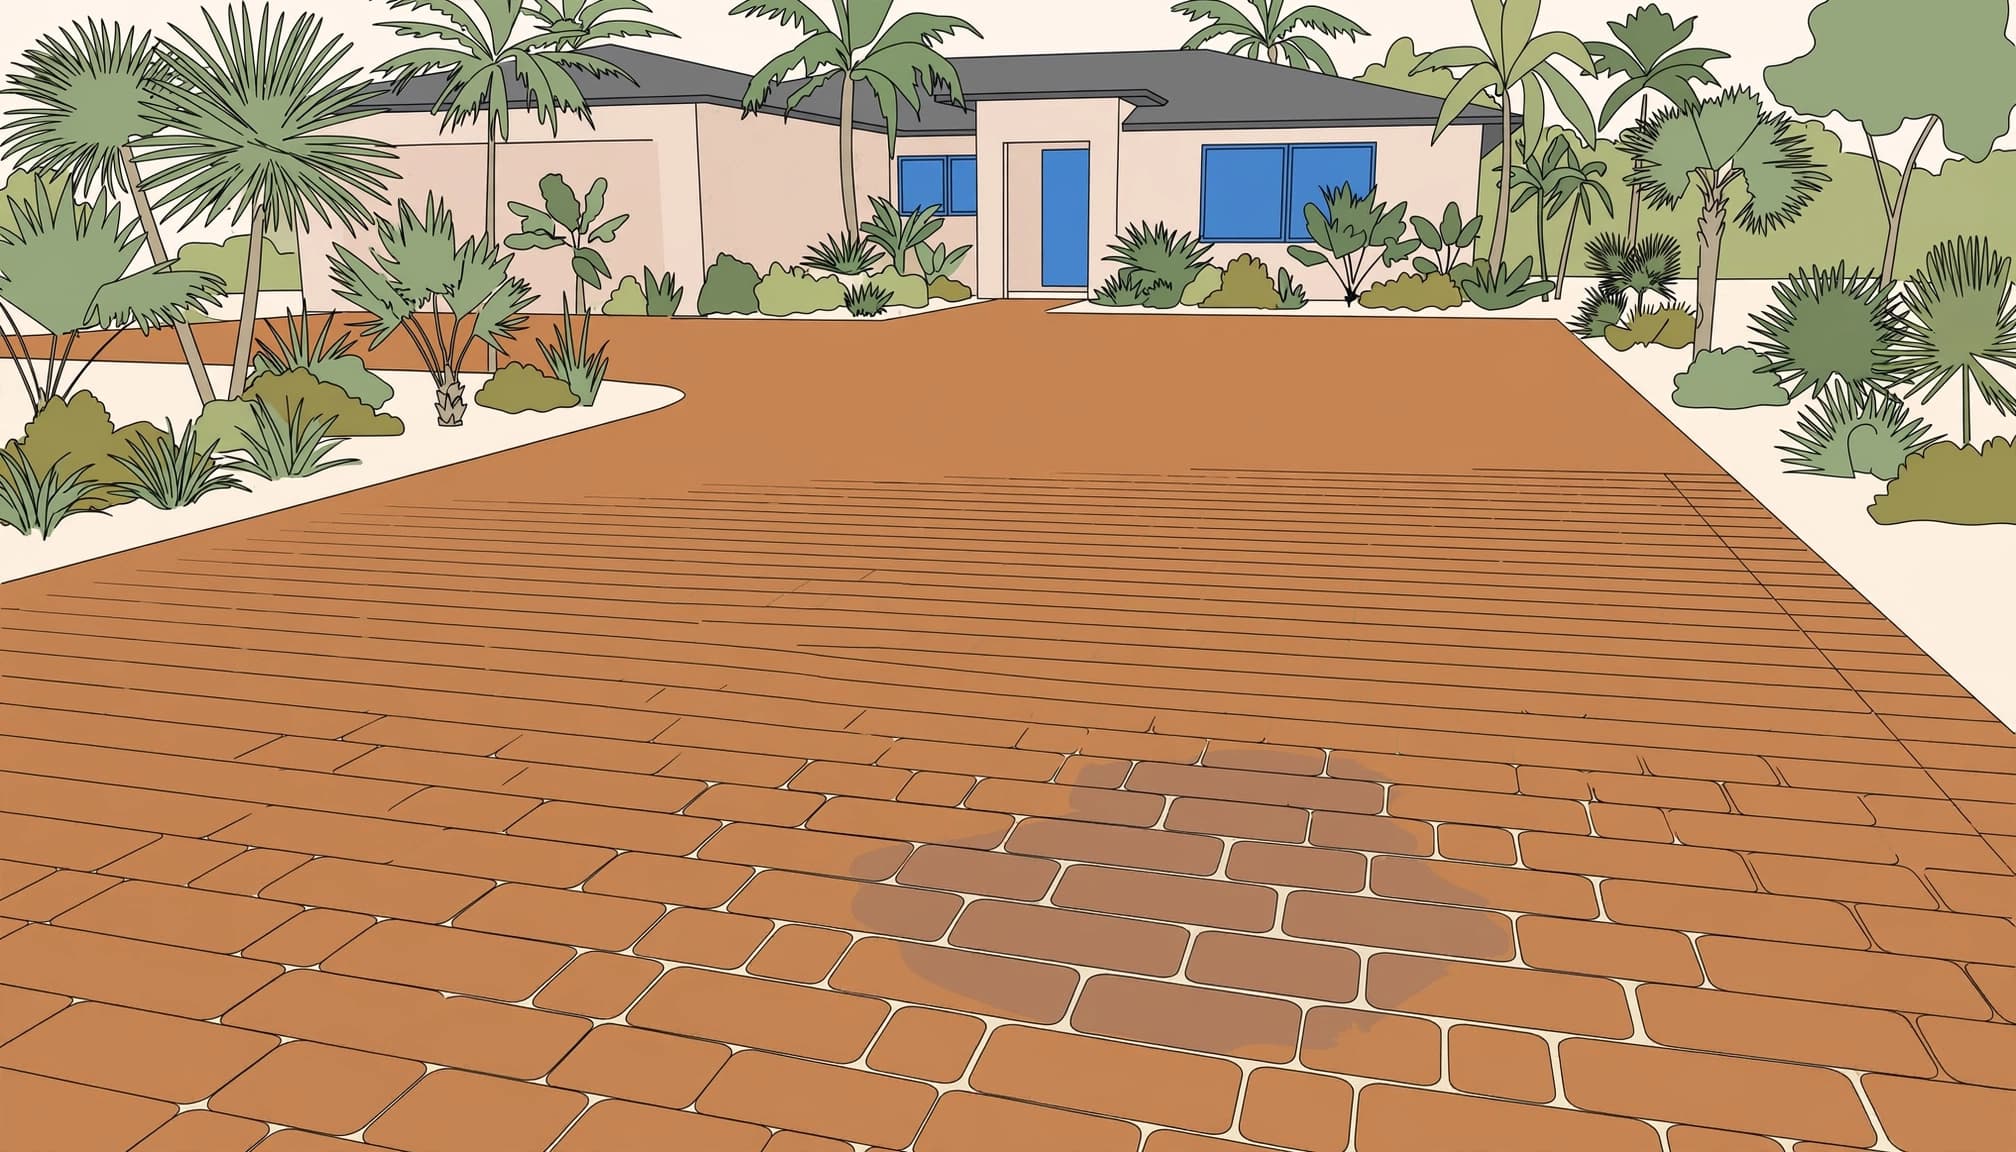
The Fort Myers rainfall normals list 9.66 inches for June and 9.38 inches for July. Preparing joints and drainage before those wetter months gives you time to address problems properly.
Keep service dates, product names, and photographs together. Those records make it easier to see changes instead of relying on memory.
March and April: clean and prepare for summer rain
Spring is a useful checkpoint for inspecting the entire surface. I look beyond visible dirt before deciding whether paver cleaning, repairs, sanding, or sealing are needed. Shifting or recurring low spots may warrant checking the base preparation, not just the surface or coating.
Inspect stains and the existing coating
Check for oil spots, leaf stains, green growth, white deposits, and patchy coating. These problems need different treatments. A white mark shouldn’t automatically receive another coat of sealer.
Existing sealer also affects preparation. Peeling, cloudy, or incompatible coatings may require removal before a new product is applied. Covering a failing finish usually leaves the original problem underneath.
The CMHA cleaning and joint-sand guidance describes stain removal and cleaning, followed by joint stabilization or sealing when required. I follow that condition-based approach rather than adding services the surface doesn’t need.
Use controlled cleaning and protect the joints
Choose a pressure-washing method suited to the paver material, coating, and joint condition. Natural stone may need gentler treatment. Excessive force can remove sand, damage the surface, or leave visible cleaning marks.
For routine homeowner care, start with sweeping and gentle rinsing. Leave widespread organic growth, embedded stains, and uncertain coatings for professional evaluation. For recent paver installation, follow the installer’s curing and care requirements before cleaning or sealing.
Before using equipment, review the precautions for cleaning pavers with polymeric sand. Cleaning should leave the surface ready for the next step, with damaged joints identified and corrected. Nearby landscaping, screens, walls, and pool equipment also need protection during treatment.
May through September: watch drainage and joint sand
Summer maintenance needs closer attention after heavy rainfall. The National Weather Service rainy-season guidance identifies July through early September as the peak rainy period.
I recommend checking wet-weather performance as well as appearance.
Inspect runoff after heavy rain
Once conditions are safe, check for pooling, sand near drains, joint erosion, or runoff crossing the driveway. Photograph recurring puddles before they disappear.
Check downspouts and irrigation heads. Concentrated water can repeatedly wash the same joints or keep a shaded section damp, especially where the original paver installation left poor grading. Recurring pooling or washout can signal drainage problems. Clearing leaves from a drain helps, but continued backup needs further investigation.
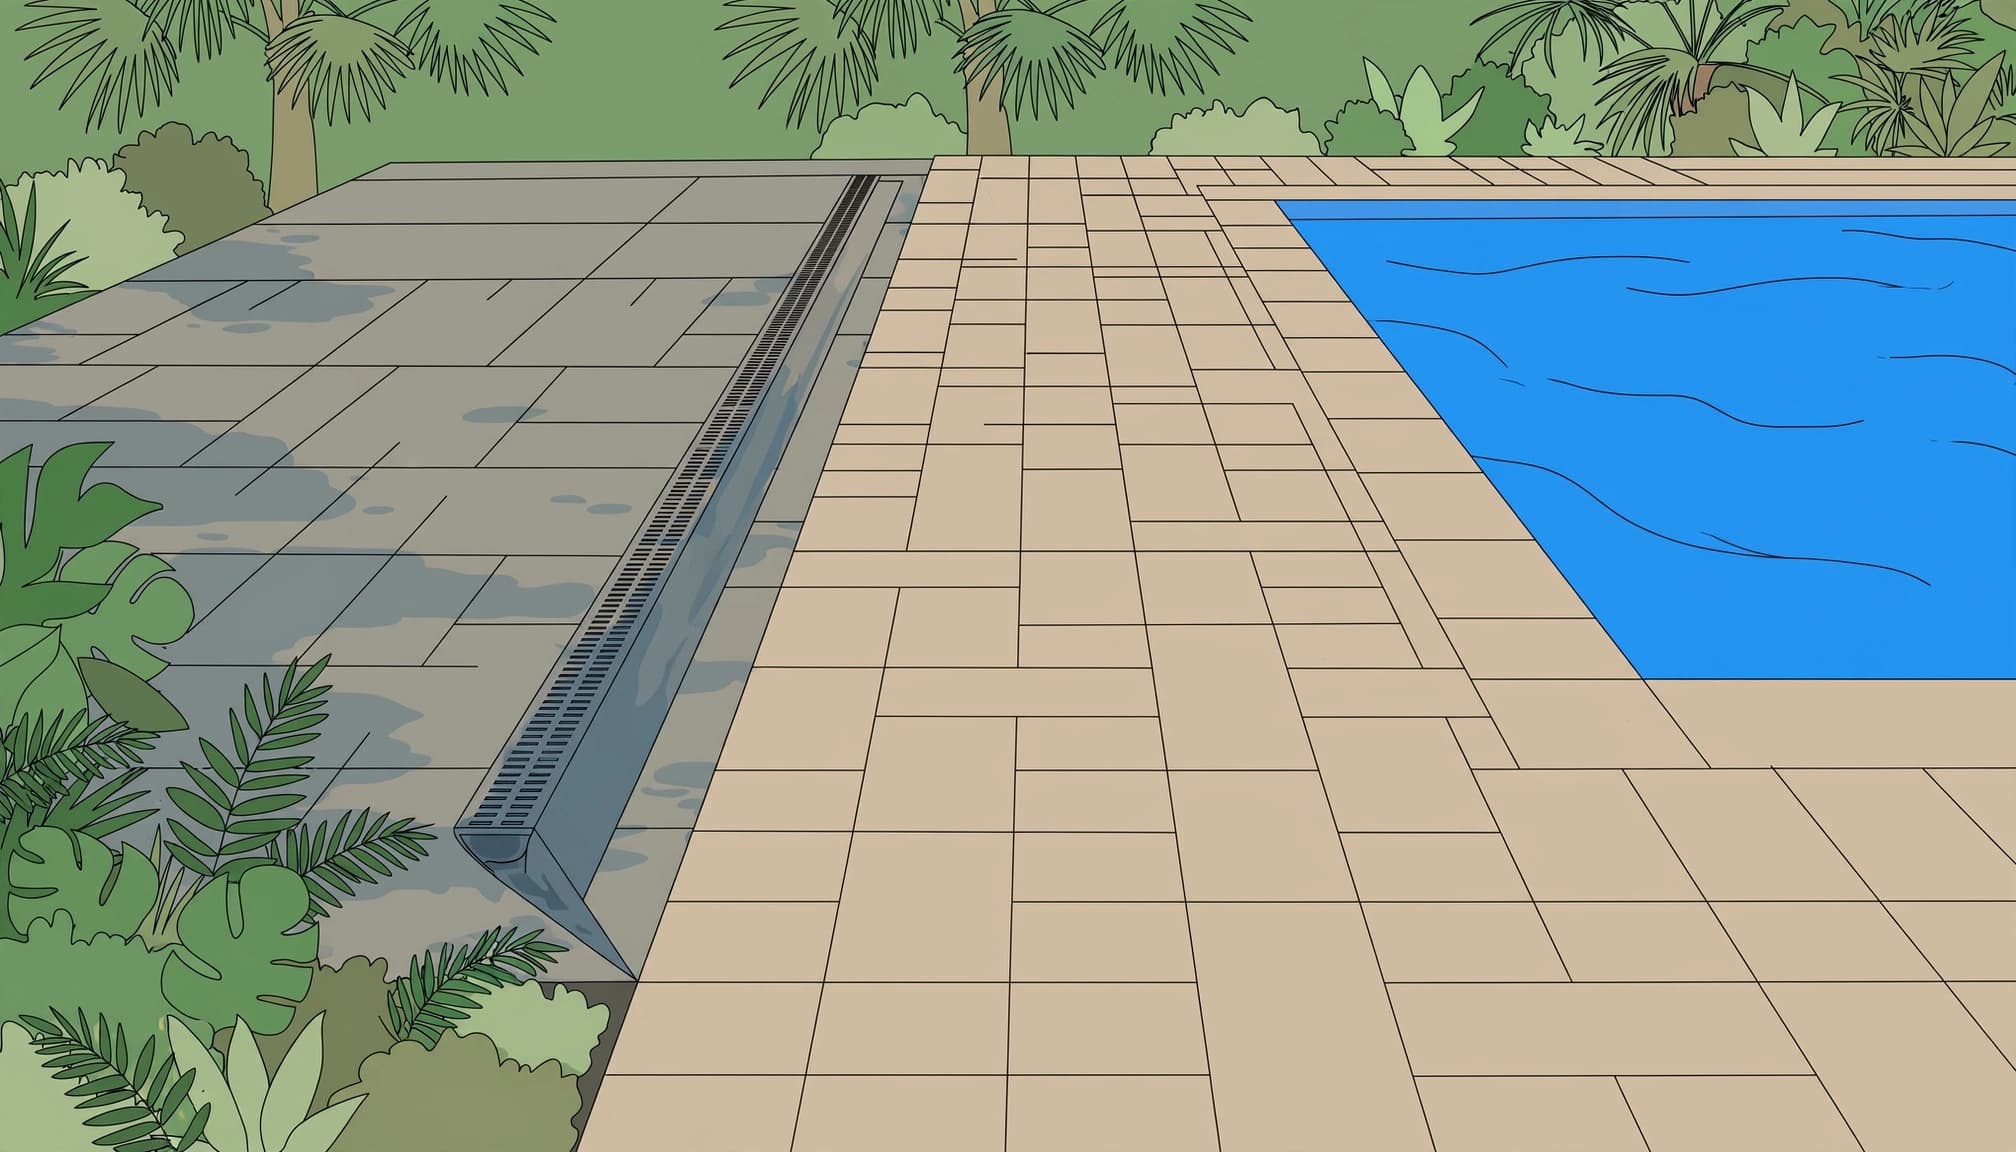
Pool decks deserve close attention because wet surfaces and organic growth create slipping concerns. Restrict access to visibly slippery or unstable areas until the problem is corrected.
Correct missing joints before they worsen
Low joint sand leaves gaps between pavers and provides places for debris and weed growth. Repeated washout calls for more than another quick refill.
I check the runoff source, joint width, paver type, and existing joint material before recommending paver sanding. The cause of sand loss needs to be addressed first.
Polymeric sand needs correct installation and compatibility with the planned sealer. Permeable paving systems may require specified joint aggregate instead.
The guide to paver joint sand washout covers warning signs worth checking after storms. Proper joint care supports the pavement, but it can’t correct failed base preparation or poor drainage.
October through December: assess wear before resealing
Fall is a good time to compare current conditions with spring photos and past paver installation records. Check driveway wheel paths, frequently used walkways, shaded lanai corners, and areas around the pool.
The CMHA preventive maintenance guidance recommends routine spring and fall maintenance for interlocking concrete pavement. In Southwest Florida, I use those inspections to identify what changed during the wetter months.
Look for uneven color, coating breakdown, recurring stains, loose pavers, and joints that have lost material. Appearance alone doesn’t tell you whether resealing is appropriate. Dirt may hide an otherwise serviceable finish.
Drier-season weather can provide useful service opportunities, but winter shade, irrigation, and overnight dew still affect drying. A sunny afternoon doesn’t confirm that damp joints are ready for sealer.
For seasonal homeowners in Naples, arrange an inspection before leaving and after returning. Ask whoever checks the property to report standing water, slippery growth, and movement promptly. Early photos help distinguish a new problem from an older condition.
Between service visits: keep routine care simple
Regular sweeping and prompt spill cleanup reduce the buildup that makes paver cleaning harder. I recommend checking outdoor surfaces every few weeks, especially after storms or heavy use in Cape Coral.
A short routine is easier to maintain:
- Sweep leaves, mulch, palm debris, and loose dirt before they collect or encourage weed growth in damp corners.
- Blot fresh oil or food spills, then use a cleaner approved for the paver material.
- Rinse light surface dirt as needed without directing a strong stream into the joints.
- Report rocking pavers, recurring puddles, and joint loss rather than covering them with sand.
For help deciding when buildup needs professional treatment, review the recommended paver cleaning frequency. Shaded pool decks and heavily used driveways need closer monitoring than lightly used, well-drained patios.
Fertilizer spills and irrigation overspray also deserve attention. Cleaning a stain without correcting its source leaves the surface exposed to the same problem again. Keep the original paver installation records and care requirements handy when planning paver sealing.
Sealing: choose the finish and weather window carefully
Paver sealing is part of Southwest Florida paver maintenance, but it doesn’t replace cleaning, joint care, or repairs. I choose the product after inspecting the material, existing coating, traffic, and moisture conditions, and reviewing the paver installation requirements.
Match the finish to the surface and use
Concrete pavers, brick pavers, travertine pavers, and natural stone require compatible preparation and products. A product suitable for one surface isn’t automatically suitable for another.
Matte finishes generally provide less visible sheen. Wet-look products may deepen color, depending on their formulation and the surface. Compare a test area before approving the full application.
The matte versus wet-look sealer comparison helps explain appearance choices. For pool decks, also discuss wet traction and any manufacturer-approved slip-resistant treatment.
Under intense sunlight, ask about the product’s documented UV performance. Sheen alone doesn’t establish protection or durability. Water-based and solvent-based labels don’t tell you everything about the finished result.
Allow preparation, drying, and curing time
For driveway pavers, preparation may include controlled cleaning, necessary coating removal, repairs, and replacement joint material before application. Each step needs enough time.
Humidity, shaded joints, rain, irrigation, and dew affect readiness. Polymeric sand must be installed and cured according to its instructions, and the sealer must be compatible with it.
Surface dryness doesn’t prove that damp joints meet the sealer’s moisture requirements.
I don’t promise one drying interval for every property. Follow the selected product’s moisture, temperature, application, and curing requirements. Keep vehicles, furniture, foot traffic, and irrigation off the treated area for the specified period.
When professional paver repair makes sense
Uneven pavers that rock or sit low need an inspection below the surface. Cleaning and sealing won’t flatten a raised edge or restore failed support.
Records from the original paver installation can help identify how the base was built. Comparing them with current conditions helps define a localized repair, rather than treating the work as a full paver installation. A contractor can lift affected pavers and inspect drainage, base preparation, bedding, and edge restraints. Sound units may be reset after the underlying problem is corrected.
A focused paver repair should address support and grade before the joints are restored. Proper work to repair a washed-out paver base addresses those issues. Adding surface sand alone won’t stabilize an area that keeps settling.
I recommend professional evaluation for widespread movement, recurring washout, damaged coatings, persistent haze, or stains that resist appropriate treatment. For natural stone, choose a cleaner suited to the specific surface. Travertine and other natural stone also need material-appropriate cleaning.
Request a written scope rather than comparing prices alone. The estimate should identify the area, paver material, coating condition, repair needs, joint material, proposed sealer, and curing restrictions. Confirm insurance and any licensing requirements that apply to the work.
Repair and restoration costs depend on those conditions. A cleaning-only price shouldn’t be compared directly with a quote that includes stripping, base repair, sanding, and sealing. Clear communication about preparation helps you understand what the finished service includes.
Frequently Asked Questions
How often should I inspect my pavers in Southwest Florida?
Check outdoor surfaces every few weeks, especially after storms or heavy use. Seasonal inspections in spring and fall can help you spot changes in drainage, joints, stains, and finish wear.
When is the best time to seal pavers?
Seal when the surface has been properly cleaned and repaired, and when weather and moisture conditions meet the product requirements. Seasonal timing can help with planning, but shade, humidity, irrigation, and dew affect readiness.
What should I do if joint sand keeps washing out?
Check where the water is coming from and whether runoff, grading, or drainage needs attention before replacing the sand. Repeated washout may also indicate a problem beneath the pavers; the right joint material depends on the paving system.
Can pressure washing damage pavers or joint sand?
Yes. Excessive pressure can remove joint sand, damage some surfaces, or leave visible cleaning marks, so use a method suited to the paver material, coating, and joint condition. For routine care, start with sweeping and gentle rinsing.
Keep maintenance planned and condition-based
A dependable calendar gives you time to address stains, drainage, and loose joints before scheduling paver sealing. I recommend using seasonal inspections and maintenance plans to decide what your property needs, then allowing proper preparation and curing time.
For a free estimate on sealing or pressure cleaning, Get a Quote.
Your pavers stay easier to maintain when routine care and timely repairs work together. The schedule should support the surface, not rush it into the next treatment.
