
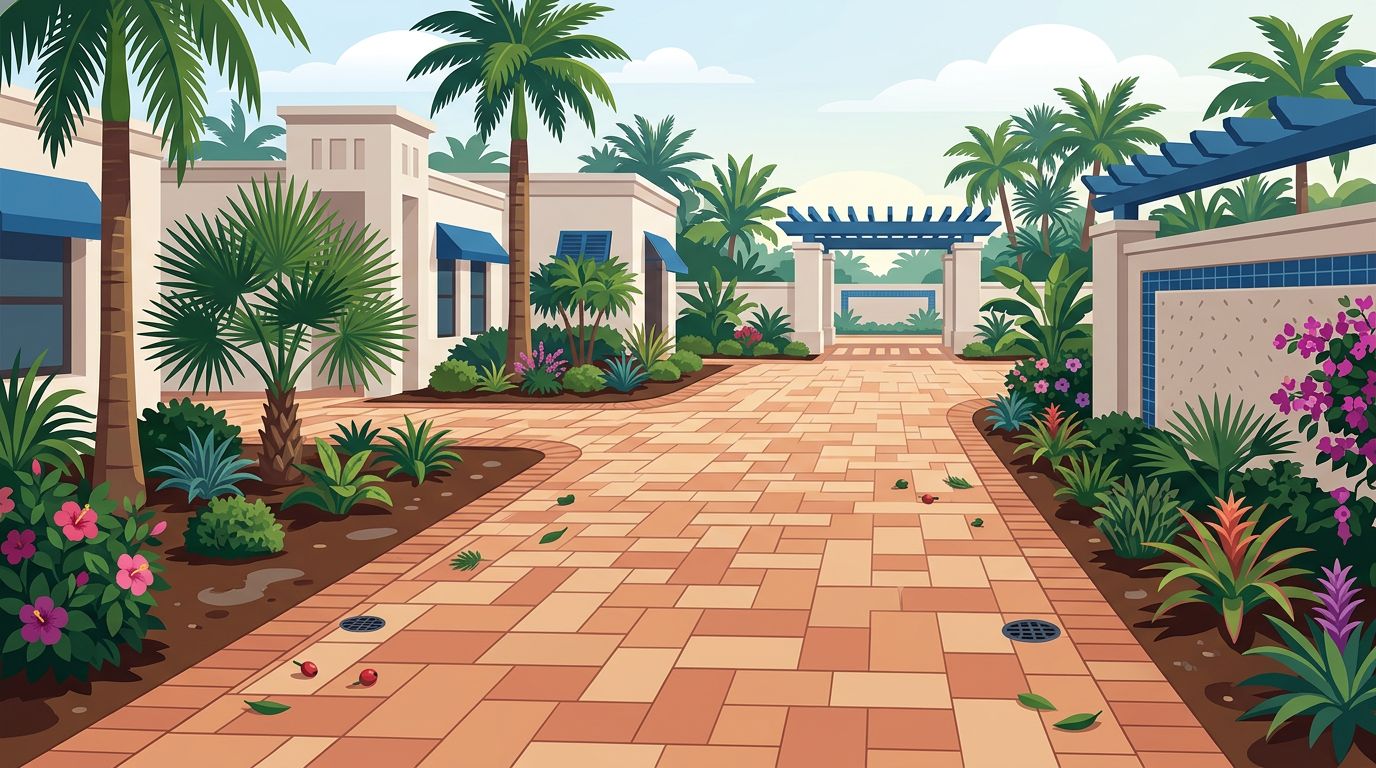
Florida rain can turn a clean paver walkway dark in one wet week. Leaves, palm berries, sand, standing water, and algae build up quickly around community entrances, pool decks, sidewalks, and driveways.
A reliable paver maintenance checklist helps your HOA catch these problems early. It protects curb appeal, keeps shared walking areas safer, and helps prevent expensive repairs caused by neglected joints, drainage, and shifting pavers.
Southwest Florida needs a different approach than cold-climate properties. Instead of focusing on winter paver care, your HOA should plan around heavy rain, humidity, heat, and rapid organic buildup throughout the year.
Build an HOA Paver Care Plan for Every Common Area
An HOA usually has a larger hardscape system than anyone realizes. The clubhouse entry, mail station, pool deck, sidewalks, visitor parking, and villas may need different inspection frequencies. Traffic, shade, irrigation, and drainage conditions vary across the property.
I start by separating the property into manageable zones. A shaded pool walkway needs more algae attention than a sunny driveway. A paver entrance beneath palm trees needs more frequent sweeping than an open courtyard.
Map the paver areas that need regular attention
Walk the community and make a simple map of every paved area. Take photos from the same locations each time you inspect them. Note drainage patterns so you can spot changes after summer rain or a tropical storm.
Pay close attention to:
- Paver patio areas and pool decks, where sunscreen, water, and shade can leave surfaces slick.
- Driveways and parking areas, where oil spots and tire marks show up.
- Walkways under trees, where leaves and tannins can stain the surface.
- Permeable pavers, drainage edges, downspouts, and low spots, where special drainage requirements may apply.
- Paver borders and edge restraints near curbs, walls, screens, and landscape beds.
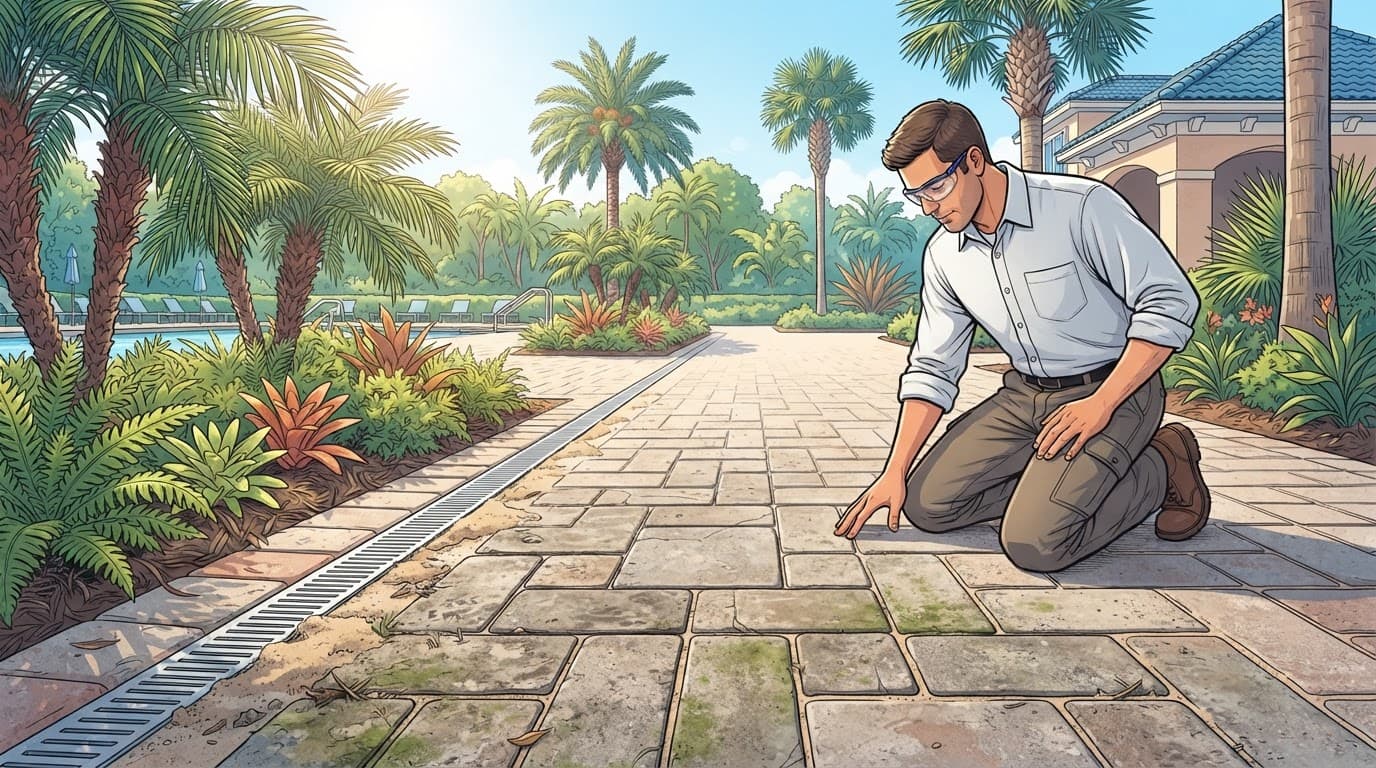
Set a schedule and keep inspection notes
A maintenance log helps the board see whether an issue is getting worse. I recommend recording the date, location, weather conditions, photos, and what was done.
This simple schedule supports seasonal paver maintenance while keeping regular maintenance on track in many Southwest Florida communities. Add a spring cleaning checkpoint before the rainy season, then adjust tasks as conditions change.
| Interval | HOA maintenance task | Problems to record |
|---|---|---|
| Weekly | Sweep debris and remove fallen palm berries. | Slick algae, leaf piles, fresh spills. |
| Monthly | Check joints, edges, weeds, and low areas. | Low joint sand, rocking pavers, ponding water. |
| After heavy rain | Clear drains and inspect washed-out areas. | Erosion, shifted sand, runoff marks. |
| Quarterly | Schedule deeper cleaning and stain treatment. | Mold, oil, rust, tannins, fading sealer. |
| Yearly | Review the full paver system. | Settlement, cracked pavers, failing edge restraints. |
The goal is not to create more work. The map and log support preventive maintenance by helping the board spot small problems before they spread.
Handle Weekly Debris and Monthly Inspections
Routine cleaning keeps wet organic debris from sitting on porous concrete pavers. In Southwest Florida, that matters. A few days of leaves and moisture can darken surfaces and encourage algae growth.
Routine sweeping is one part of seasonal paver maintenance, so include it in the property’s yearly care plan.
Sweep before debris turns into a stain
Sweep high-traffic areas weekly, especially after landscaping service and storms. Remove leaves, mulch, palm berries, branches, and grass clippings before rain pushes them into joints and low spots.
Don’t overlook pool furniture, grills, shaded pool walkways, and planter edges, where debris can hold moisture against pavers. Mold, algae, and moss can start there, so early moss removal is easier.
If your HOA schedules gutter service or roof cleaning, plan it before a major paver cleaning. Roof debris and runoff can quickly undo a freshly cleaned walkway or pool deck.
Inspect drainage after hard rain
After a heavy afternoon storm, walk the property while puddles are still visible. Look for water that remains on the surface long after the rain stops. Inspect the area after pressure washing, since high-pressure water can displace joint material.
Standing water can mean a blocked drain, a low paver section, failing edge restraint, or erosion below the installation. I also look for exposed bedding material and joint sand that has moved toward a drain or landscape bed.
A few loose grains are normal. Large gaps or bare joints are not. Those areas need attention before pavers begin to move.
Keep Joint Sand Full and Pavers Stable
Joint sand is not just there to fill gaps. It helps interlocking pavers transfer weight across the surface and reduces movement between individual units.
When sand washes out, pavers can loosen, tilt, rock, and collect more water. Open joints also give weed growth a place to start.
Watch for early signs of joint sand loss
Check the joints after major rain, pressure washing, and irrigation repairs. If a joint looks empty, paver edges are more exposed than they should be, or sand is collecting in nearby drains, schedule a repair.
The CMHA maintenance guide for interlocking pavement explains that properly selected sealers may help hold sand in place. Missing material can signal a larger hardscape system problem. Sealer isn’t a repair for empty joints or a failing base.
For permeable pavers, the joint material is part of the drainage system. Use only manufacturer-approved joint material, not standard polymeric sand or masonry sand, for permeable pavers.
Missing material is often the first visible sign of a bigger water-management issue, not just a cosmetic problem.
Re-sand small areas before movement gets worse
A small area with minor sand loss may only need cleaning, drying, and joint sand replacement. If you use polymeric sand, follow the product directions for weather, moisture, and activation. The wrong amount of water can leave haze on the pavers or create weak joints.
I recommend professional evaluation when pavers rock underfoot, edges are spreading, several joints have washed out, or the surface has settled. Replacing joint sand without fixing drainage can send the HOA back to the same problem after the next storm.
Clean Pavers Without Blasting Away the Surface
Pressure washing can be useful, but it should be treated as a controlled maintenance step, not a force test. A narrow tip held too close can cut lines into brick, strip sealer, and remove sand from the joints.
I always use the gentlest method that can solve the problem.
Start with a progressive cleaning method
Begin with sweeping, rinsing, and a paver-safe cleaner tested in an inconspicuous spot. Give the cleaner time to loosen the stain, then use controlled agitation with an appropriate brush.
For broad flat areas, a surface cleaner and wide spray pattern can produce a more even result than a wand alone. Keep water away from vulnerable joints, screen tracks, wall bases, and landscape beds.
A soft wash approach may be a better choice for algae treatment and moss removal along shaded, sensitive edges or nearby building surfaces. Choose cleaning methods based on the paver material, existing sealer, stain type, and surrounding plants.
Never mix cleaning products. Protect landscaping, wear proper safety gear, and let the pavers dry fully before deciding whether a stain is gone.
Treat stains by type
Fresh oil stains should be absorbed first. Don’t immediately hose the residue into the joints. Use a paver-safe oil absorber or degreaser, test a small section, and follow the label directions.
Treat surface stains by their source, not by applying increasingly aggressive pressure. Tree sap can leave a sticky resin, while leaves and palm berries leave tannin discoloration. Removing the debris quickly makes a big difference.
Rust stains and battery acid marks need extra caution. Harsh acid cleaners can etch the paver face, damage nearby metal, and create a larger repair. The Techo-Bloc paver care guidance is a helpful reference for testing stain-removal methods before treating the full area.
If a stain remains after the surface dries, it may have absorbed into the paver or damaged the existing coating. Address it during seasonal paver maintenance, but remember that more force won’t always make it disappear.
Adjust Seasonal Paver Maintenance for Florida Weather
Southwest Florida does not have snow or freeze-thaw cycles to plan around. Winter paver care is different here, since snow removal and de-icing products are rarely part of an HOA routine.
Seasonal paver maintenance focuses on intense UV exposure, summer storms, humidity, irrigation, and tropical weather.
Your paver maintenance checklist should change with the season.
Prepare for the wet season
Before the summer rains arrive, start with spring cleaning: clear drains, inspect downspout discharge areas, remove weeds, and refill joints where joint sand looks low. This is also a good time to inspect paver borders and edge restraints near landscape beds.
Check irrigation heads. A broken or misdirected head can wash sand out of joints and keep one section of pavers wet every day.
During the rainy season, sweep more often and treat algae before the surface becomes slippery. Pool decks, shaded sidewalks, and north-facing walkways need closer attention. During the drier months, winter paver care shifts toward watching shade, irrigation, and leaf buildup.
Inspect again after tropical storms
After a named storm or unusually heavy rain, inspect more than visible dirt. Look for blocked drainage, shifted pavers, washed-out sand, and runoff paths that cross the hardscape. Check permeable pavers too, because their open surface must remain clear.
Photograph any settlement before cleanup if the HOA may need to document a repair. Record drainage patterns before removing debris, then clear the area quickly so trapped moisture and plant material don’t leave stains.
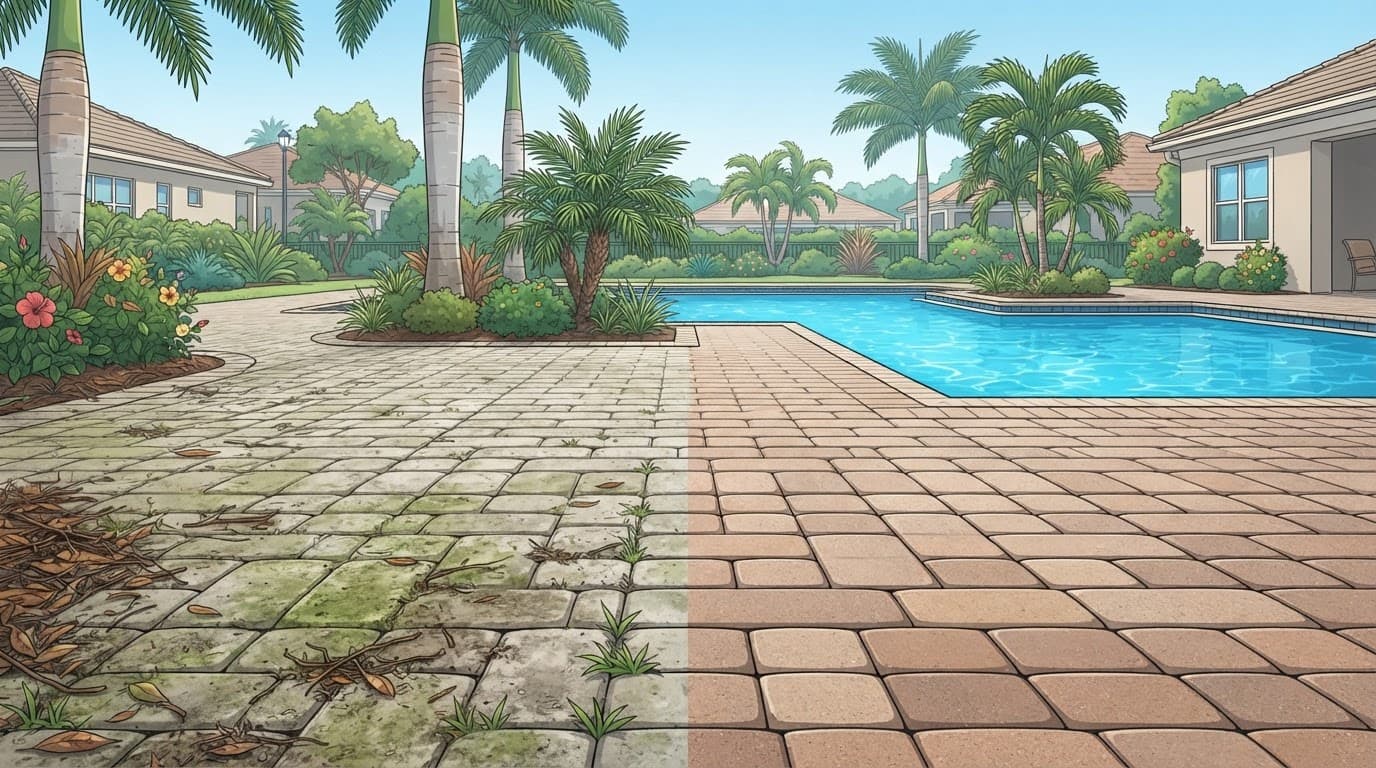
A clean pool deck may look good after a storm, but the joints and drainage path reveal the real condition of the hardscape system.
Plan Paver Sealing Around Surface Condition
Paver sealing can reduce water absorption, make cleanup easier, improve color, and support stable joints. It’s a finishing and protection step that should follow cleaning, re-sanding, drainage correction, and stabilization. It should never cover a dirty surface, remaining stain, loose pavers, or failing drainage.
Choose the right type of sealer
Penetrating sealers soak into the paver and usually maintain a more natural look. They’re a practical choice when an HOA wants a protective sealant without added shine.
Wet-look sealers enhance color and add a richer finish. They can look great on a driveway, paver patio, or pool deck, but the surface preparation has to be right. Over-application or trapped moisture can leave a tacky, uneven finish.
Joint-stabilizing sealers help lock joint sand in place. They can reduce sand loss and weed growth, but they won’t correct pavers that are already loose or settled.
The Belgard hardscape maintenance guide also recommends keeping joints topped off to protect the bedding layer below the pavers.
Seal only after cleaning and repairs are complete
For many HOA properties, a three- to four-year sealing cycle is a reasonable starting point. High-traffic entrances, sunny driveways, and pool decks may need earlier inspection. Preparation quality and product condition also affect timing.
Driveway sealing is not a shortcut for restoring worn pavers. The surface needs to be clean, dry, stable, and free of cleaning residue before any sealer goes down.
If several areas have fading sealer, algae, rust stains, washed-out joints, or uneven color, I recommend evaluating the full section instead of spot-sealing one paver. A larger, properly prepared area usually gives the community a more consistent result.
For professional cleaning, re-sanding, restoration, or sealing in Fort Myers, Cape Coral, Naples, Bonita Springs, Port Charlotte, or Sanibel Island, Get a Quote from a professional contractor who can evaluate the property and outline the needed work.
Frequently Asked Questions
How often should an HOA inspect its pavers?
Inspect high-traffic and shaded areas weekly, then complete a more detailed inspection each month. Always inspect drainage, joints, and settled areas after heavy rain or tropical storms.
What is the best way to clean HOA pavers?
Start with sweeping, rinsing, and a paver-safe cleaner tested in an inconspicuous area. Use controlled pressure and avoid blasting joint sand, damaging sealers, or pushing debris into drains and landscape beds.
When should an HOA replace joint sand?
Replace joint sand when gaps are visible, sand has washed toward drains, or pavers begin to rock or shift. Correct drainage problems first so the replacement material does not wash out after the next storm.
How often should HOA pavers be sealed?
A three- to four-year sealing cycle is a reasonable starting point for many communities. Inspect sooner in high-traffic entrances, sunny driveways, and pool decks, and seal only after the surface is clean, dry, stable, and repaired.
What should an HOA do after a tropical storm?
Clear debris from pavers, drains, and permeable surfaces, then look for standing water, washed-out joints, shifted pavers, and new runoff paths. Photograph settlement or other damage before cleanup if the board may need to document a repair.
Final Thoughts
Strong HOA paver care starts with routine inspection, clean joints, clear drainage, and careful cleaning. These steps protect shared paver areas and help them withstand Southwest Florida storms.
I have seen small problems become expensive repairs when sand loss, standing water, or algae gets ignored. Regular maintenance keeps your HOA’s pavers clean, safe, and ready for Southwest Florida weather.
