
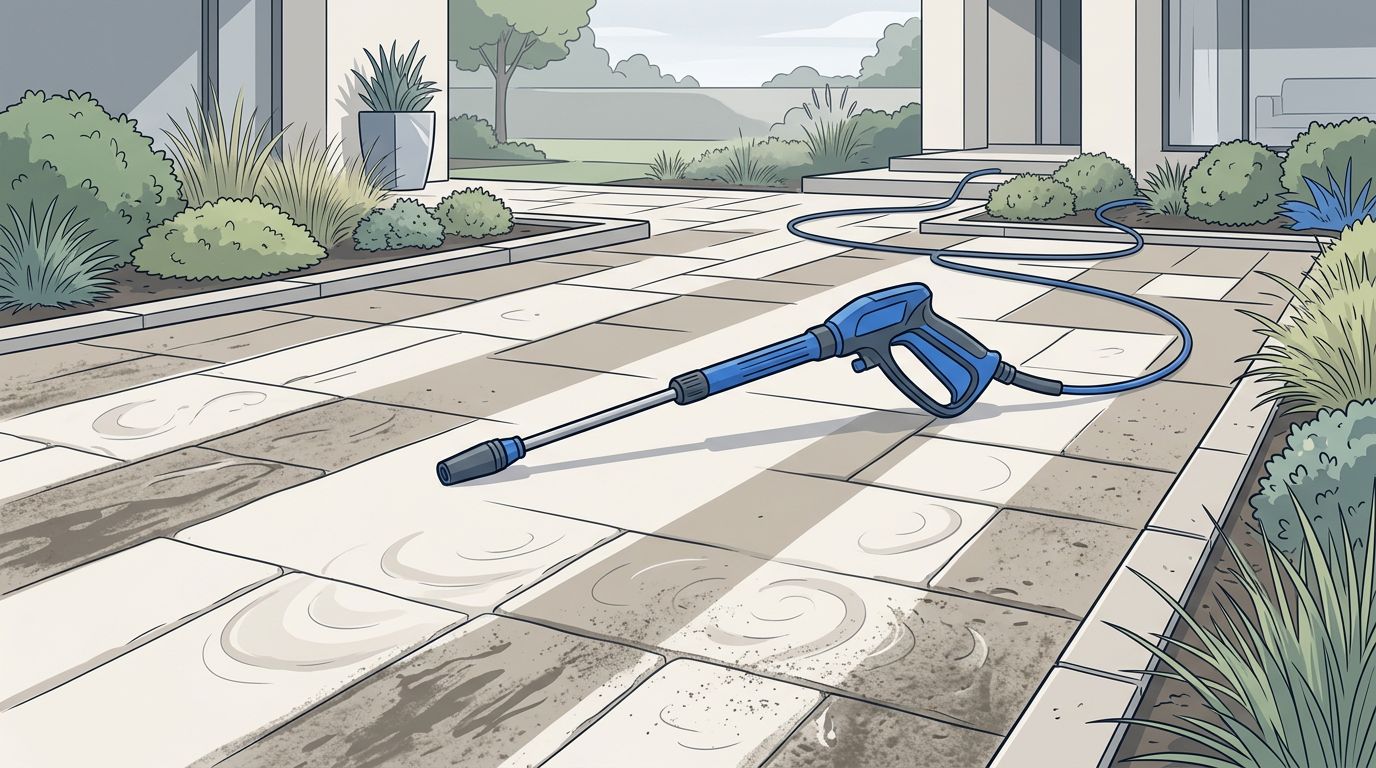
Freshly washed pavers should look cleaner, not striped. When homeowners search for pressure washer lines pavers, they usually find white marks, dark bands, or swirls across a driveway, patio pavers, walkway, or pool deck. These lines often come from power washing mistakes, including a pressure washer nozzle held too close, aggressive pressure, uneven passes, or old sealer removed in patches.
Some marks are leftover residue and can be corrected with controlled cleaning. Others are surface etching, joint sand loss, or coating failure that may need proper paver restoration from a landscaping company. Before washing the area again, let it dry completely and identify what changed.
Key Takeaways
- Pressure washer lines on pavers can come from uneven cleaning, excessive pressure, incorrect nozzle use, stripped sealer, residue, surface etching, or lost joint sand.
- Let the pavers dry completely before deciding whether the marks are stains, coating failure, or permanent surface damage.
- For many concrete pavers, start around 1,000 to 1,800 PSI with a wide spray pattern, steady movement, and a small test area; avoid aggressive zero-degree and 15-degree tips.
- Damaged sealer may need a compatible top coat, partial stripping, or full removal, while etched, cracked, or badly discolored pavers may need replacement.
- Replace missing joint sand before sealing, and choose professional restoration for sealed pavers, travertine, brick, large areas, or visible surface damage.
Pressure Washer Lines Pavers: What Usually Caused Them
Most pressure washer lines on pavers come from inconsistent cleaning. A narrow spray tip concentrates water into a small area. Incorrect nozzle use or a poor spray angle can worsen the effect. If the nozzle moves slowly, pauses, or stays too close, it can cause surface damage that appears as a visible line. Overlapping passes can also leave alternating clean and dirty bands.
Swirls usually point to uneven wand movement or incorrect use of a rotary surface cleaner. This tool works best when it stays flat and moves at a steady pace. Tilting the surface cleaner, stopping in one place, or moving too quickly can create circular shadows and uneven cleaning.
Previously sealed pavers create another common problem. Pressure washing may remove sealer in some areas while leaving it bonded in others. A high pressure stream may etch the paver face, but a white, cloudy, dull, or patchy appearance does not always mean permanent damage. It may mean the coating has been stripped unevenly.
Joint sand is also part of the problem. Excessive pressure can remove sand from the gaps between pavers. Once the joints are open, the pavers can shift more easily, weeds can enter, and stormwater can wash into the base.
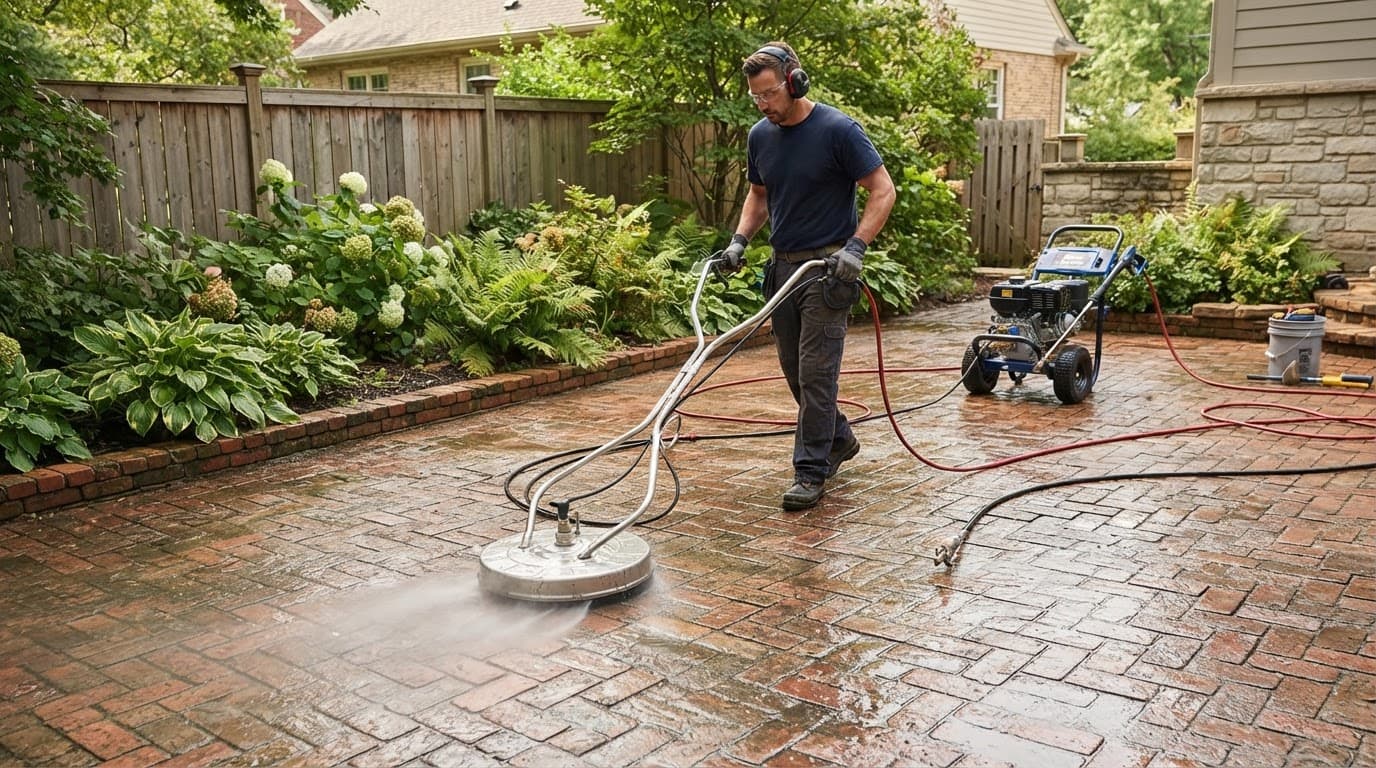
A clean-looking line is not always a dirty line. It may be stripped sealer, mineral residue, or an etched paver.
Stain, Stripped Sealer, or Etched Paver?
I always inspect patio pavers after they dry. Wet brick and concrete can temporarily hide discoloration, making a stain appear gone until the surface dries again.
A raised or sticky area usually means residue remains on top. Oil, tar, soot, melted sealer, and other materials can cling to textured pavers, complicating stain removal. A cloudy finish or sudden change in sheen often points to a damaged or uneven sealant layer.
An etched line feels rougher than the surrounding surface and may look lighter from certain angles. Pressure washing cannot put the original surface texture back. If the paver face has been cut or worn away, cleaning may improve the appearance, but it won’t reverse the physical damage.
Loose sand, visible gaps, or rocking pavers show that the joints need attention. I don’t treat missing joint sand as a cosmetic issue. The sand supports the interlocking installation and helps limit water movement below the surface.
Travertine needs more care than many concrete pavers. Brick pavers are durable, but they are not indestructible. Both materials need a small test area before full pressure washing begins.
Safe Settings for Pressure Washing Pavers
For many concrete pavers, a reasonable starting range is 1,000 to 1,800 PSI. I start at the lower end and adjust only when the surface responds well. The water pressure reaching the paver also depends on the nozzle, spray distance, flow rate, and angle.
A machine rated for a certain PSI doesn’t automatically make that pressure safe for every surface. A narrow tip held close can damage a paver faster than a wider tip used at a safe distance.
| Paver surface | Safer starting approach | Nozzle or method |
|---|---|---|
| Concrete pavers | Test at the lower end of the range | Green 25-degree or white 40-degree tip |
| Brick pavers | Use a wide spray and steady movement | White 40-degree tip is a safer first test |
| Travertine | Use low pressure and a stone-safe cleaner | Soft brush, soft wash, or wide fan rinse |
I avoid red zero-degree tips and yellow 15-degree tips on delicate pavers. They concentrate water too aggressively and can leave straight cuts, stripes, or chipped edges. A surface cleaner is usually safer on large, flat areas because it spreads water more evenly than a handheld wand.
My preferred cleaning process includes a chemical pre-treatment, dwell time, a wide spray pattern, and a controlled final rinse. I don’t try to blast every stain away in one pass. Loosening the buildup first gives better results with less pressure.
For mold and mildew, eco friendly cleaners can help with light growth. An oxygen-based masonry cleaner is another option when used according to the product directions. I protect plants, control water runoff, and avoid harsh acids, boiling water, wire brushes, random solvents, and strong laundry detergent.
A soft wash is often better for organic growth near delicate materials. I use the same careful thinking with roof cleaning, where high pressure can cause damage instead of providing a better clean.
Repair Options for Pressure Washer Lines on Pavers
For a problem described as “pressure washer lines pavers,” I don’t start by reaching for a stronger nozzle. I first determine whether the marks are residue, damaged sealer, surface etching, or joint sand loss.
If the surface is sound and the lines are caused by dirt or leftover cleaning residue, a paver-safe cleaning solution may be enough. I treat a small area first, allow the solution to work, and rinse without forcing material deeper into the pores. Cleaning the full section usually gives a more even appearance than treating only one stripe.
A top-coat application of paver sealer may work when the existing coating is still bonded, the surface is clean, and the products are compatible. The pavers must be completely dry. Any leftover chemical residue, oil, soot, or organic staining can become trapped under the new coat.
Top-coat sealing is not the right choice when the finish is peeling, tacky, heavily whitened, thick in some areas, or covered with roller marks and lap lines. In these cases, another coat may make the uneven appearance more noticeable. Partial stripping or full sealer removal may be needed before restoration.
For complex projects, I recommend having a landscaping company test a professional sealer stripper in a small area first. The product needs enough time to work, followed by careful rinsing and runoff control. Plants, walls, screens, metal fixtures, and nearby surfaces also need protection.
If the paver itself is etched, cracked, spalled, or badly discolored, replacement may be the cleanest repair. Individual pavers can often be removed and replaced when matching material is available. I don’t use heat guns or torches to correct pressure marks. Heat can crack, discolor, or weaken the paver.
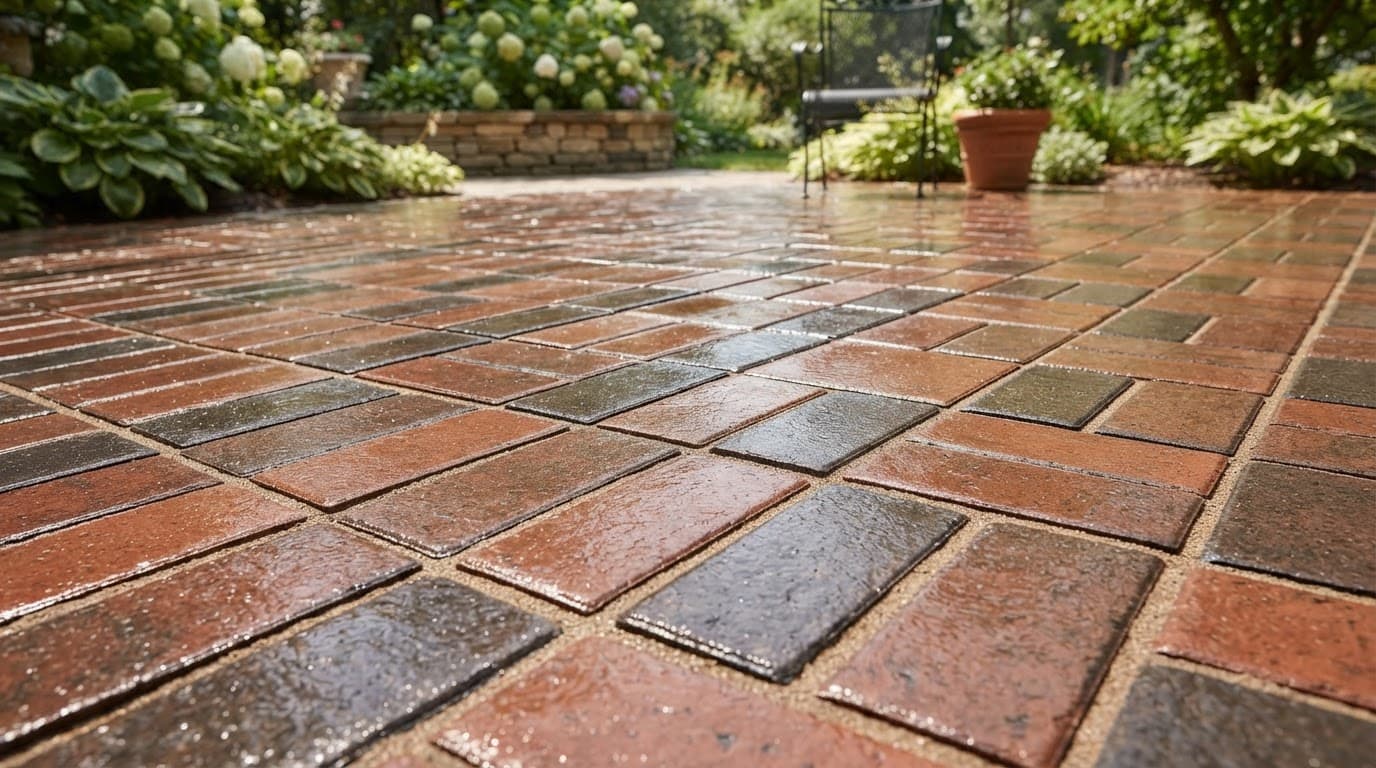
Re-Sanding and Sealing After the Wash
Joint sand should be replaced after pressure washing removes a noticeable amount. Polymeric sand needs clean, dry joints and proper activation to bond correctly.
The usual process is:
- Allow the pavers and joints to dry completely, then remove dirt and loose debris.
- Sweep dry polymeric sand into the joints with a stiff broom.
- Remove excess sand from the paver faces with careful sweeping or a leaf blower on a low setting.
- Mist the surface lightly according to the sand manufacturer’s instructions.
- Use several light passes instead of flooding the joints or creating puddles.
Too much water can wash the binding material out of the joints. Too little water may leave the sand inactive. Product instructions vary, so I follow the specific activation directions for the sand being used.
Apply a paver sealer only after cleaning, repairs, sanding, and complete drying. A fresh sealant layer can improve color, reduce water absorption, and make future maintenance easier. I don’t recommend sealing one paver by itself because the color and sheen can stand out. A full driveway, patio, or walkway section usually gives a more consistent result.
For ongoing paver maintenance, I also inspect drainage, joint condition, and the existing coating before recommending a product. Southwest Florida humidity and sudden rain make timing important. The surface needs enough dry weather for the sealer to bond and cure properly.
DIY or Professional Paver Restoration?
DIY power washing may be reasonable for a small, unsealed concrete paver area with intact joints and no visible damage. You still need eye protection, proper footwear, a test area, and careful runoff control.
Professional service is safer when pavers are sealed, lines appeared after previous cleaning, or joint sand is missing. It’s also recommended for travertine, brick pavers, large driveways, and pool decks, which require consistent cleaning to prevent overlap marks.
Season matters too. In climates with freezing weather, autumn and spring washing can leave water inside open joints. Freeze thaw cycles cause trapped water to expand, shifting pavers, widening gaps, and damaging the base. Avoid washing when freezing temperatures are expected before the surface and joints can dry.
In Southwest Florida, freezing is less common, but rain, humidity, mold, and strong sun still affect paver cleaning and sealing. At Kingsway Paver Sealing & Pressure Cleaning, I provide the careful inspection homeowners expect from a landscaping company before choosing cleaning, restoration, re-sanding, sealing, or replacement. Homeowners in Fort Myers, Naples, Bonita Springs, Port Charlotte, Sanibel Island, and nearby areas can Get a Quote for professional help.
Frequently Asked Questions
Why did my pressure washer leave lines on the pavers?
Pressure washer lines usually come from uneven wand movement, overlapping passes, excessive pressure, or a nozzle held too close. They can also reveal sealer that was removed unevenly or joint sand that was washed out.
Can pressure washer lines on pavers be removed?
Some lines are residue or uneven cleaning and may improve with a paver-safe cleaner and controlled rinsing. Etched paver surfaces cannot be restored by cleaning alone and may require replacement or professional restoration.
What PSI is safe for washing pavers?
For many concrete pavers, 1,000 to 1,800 PSI is a reasonable starting range when used with a wide spray pattern and safe distance. Brick, travertine, sealed pavers, and damaged surfaces need lower pressure and a small test area first.
Should I seal pavers after pressure washing?
Seal pavers only after the surface is clean, completely dry, repaired, and free of residue or organic staining. If the old sealer is peeling, tacky, heavily whitened, or uneven, it may need partial or full removal before applying a new coating.
Do I need to replace joint sand after pressure washing?
Replace joint sand when pressure washing has created visible gaps or removed a noticeable amount. Clean, dry joints are especially important when using polymeric sand, which also needs careful activation according to the manufacturer’s instructions.
Restoring Pavers Without Creating New Damage
Pressure washer lines are easier to repair when the cause is identified before the next wash. Good paver maintenance starts with a dry inspection, a wide spray pattern, gentle nozzle tips, and protected joint sand.
Residue may need cleaning. Uneven sealer may need stripping. Etched or heat-damaged pavers may need replacement. Seal only after the surface is clean, dry, repaired, and ready for a compatible protective coating. The goal is not to use more pressure. The goal is to restore the pavers without creating a larger problem.
