Those orange rings on a brick patio rarely show up by accident. When I see neat circles, rusty arcs, or a chalky film on pavers, I look at the irrigation system first.
A lot of homeowners clean the brick surface, feel good for a week, then watch the same marks come right back. That is the giveaway. Sprinkler stains brick because the issue is usually related to the water quality before it becomes a cleaning problem.
Once I know what the water is leaving behind, the fix gets a lot more straightforward.
Key Takeaways
- Source identification: Sprinkler stains on brick are caused by mineral deposits—such as iron, calcium, or magnesium—left behind when irrigation water evaporates, creating predictable arcs or circles.
- Fix the source first: Before cleaning, you must adjust irrigation heads, replace damaged nozzles, or redirect spray patterns; otherwise, the stains will inevitably return.
- Understand the stain: Differentiate hard water buildup from efflorescence or organic growth to ensure you use the correct cleaning method, as improper pressure washing can damage the brick surface.
- Protect the finish: After successfully removing mineral buildup, apply a high-quality sealant to the brick to prevent future deposits from bonding easily to the porous surface.
Why sprinkler water leaves stains on brick
Red brick looks tough, but it is not sealed by nature. Because it is porous, the material easily soaks up water, traps particles near the surface, and holds onto discoloration longer than smoother surfaces.
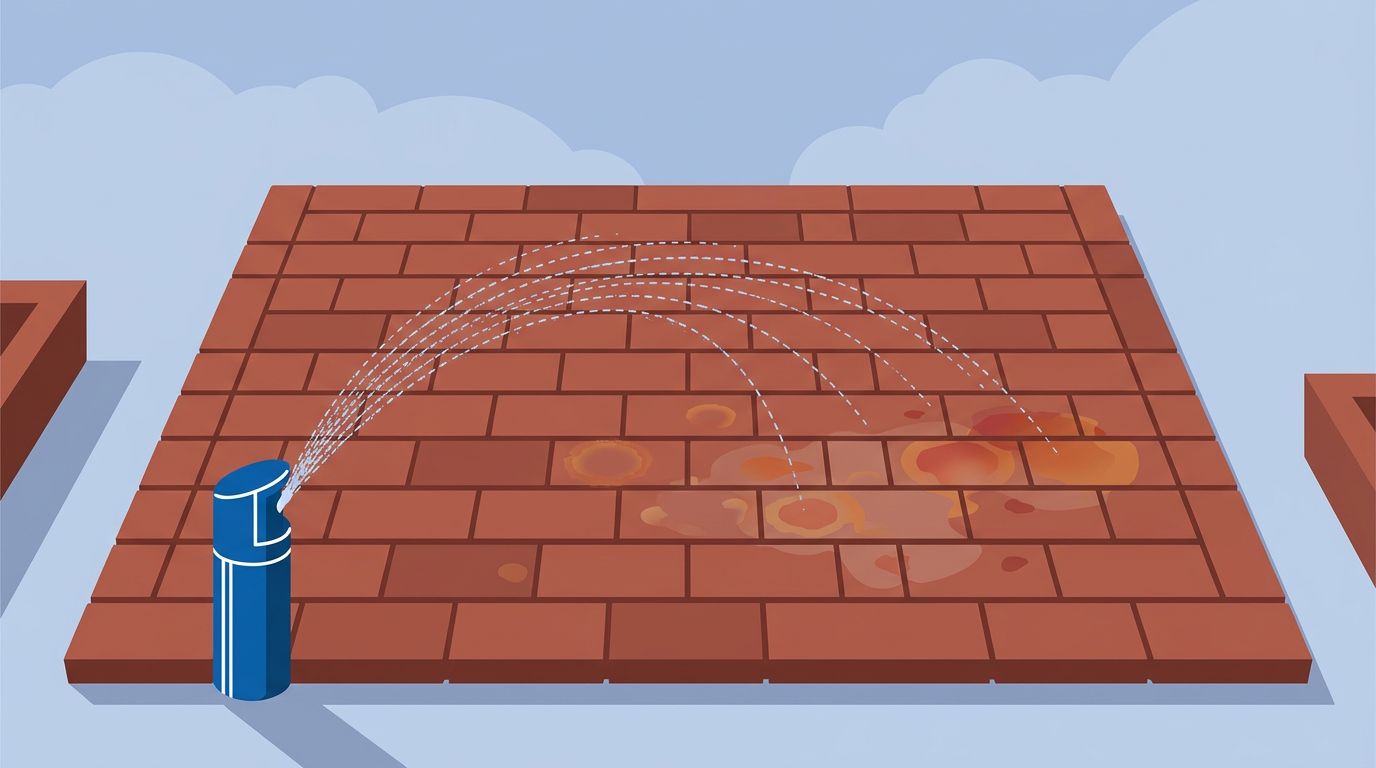
When sprinklers hit the same spot day after day, the water evaporates and leaves its contents behind. If that irrigation water carries mineral deposits like magnesium or calcium deposits, the patio becomes a landing pad for buildup. Over time, these residues accumulate into visible hard water stains.
The color tells part of the story. White or a white haze usually points to these minerals. Orange or rust-colored marks often mean iron is in the mix. Brownish rings can be a blend of everything, with dirt sticking to the mineral layer and making the surface look even worse.
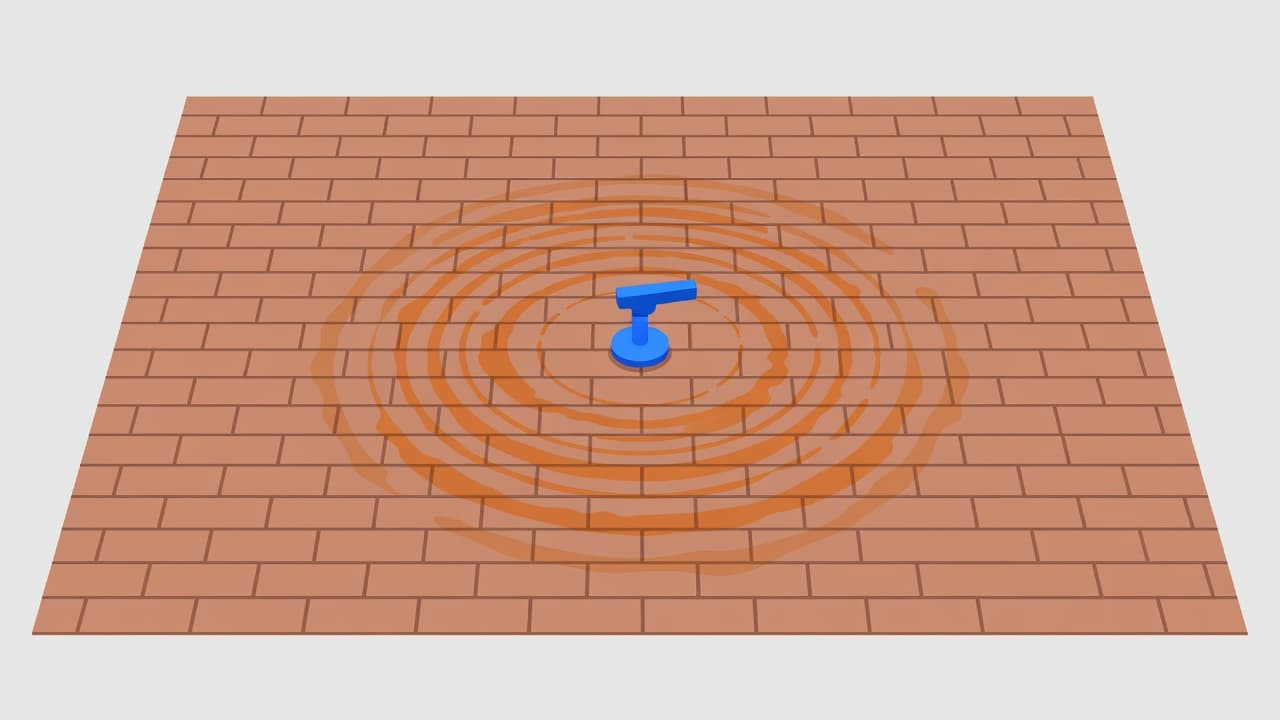
I see this most often where sprinkler heads spray across one fixed arc. The brick does not stain evenly. It stains in patterns. You will usually notice circles around a head, a half-moon along a walkway, or repeated spots where overspray hits every morning.
In many neighborhoods, irrigation water is harder than people realize. Some systems also use reclaimed water, which can leave more visible residue than clean drinking water. That does not make the system bad; it just means the patio pays the price if the spray pattern is off.
Sun and heat speed the whole thing up. A wet brick surface dries fast in hot weather, so minerals get dropped on the surface again and again. Think of it like making layer after layer of tea kettle scale, except you are building it on your patio instead of inside an appliance.
What sprinkler stains on brick usually look like
The earliest sign is often easy to miss. The brick starts to look dull in a narrow band, even after rain. Then the color shifts. A vibrant red brick might turn muddy, tan pavers start looking chalky, and the clean edges between bricks lose their contrast.
If iron is present, the stain can look like rust bleeding across the surface. Homeowners sometimes assume metal furniture caused it, or that fertilizer washed over from the lawn. Sometimes that is true. But when the mark follows the exact reach of the sprinkler, the water is telling on itself.
If the stain repeats in the same arc as the sprinkler spray, the source is usually standing right there in plain sight.
White buildup can get confused with efflorescence, and I understand why. Both can look dusty or crusty. The difference is where they come from. Efflorescence comes from salt deposits moving through masonry from inside, while hard water stains sit on the brick surface where the water lands.
Algae and mildew can also muddy the picture. Those stains are usually darker, greener, or blacker, and they show up in damp shade. Mineral staining does not care much about shade. It cares about where the water lands and how often it dries.
Another clue is texture. A stained area may feel rougher than the surrounding material because minerals create a thin crust on the brick surface. That rough patch then grabs dirt faster, so the stain looks older and dirtier than it really is. It is a little like plaque on teeth. Once it forms, everything sticks to it.
How I clean sprinkler stains off brick without making the patio worse
The first move is boring, but it matters most. I stop the sprinkler from hitting the brick. If I clean first and leave the spray pattern alone, I am signing up to do the same job again later. That might mean turning a head a few degrees, replacing a cracked nozzle, lowering the spray distance, or fixing a leak that keeps one area soaked. Small irrigation problems create big cosmetic problems.
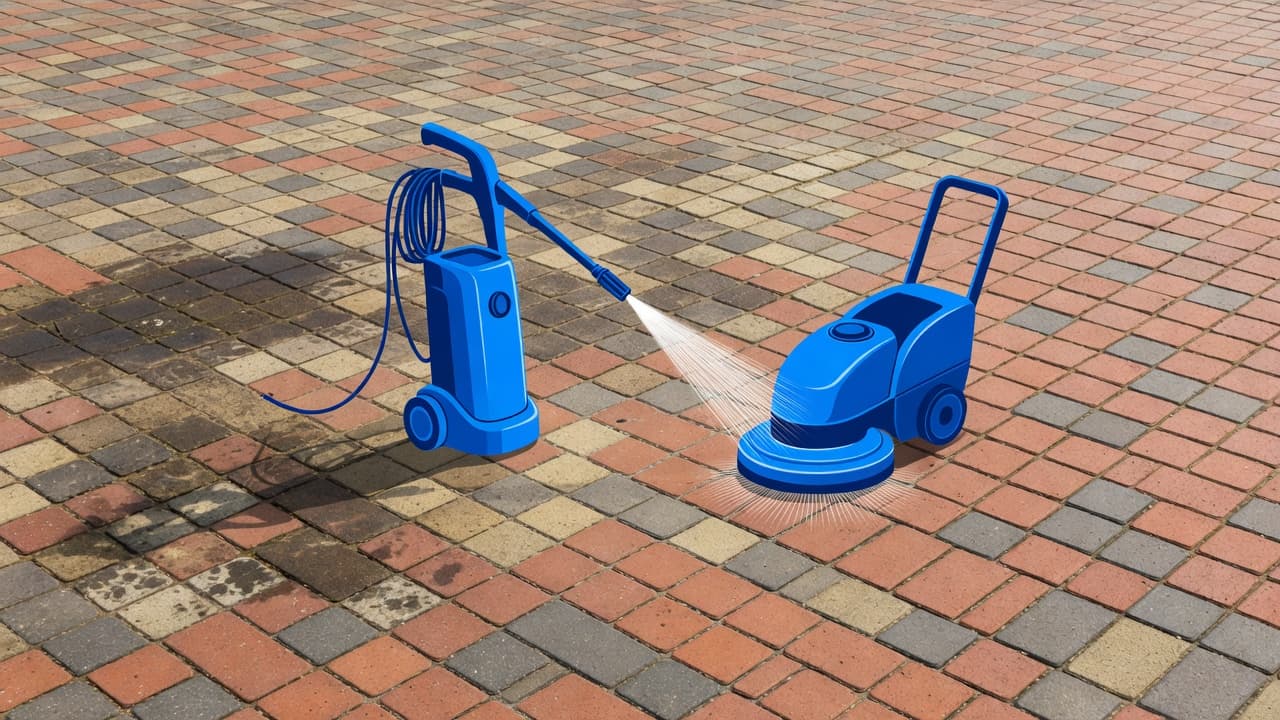
When you start cleaning brick, following the right stain removal tips is essential to prevent permanent damage. Before I touch the surface with anything aggressive, I identify the stain type. Plain dirt and algae respond differently than mineral scale and rust. While pressure washing can help, it is not a magic wand. If I use too much force, I can scar the brick, strip joint sand, and make the patio wear faster.
For mild cases, I often try a simple vinegar solution paired with a stiff-bristled brush to gently scrub the surface. However, for stubborn mineral deposits, I usually turn to a professional commercial stain remover like F9 Efflo, which is specifically formulated for heavy scale. Regardless of the product, I always test it on an inconspicuous area first. This test matters because some brick darkens, some lightens, and some older pavers react poorly to strong acid products.
A careful rinse and a controlled pressure washing pass can remove loosened buildup without chewing up the surface. The trick is control, not brute force. I want the stain gone, but I do not want the patio looking freshly sandblasted. This is also where people mix up methods. A soft wash is great for delicate surfaces and organic growth, which is why it is common in roof cleaning. Brick pavers are tougher, but mineral staining often requires a high-quality brick cleaner chosen for specific deposits, followed by a measured rinse, rather than the same approach used on a roof or painted siding.
If the brick is clean but the joint sand is gone, the job wasn’t done well.
Once the staining is removed, I look at protection as part of the total brick restoration process. Clean pavers are easier to keep clean when they are sealed properly. Applying the right sealant matters after restoration, especially on patios and walkways that stay near active irrigation. The same idea applies to adjacent hardscapes, and driveway sealing can help limit future staining on nearby paver areas too.
If the patio is heavily stained, the joints are thinning out, or you want the surface cleaned and protected in one shot, Get a Quote.
How I keep the stains from coming back
Most repeat staining comes down to one thing, repeated overspray. If the sprinkler keeps hitting the same brick, the patio keeps collecting minerals. Cleaning helps, but prevention is what saves the finish.
I like simple fixes because they work. You usually do not need to replace your entire irrigation system. You just need better aim, diligent maintenance, and a little follow-through.
- Adjust your sprinkler heads so they water your plants and grass, not the edge of your patio.
- Replace damaged nozzles that spit, mist, or throw an uneven arc.
- Watch one full cycle after any lawn work, because heads get bumped all the time.
- Apply a quality sealant to the brick surface after cleaning so minerals have a harder time grabbing on.
Sealant is not a force field. If hard water hits sealed brick every morning, some residue can still form. However, cleanup becomes much easier, and the surface does not absorb as much staining as quickly.
I also like to think about the property as one exterior system rather than a set of unrelated chores. Many homeowners diligently schedule routine pressure washing, roof cleaning, or a professional soft wash service, yet they ignore the sprinkler that keeps painting orange rings across the walkway below. That is how a home can look cleaner overall while still feeling messy at ground level.
A quick check of your setup a few times a year goes a long way. So does cleaning stains while they are still light. Fresh buildup is much easier to remove, whereas old, hardened buildup tends to stick around for the long haul.
Frequently Asked Questions
How can I tell if my stains are from sprinklers or something else?
Look at the shape of the discoloration. If the stain forms a distinct arc, circle, or pattern that matches the reach of your sprinkler head, it is almost certainly a mineral deposit from your irrigation water.
Can I use a pressure washer to remove these stains?
While a pressure washer can help, it is not a magic solution. Using too much pressure can scar the brick and blast away the joint sand, so it is best to use a specialized brick cleaner for mineral scale followed by a controlled, gentle rinse.
Why does the white haze keep coming back even after I scrub it?
If the haze returns, your sprinkler is likely still hitting the brick daily. You must adjust your spray pattern to prevent new water from landing on the pavers; otherwise, you are essentially restarting the mineral buildup process every time you run the system.
Should I seal my brick patio after cleaning?
Yes, applying a quality sealant is a vital part of the restoration process. While it is not a permanent force field against water, it makes the surface less porous and significantly easier to clean if future mineral buildup occurs.
Conclusion
Those persistent patterns often seen when sprinkler stains brick are not random; they are the undeniable fingerprint of repeated irrigation hitting a porous surface and leaving behind stubborn mineral deposits.
When I tackle these issues, I keep my approach straightforward. My process focuses on fixing the water source first, cleaning the surface correctly, and finishing with the right protection to ensure successful brick restoration. If you follow these three steps, your patio will stop fighting back and remain pristine throughout the season.