
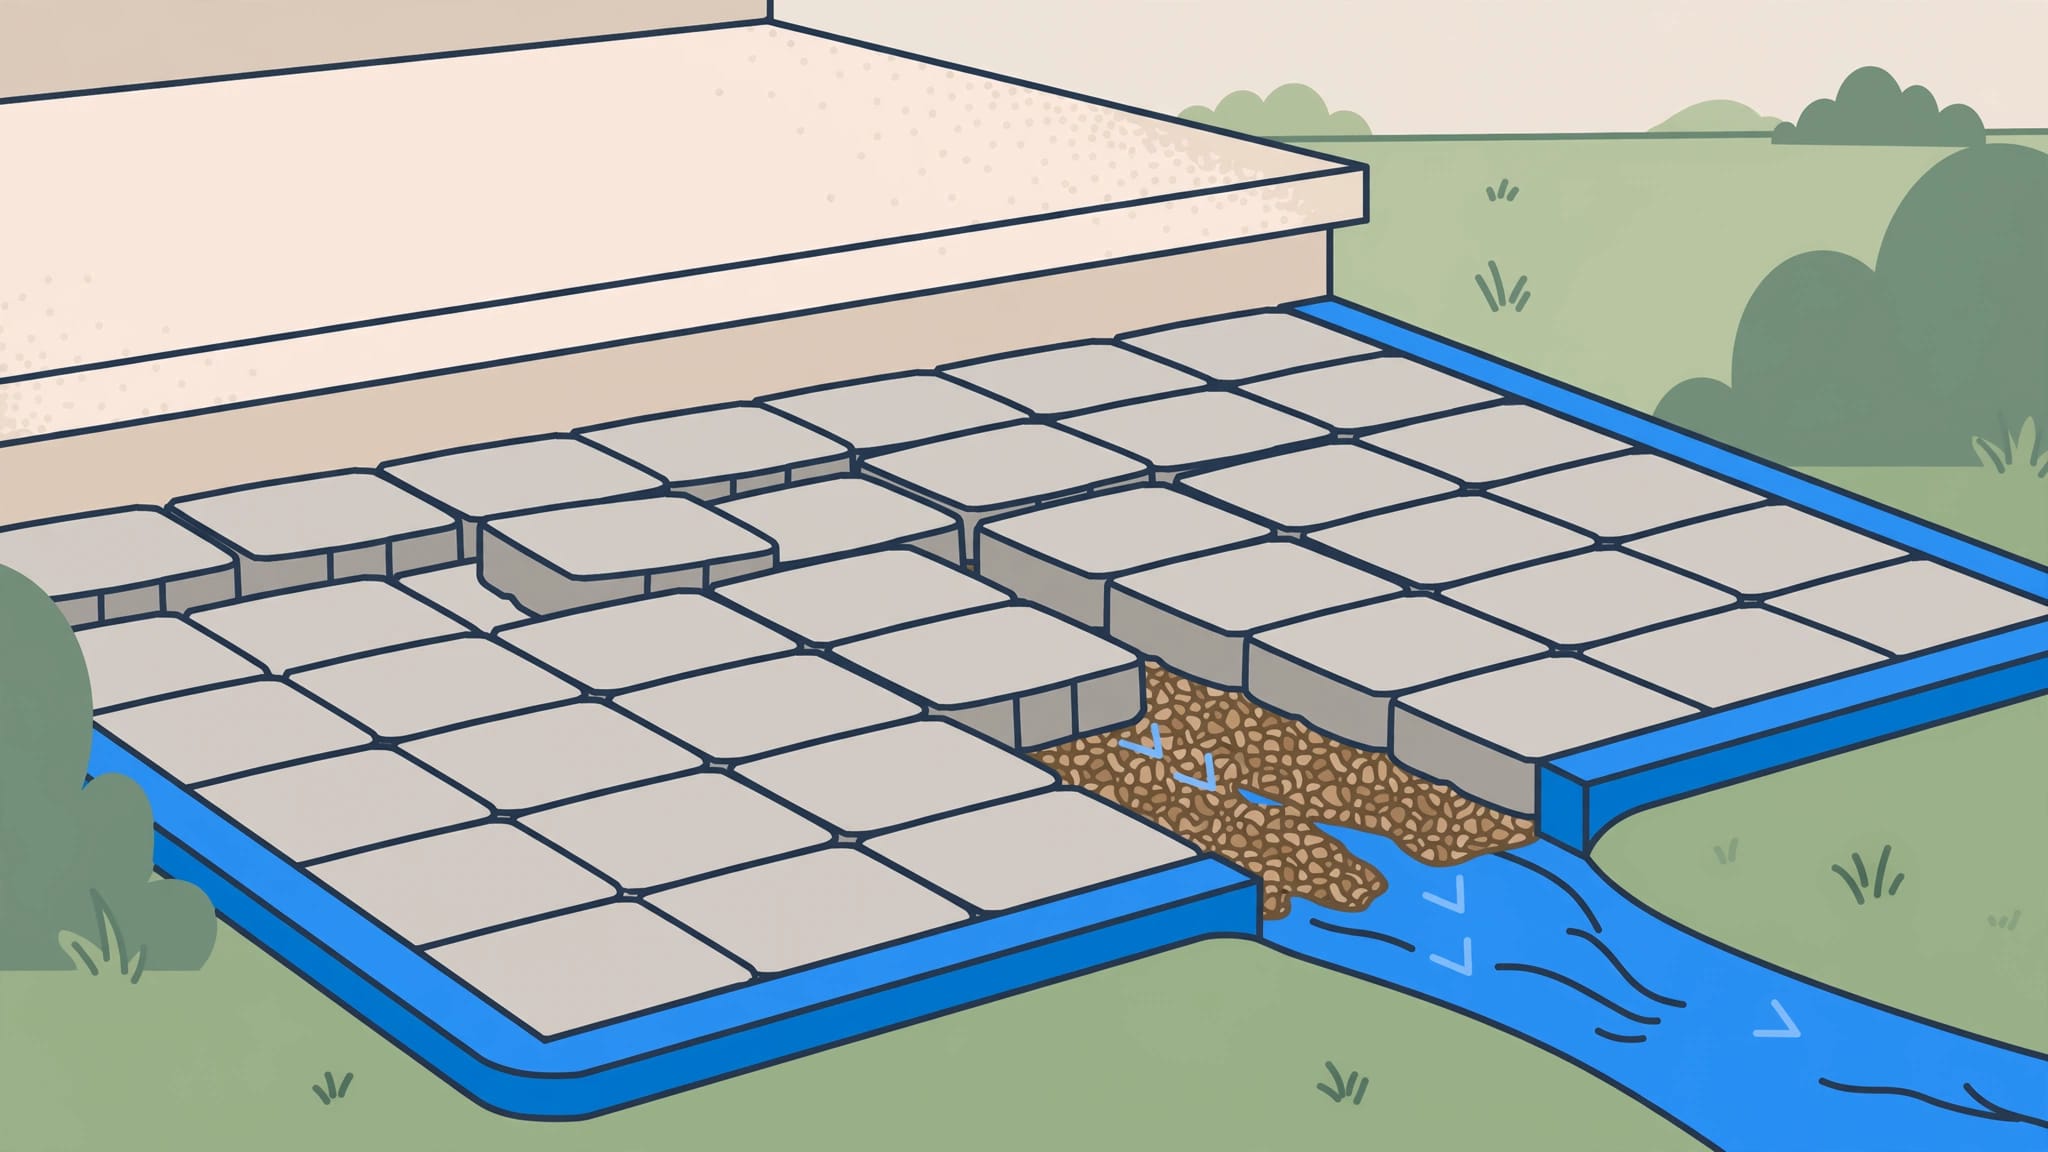
Paver walkway separation at a concrete porch usually starts with settlement, washed-out support, or an edge that no longer holds the paving in place. I recommend repairing that underlying problem before adding sand or sealer.
Your porch and walkway have different foundations, so they can move independently. A lasting repair restores a stable paver base, directs water flow away from the walkway, and secures borders. Start by identifying whether the pavers have dropped, spread outward, or lifted.
Key Takeaways
- Widening gaps, rocking pavers, and uneven heights point to different problems that need different repairs.
- Bedding sand adjusts paver height, but it can’t replace missing or unstable base material.
- Correct water flow and secure the borders before resetting pavers and restoring joint sand.
What Causes Paver Walkway Separation?
Settlement, runoff, and aging materials
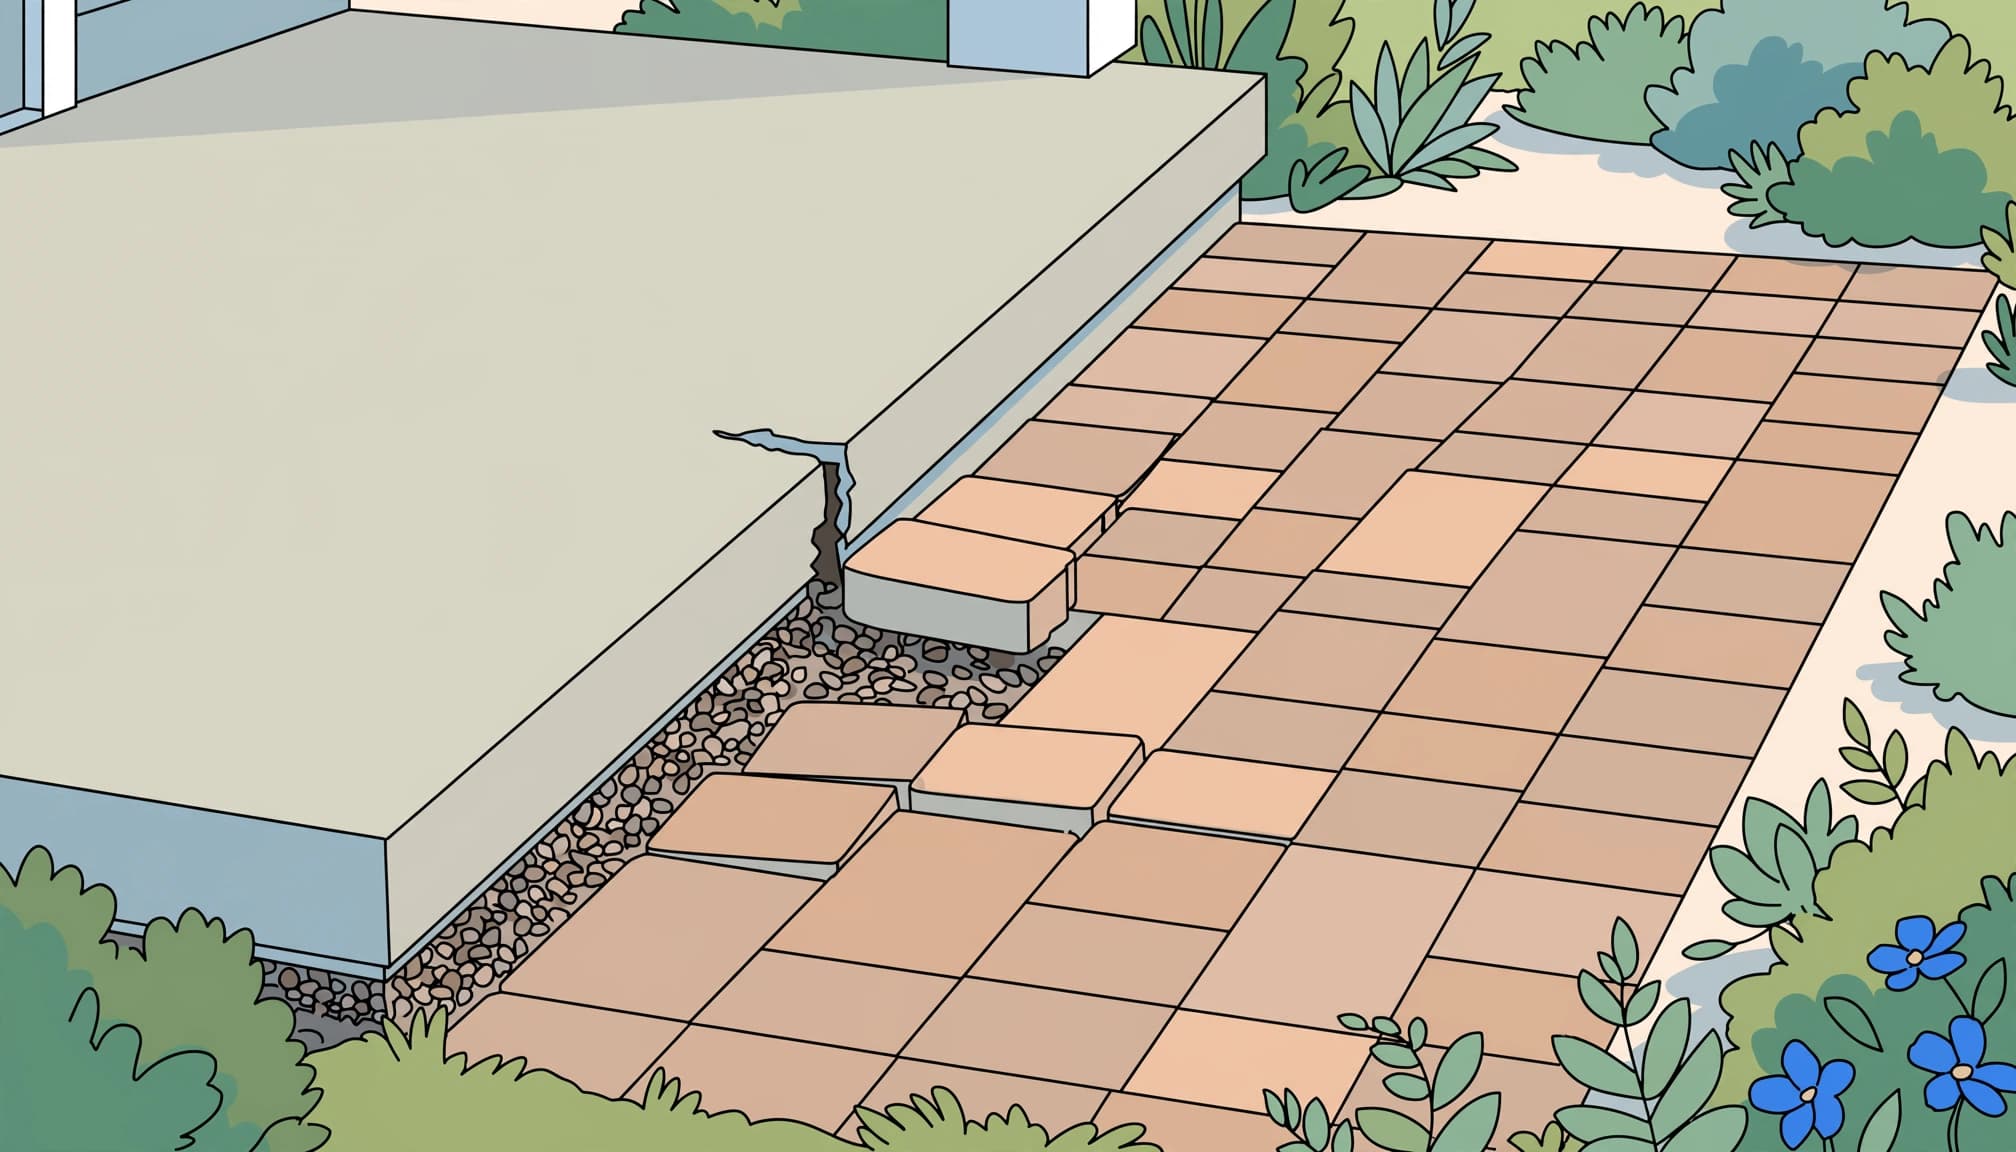
A concrete porch often rests on a separate foundation, while walkway pavers sit over compacted aggregate. Paver walkway separation can occur when the walkway base settles, leaving the porch in place while adjoining pavers drop.
Insufficient compaction, buried organic material, and poorly compacted utility trenches can leave weak areas. Water makes those problems worse when downspouts, irrigation, or poor grading repeatedly saturate the same location.
Over time, weather exposure, temperature changes, and repeated moisture cycles can also affect joints and support. In Southwest Florida, concentrated rainfall and erosion deserve particular attention.
Loose borders and root pressure
Weak edge restraints allow the outside row to move sideways. Adjoining rows can follow, opening joints across the walkway and beside the porch.
Roots can cause heaving by pushing pavers upward and creating a ridge rather than a depression. An arborist should assess significant roots before cutting because removal can affect tree health and stability.
Pavers can be lifted and relaid after the cause is addressed. That makes localized repairs possible without removing the entire walkway, unlike repairing a continuous poured-concrete surface.
Read the Gap Before Choosing a Repair
I recommend looking at the entire entry rather than treating the porch gap as an isolated defect. A straightedge across several rows can show whether the walkway has settled or developed a high spot.
The surrounding pattern helps narrow the cause.
| What you see | Likely concern |
|---|---|
| Low pavers beside a stable porch | Settlement or washed-out support |
| Widening joints across several rows | Shifting pavers or failed edging |
| Raised pavers near a tree | Root pressure |
| Sand deposits after rain | Joint loss or concentrated runoff |
These signs can overlap. A low area with spreading borders may need both base repair and new restraints.
Photograph the gap with a ruler for reference. If the porch itself is cracking, tilting, or separating from the house, bring in a qualified concrete or foundation professional. Keep people away from a loose or raised entry edge that presents a trip hazard.
Build the Base for the Site
Excavation, bedding, and fabric
Before excavation, call 811 to have underground utilities marked. The Texas Railroad Commission’s underground utility damage-prevention guidance recommends calling before digging projects regardless of depth.
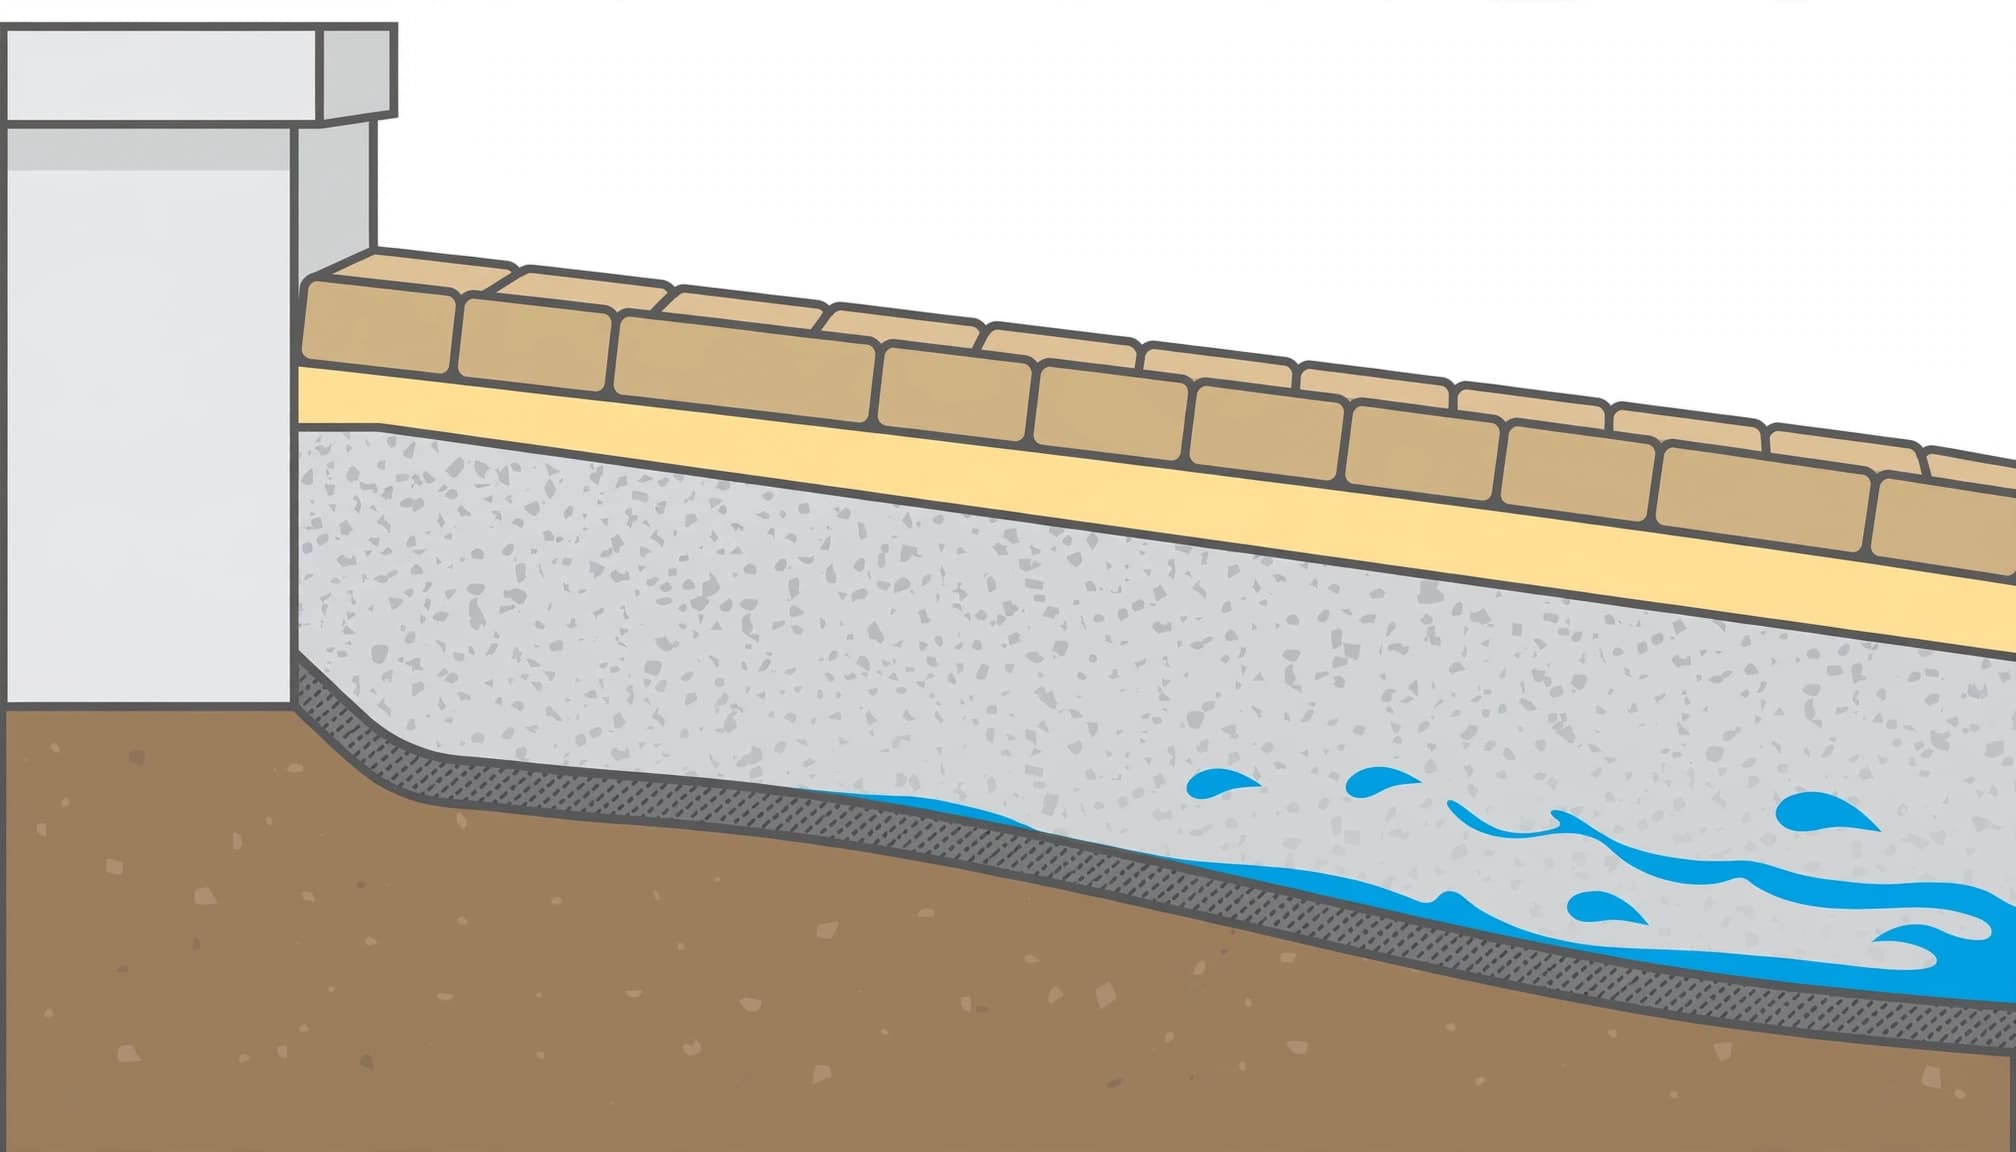
One pedestrian installation specification uses 2 3/8-inch pavers, 1 inch of bedding sand, and 4 inches of compacted 5/8-inch crushed base.
Another planning allowance uses about 8 inches of excavation: roughly 3 inches for pavers and bedding, plus 6 inches of base, with the finished surface about 1 inch above adjacent grade. These are separate assemblies, not interchangeable specifications.
Construction-grade non-woven geotextile fabric can separate subsoil from aggregate and limit soil migration where appropriate. Thin weed-control landscape fabric isn’t an equivalent structural material.
Dense-grade and open-grade systems
Dense grade aggregate contains fines and is commonly compacted in 2- to 3-inch lifts. An open grade base can use 3/4-inch clean crushed stone in 6-inch lifts with suitable compaction equipment. Smaller equipment may require thinner lifts.
Chip stone is clean aggregate measuring 3/8 inch or smaller. Without fines, it allows water to pass freely. It belongs in a compatible open-grade assembly rather than being mixed casually with conventional bedding materials.
Open stone still needs somewhere for water to go. Saturated subsoil can remain a problem beneath a freely draining base.
CMHA’s aggregate-base pavement specification describes concrete pavers and bedding sand over compacted aggregate.
Reset Settled Pavers in the Right Order
I recommend repairing beyond the visibly sunken row until the surrounding support is firm. Stopping at the smallest visible gap can leave weak material beside the repair.
- Lift the affected pavers carefully. Keep reusable units in their original order. Remove loose bedding and inspect the aggregate, edging, and nearby water-flow paths.
- Remove failed support. Excavate soft, muddy, contaminated, or missing base material. Correct downspout discharge and other concentrated runoff before rebuilding.
- Compact aggregate in layers. Lightly moisten dense-grade material before compaction, but don’t saturate it. For a DIY paver walkway repair, use a plate compactor suited to the site and aggregate. Work from the outer edges inward, using overlapping passes at roughly 45-degree angles in both directions.
- Find and correct low spots. Check leveling with a longboard or straightedge, mark depressions with spray paint, add base rock, and compact again. Remove high spots rather than hiding them beneath extra bedding.
- Restore bedding and relay the pavers. Use screed rails to establish a consistent layer of compatible paver sand. Preserve the original pattern and finish without rocking units or creating abrupt height changes.
Set the surface to carry water away from the house. A slope of about 1/8 inch per foot is a reference pitch, although rough surfaces and site conditions can require greater fall. Keep water from collecting against the porch.
CMHA’s construction guide for interlocking pavements provides a framework for the installation sequence. For localized settlement, the same support-first approach applies to repairing sunken brick pavers.
A thick pocket of bedding sand can hide a depression temporarily, but the rebuilt aggregate must carry the pavers.
Choose Edge Restraints That Have Solid Support
Ground-level walkway borders
An edge restraint needs a firm base and secure anchoring. Bedding sand alone doesn’t provide structural support.
Plastic snap edging is one option for pedestrian walkways. Some systems use spikes every third or fourth hole, but anchoring varies with the restraint and base assembly.
Steel edging, including 3/16-by-4-inch products, can provide a firm border when properly supported and anchored. Concrete or mortar haunching offers another option when the design provides adequate support and allows water to escape.
I recommend choosing the restraint for the installation rather than selecting by appearance alone. Our guidance on paver edge restraints explains why anchoring and base support work together.
Raised walkways and wall-block edges
A walkway above lawn level needs support that won’t erode away from its exposed perimeter. Pavers resting on retaining-wall block need particular attention because ordinary spiked edging may have nowhere suitable to anchor.
Construction adhesive alone isn’t a dependable substitute for lateral restraint. A compatible landscape block adhesive may secure approved caps, but it doesn’t correct an unstable wall or unsupported paving.
A raised edge may require designed steel restraint, supported concrete haunching, or a masonry assembly. Loose wall blocks, outward movement, or a drop beside the walkway call for professional assessment.
Restore Joint Sand After Movement Is Corrected
Polymeric sand contains binders that activate with water and firm up between pavers. It helps resist joint erosion, but it can’t level a walkway or rebuild a failed base.
Use a joint material compatible with the pavers, joint dimensions, and pavement type. Permeable paving requires its designated drainage aggregate, not ordinary polymeric sand.
For conventional pavers, remove debris and prepare dry surfaces and joints as the product requires. Fill to the required depth, compact as directed, clear residue from the faces, and activate with controlled water. Watering methods vary by product.
Material quality affects longevity, but preparation, drainage, and traffic also matter. Polymeric sand still needs inspection and occasional repair.
I recommend preserving intentional movement joints at the porch rather than packing them with rigid mortar. A widening gap caused by displaced pavers needs the paving reset before any joint treatment.
Maintain the Repair Before Sealing
After heavy rain, look for fresh sand deposits, new low spots, or a border moving outward. CMHA’s pavement maintenance guide covers maintenance and repair of interlocking surfaces.
Pressure washing should remove dirt without stripping the joints. A narrow spray directed into seams can displace their material.
If roof cleaning or a soft wash is scheduled nearby, manage debris and chemical runoff around the walkway. Cleaning the roof won’t correct a downspout that repeatedly washes out the same edge.
Driveway sealing follows the same preparation rule: finish structural repairs, cleaning, and compatible joint work before applying a protective coating. Our paver restoration process follows that repair-first order.
Frequently Asked Questions
Can filling the porch gap stop separation?
Only when the paving is stable and the problem is limited to missing compatible joint material. If pavers rock, sink, or spread, filling the surface gap won’t repair the cause.
Why do properly installed pavers move later?
Drainage changes, growing roots, disturbed borders, and settling utility backfill can affect an established walkway. Joint material also wears over time. Good installation reduces risk, but regular maintenance still matters.
Does every uneven paver need replacement?
Sound pavers can often be reused after lifting, rebuilding the support, and restoring grade. Cracked or badly damaged units may need replacement. Widespread settlement needs broader assessment before individual stones are reset.
Protect the Entry With a Stable Repair
A lasting repair starts beneath the pavers. I recommend correcting drainage, rebuilding weak support, and securing the borders before restoring the joints.
Sealer protects a prepared surface; it won’t close a moving gap or replace missing base material.
Once repairs are complete, Get a Quote for sealing or pressure cleaning to keep your walkway clean and cared for.