
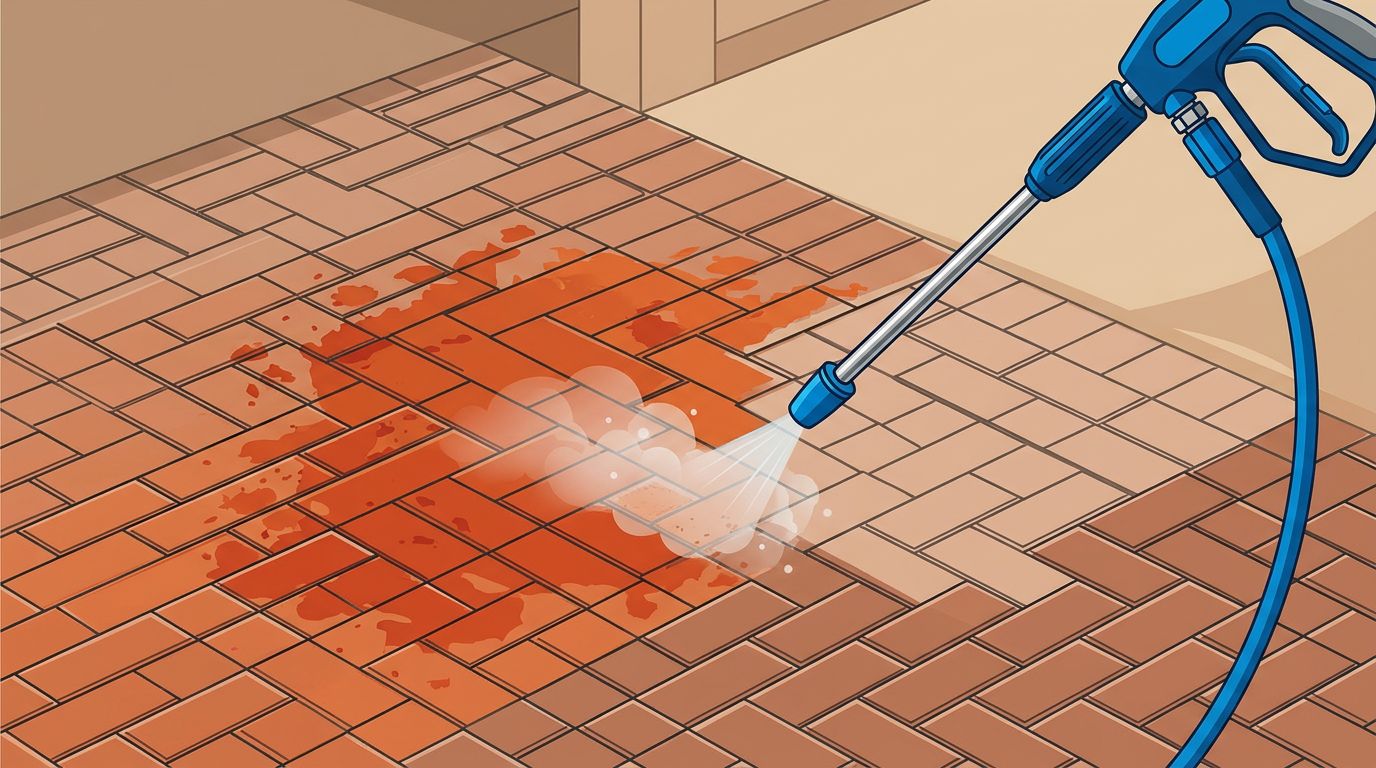
Red clay can leave a driveway or patio looking permanently stained after one storm. The orange-red color often comes from iron oxide, which settles into porous surfaces such as brick pavers rather than remaining on top.
Safe red clay stain removal requires more than turning up the pressure washer. I inspect residential and commercial paver areas first, then test a small area and use the right cleaner. I rinse carefully without stripping sealer, washing out joint sand, or changing the brick texture.
Key Takeaways
- Red clay stains come from iron-rich minerals that settle into porous brick pavers, so water alone often won’t remove them.
- Inspect the dry surface, identify the stain, and test a paver-safe cleaner in an inconspicuous area before treating the full surface.
- Use light agitation, the correct dwell time, and controlled rinsing instead of relying on high pressure to break up the stain.
- Avoid zero-degree nozzles, wire brushes, harsh chemical mixtures, and pressure that can damage brick, sealer, or joint sand.
- Clean and fully dry the pavers before sealing, and consider professional treatment when stains run deep or the surface is already worn.
Why Red Clay Stains Bond to Brick Pavers
Red clay is common throughout the southern United States, including Southwest Florida, where heavy rain can move soil onto driveways, walkways, patios, and pool decks. Once the clay dries, its iron-rich minerals can leave a strong orange or rust-colored mark.
Iron oxide creates the red color
The red color comes mainly from iron oxide in the clay. These minerals can settle into porous surfaces, including the tiny pores and texture of a paver. Water alone may remove loose dirt, but it usually won’t pull out material bonded below the surface.
A stain can also look different when the pavers are wet. Water temporarily darkens the brick and may hide the full outline of the mark. I always inspect the area again after it dries before deciding whether the stain is gone.
Paver condition changes the cleaning method
Older pavers may have worn sealer, open pores, loose joint sand, or areas of surface erosion. Newer pavers may still have a strong factory color or recently applied coating.
The surrounding surface matters, too. A cleaner that works on unfinished concrete may discolor brick, weaken sealer, or leave a lighter patch. Brick pavers are durable, but they aren’t indestructible.
Inspect the Surface Before Applying Cleaner
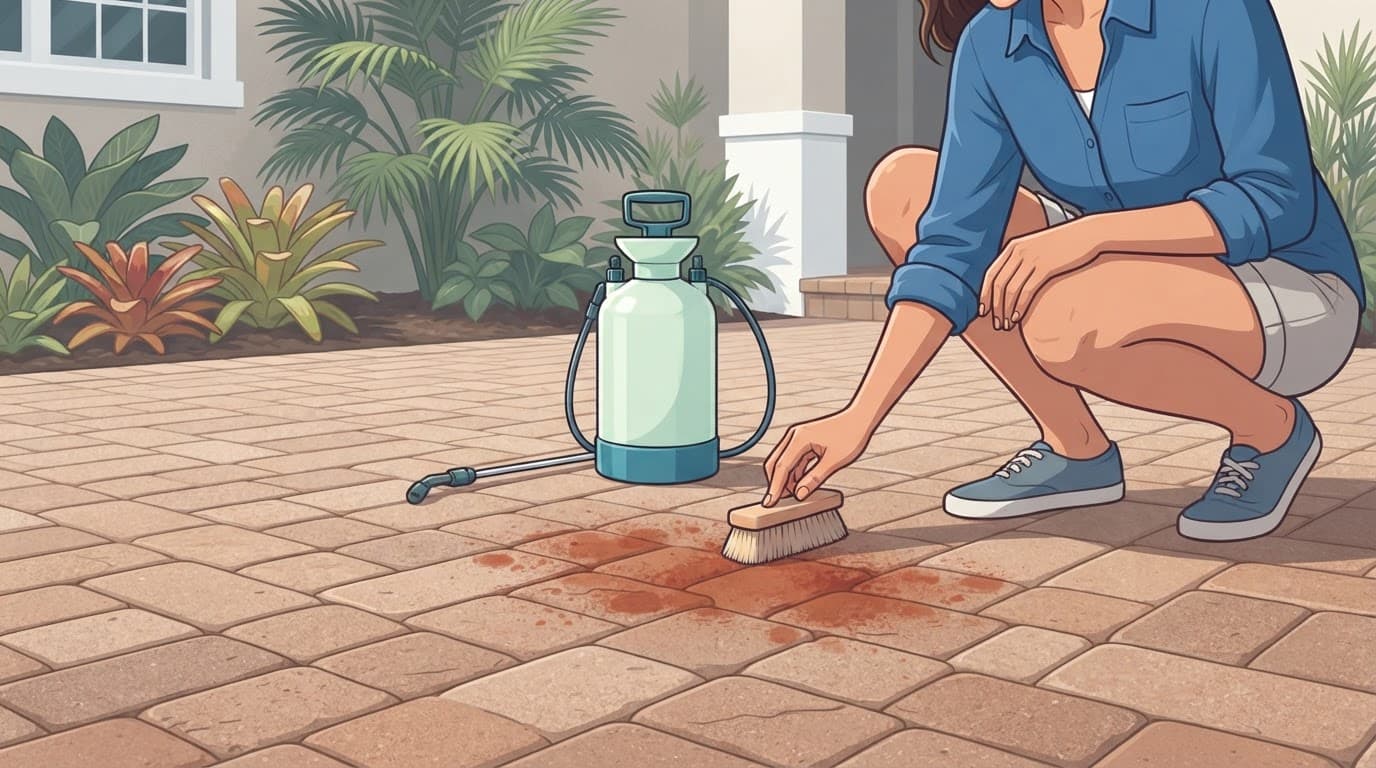
Before starting, I identify whether the mark is truly red clay. Rust, fertilizer, mineral deposits, mulch, and chemical spills can create similar discoloration on concrete surfaces. Household treatments such as white vinegar or hydrogen peroxide aren’t guaranteed to solve iron-rich clay staining. They may not be safe for every finish, so identify the stain before choosing cleaning solutions.
Let the pavers dry completely
Start by sweeping away loose soil and allowing the surface to dry. Look for changes in color, damaged sealer, pitting, cracked edges, and missing joint sand.
Check drainage paths as well. If water keeps carrying clay across the same area, cleaning the pavers won’t solve the larger problem. Gutters, downspouts, landscape beds, and low sections of the driveway may need attention.
Test a small area first
Choose an inconspicuous section and apply the intended cleaner according to its label. A small test spot shows how the product affects:
- The brick color
- Existing sealer
- Joint sand
- Surface texture
- Nearby plants and trim
Follow basic safety precautions: wear chemical-resistant gloves, splash-rated eye protection, long sleeves, and closed-toe shoes. Keep children and pets away from the work area. Never mix an acid-based cleaner with bleach or another household chemical.
General brick-cleaning guidance from Home Depot also recommends starting with controlled pressure and avoiding methods that can damage masonry. The Brick Industry Association’s cleaning brochure warns that acids, metallic brushes, and high-pressure equipment can change the brick surface when used incorrectly.
A Safe Process for Removing Clay from Pavers
The safest results come from loosening the stain before rinsing. I don’t try to blast a dry clay mark away in one pass.
Remove loose soil and pre-wet the area
Sweep the pavers with a soft broom. Remove leaves, mulch, and loose dirt so the cleaner can reach the stain.
Pre-wet nearby plants and surfaces with clean water. This helps reduce cleaner absorption. Cover sensitive plants when the product label requires it, and keep the cleaning area manageable instead of treating the entire driveway at once.
Apply a Paver-Safe Stain Remover
Use a product labeled for brick, concrete, masonry, or clay stains. Apply it with a pump sprayer or another method that gives you control. Follow the dilution instructions carefully. A stronger mixture isn’t automatically better.
Work in small sections. Keep the surface damp during the dwell time, but don’t allow the cleaner to dry. If the mark lightens during testing, continue the same process across the affected area.
Agitate lightly, then rinse thoroughly
A soft or medium nylon brush can help lift clay from textured pavers. Avoid wire brushes, metal scrapers, abrasive pads, and power tools. They can scratch the brick face and remove joint sand.
Finish with a controlled water rinse after the recommended wait. Move the spray steadily and work toward a suitable drainage area. Check the paver color after drying, then repeat only if the product label allows it.
Choosing a Cleaner, Timing, and Coverage
Professional grade cleaning solutions differ from ordinary dish soap or general-purpose degreasers. The right product should address mineral staining without harming the masonry.
Buffered Acid Cleaners and Surfactants
Many professional-grade products use a buffered acid system with surfactants. The buffered acid helps loosen mineral material by disrupting chemical bonds between iron-rich clay and the masonry. Surfactants help the solution spread across the paver and lift loosened material.
Even a buffered acid cleaner can harm brick, concrete, plants, metal, skin, and finished surfaces if mixed, sprayed, or rinsed incorrectly. Read the safety data and application instructions before use. Follow the label’s dilution requirements, safety precautions, and product-specific timing.
For a visual example of controlled masonry cleaning, see this Ask This Old House brick-cleaning demonstration. The application and rinse steps are more important than using the strongest available chemical.
Dwell Time and Square-Foot Coverage
A compatible masonry cleaner often needs a short dwell time, commonly around 3 to 5 minutes, but the label always controls. Clay buildup, temperature, porosity, and weather can change the required time.
Most concentrated professional red clay products list a coverage rate near 200 to 250 square feet per gallon. Highly porous or heavily stained pavers may use more product. Measure the area first, and don’t stretch the cleaner so thin that it dries before it can work.
Using Pressure Washing Without Damaging Pavers
Pressure washing can remove loosened clay, but high pressure alone isn’t a complete method for removing clay from pavers. The cleaner should do most of the stain-breaking work. Water pressure should remove the residue evenly.
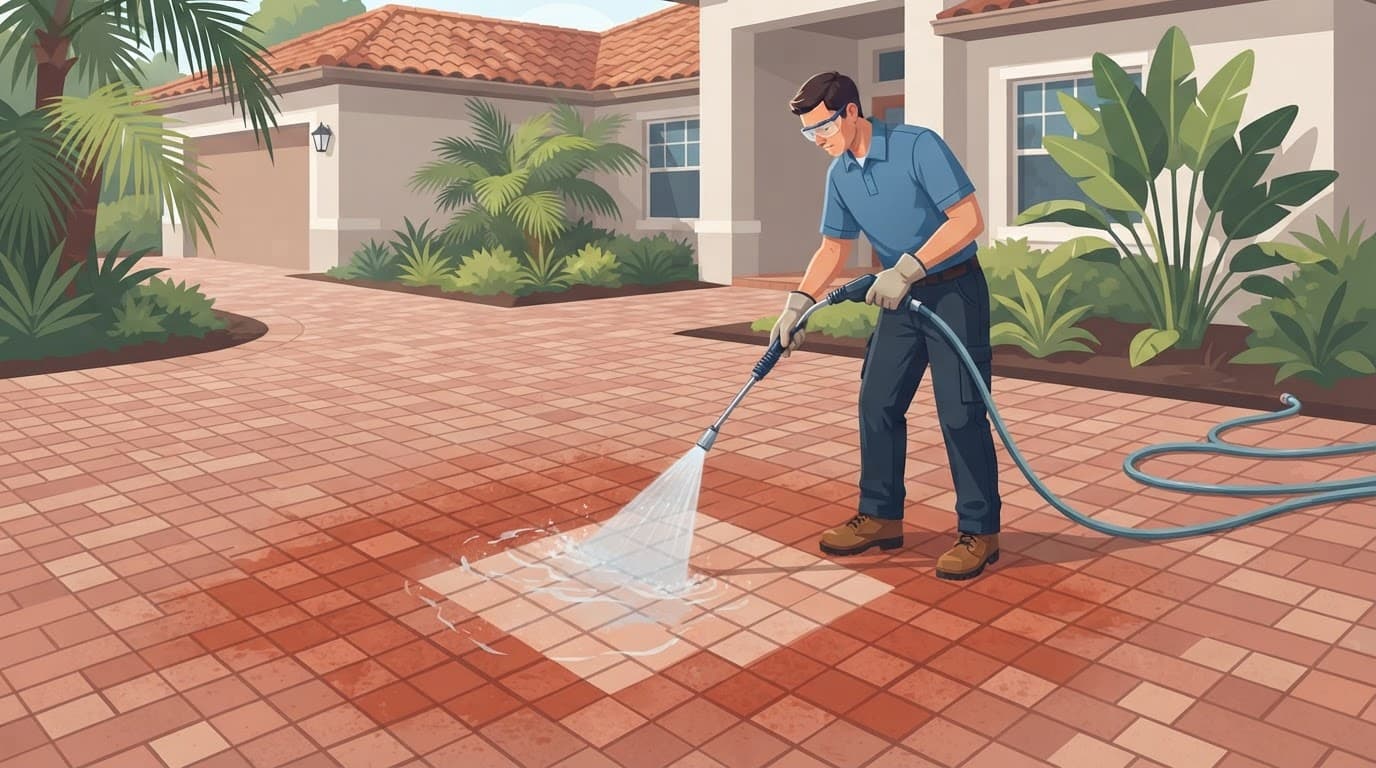
Use a wide spray pattern
I use the lowest effective pressure, a wide fan pattern, and a safe working distance. General masonry guidance often places pressure around 500 to 1,000 PSI, but that range isn’t a target for every paver. The nozzle angle, distance, machine flow, and surface condition all change the impact.
Avoid a zero-degree nozzle. Never hold the wand close to one joint or brick edge. Keep the spray moving, and use a surface cleaner on broad, flat areas when suitable for the installation.
A narrow tip can cut straight lines into the brick face. Excessive pressure can strip old sealer, remove joint sand, and leave a patchy difference between cleaned and uncleaned sections.
Know when pressure is not enough
If the clay has penetrated deep into the paver, repeated washing may stop improving the color. At that point, more pressure can create damage without removing the stain.
Stop if surface damage appears, the sealer starts peeling, the joints empty out, or the paver color changes unevenly. A professional treatment, partial restoration, or replacement of a severely stained paver may produce a better result.
Newly Poured Concrete and Sealing Considerations
Red clay removers shouldn’t be treated like universal cleaners. Fresh concrete and older brick pavers have different curing and absorption conditions.
Protect new concrete
Don’t apply an acidic cleaner or use aggressive pressure on concrete surfaces less than 60 days old unless the concrete and cleaner manufacturers approve it. Fresh concrete may not have developed the strength needed for harsh chemical or mechanical cleaning.
For newer installations, use gentle rinsing and follow the builder’s care instructions. A test spot is still necessary, even when the surface looks strong.
Clean before driveway sealing
Never seal over a remaining clay stain. Sealer can lock the discoloration beneath the coating and make future treatment harder. Residual cleaner can also interfere with the sealer’s bond.
The surface should be fully cleaned, thoroughly rinsed, and completely dry before driveway sealing. If a paver is damaged or permanently discolored, replace it before sealing the surrounding area. Sealing may improve color and reduce absorption, but it can’t repair a paver that has already lost its surface.
When Professional Cleaning Makes More Sense
DIY cleaning may work for a small, fresh clay mark. Larger stains need more care because an entire driveway can develop uneven color when one section is cleaned more aggressively than another.
I inspect the pavers, joints, drainage, nearby walls, screens, landscaping, and existing sealer before choosing a process. At Kingsway Paver Sealing & Pressure Cleaning, I handle brick paver cleaning, restoration, sanding, sealing, and re-leveling for residential and commercial properties in Fort Myers, Naples, Bonita Springs, Port Charlotte, Sanibel Island, and nearby communities.
If your property also needs roof cleaning, house washing, or gutter cleaning, each service requires the right method for its surface. A soft wash may suit organic growth on some exterior surfaces, including brick and stucco, but it isn’t a substitute for a masonry cleaner designed for iron-rich clay.
For help evaluating the stain before you risk damage, Get a Quote for professional service and clear recommendations.
Frequently Asked Questions
Can red clay stains be removed from brick pavers?
Yes, many fresh or moderate red clay stains can be improved with a cleaner labeled for brick, concrete, masonry, or clay stains. Deep discoloration may require professional treatment or replacement of a severely stained paver.
Is pressure washing enough to remove red clay?
Pressure washing can rinse away loosened clay, but high pressure alone usually won’t remove mineral material bonded into porous pavers. Use the lowest effective pressure after applying a compatible cleaner, and keep the spray moving to protect the brick and joint sand.
Can I use vinegar or hydrogen peroxide on red clay stains?
Household treatments such as vinegar or hydrogen peroxide are not guaranteed to remove iron-rich clay stains. They may also be unsuitable for certain brick finishes, sealers, plants, or nearby materials, so test any treatment before using it broadly.
How long should a paver cleaner sit on the stain?
Many professional masonry cleaners require a short dwell time of around 3 to 5 minutes, but the product label always controls. Keep the surface damp during this time and rinse thoroughly before the cleaner dries.
Should I seal pavers after removing red clay?
Seal only after the stain and all cleaner residue have been removed and the pavers are completely dry. Sealing over remaining discoloration can lock the stain beneath the coating and make future treatment more difficult.
Conclusion
Red clay stains are difficult because iron-rich minerals settle into porous brick pavers and resist ordinary rinsing. The safest red clay stain removal process starts with a dry inspection, a test spot, a compatible cleaner, light agitation, and controlled rinsing.
Avoid zero-degree nozzles, wire brushes, harsh mixtures, and sealing before the stain is gone. When clay discoloration runs deep or pavers are already worn, professional cleaning or individual paver replacement can restore the area without causing further damage.
