
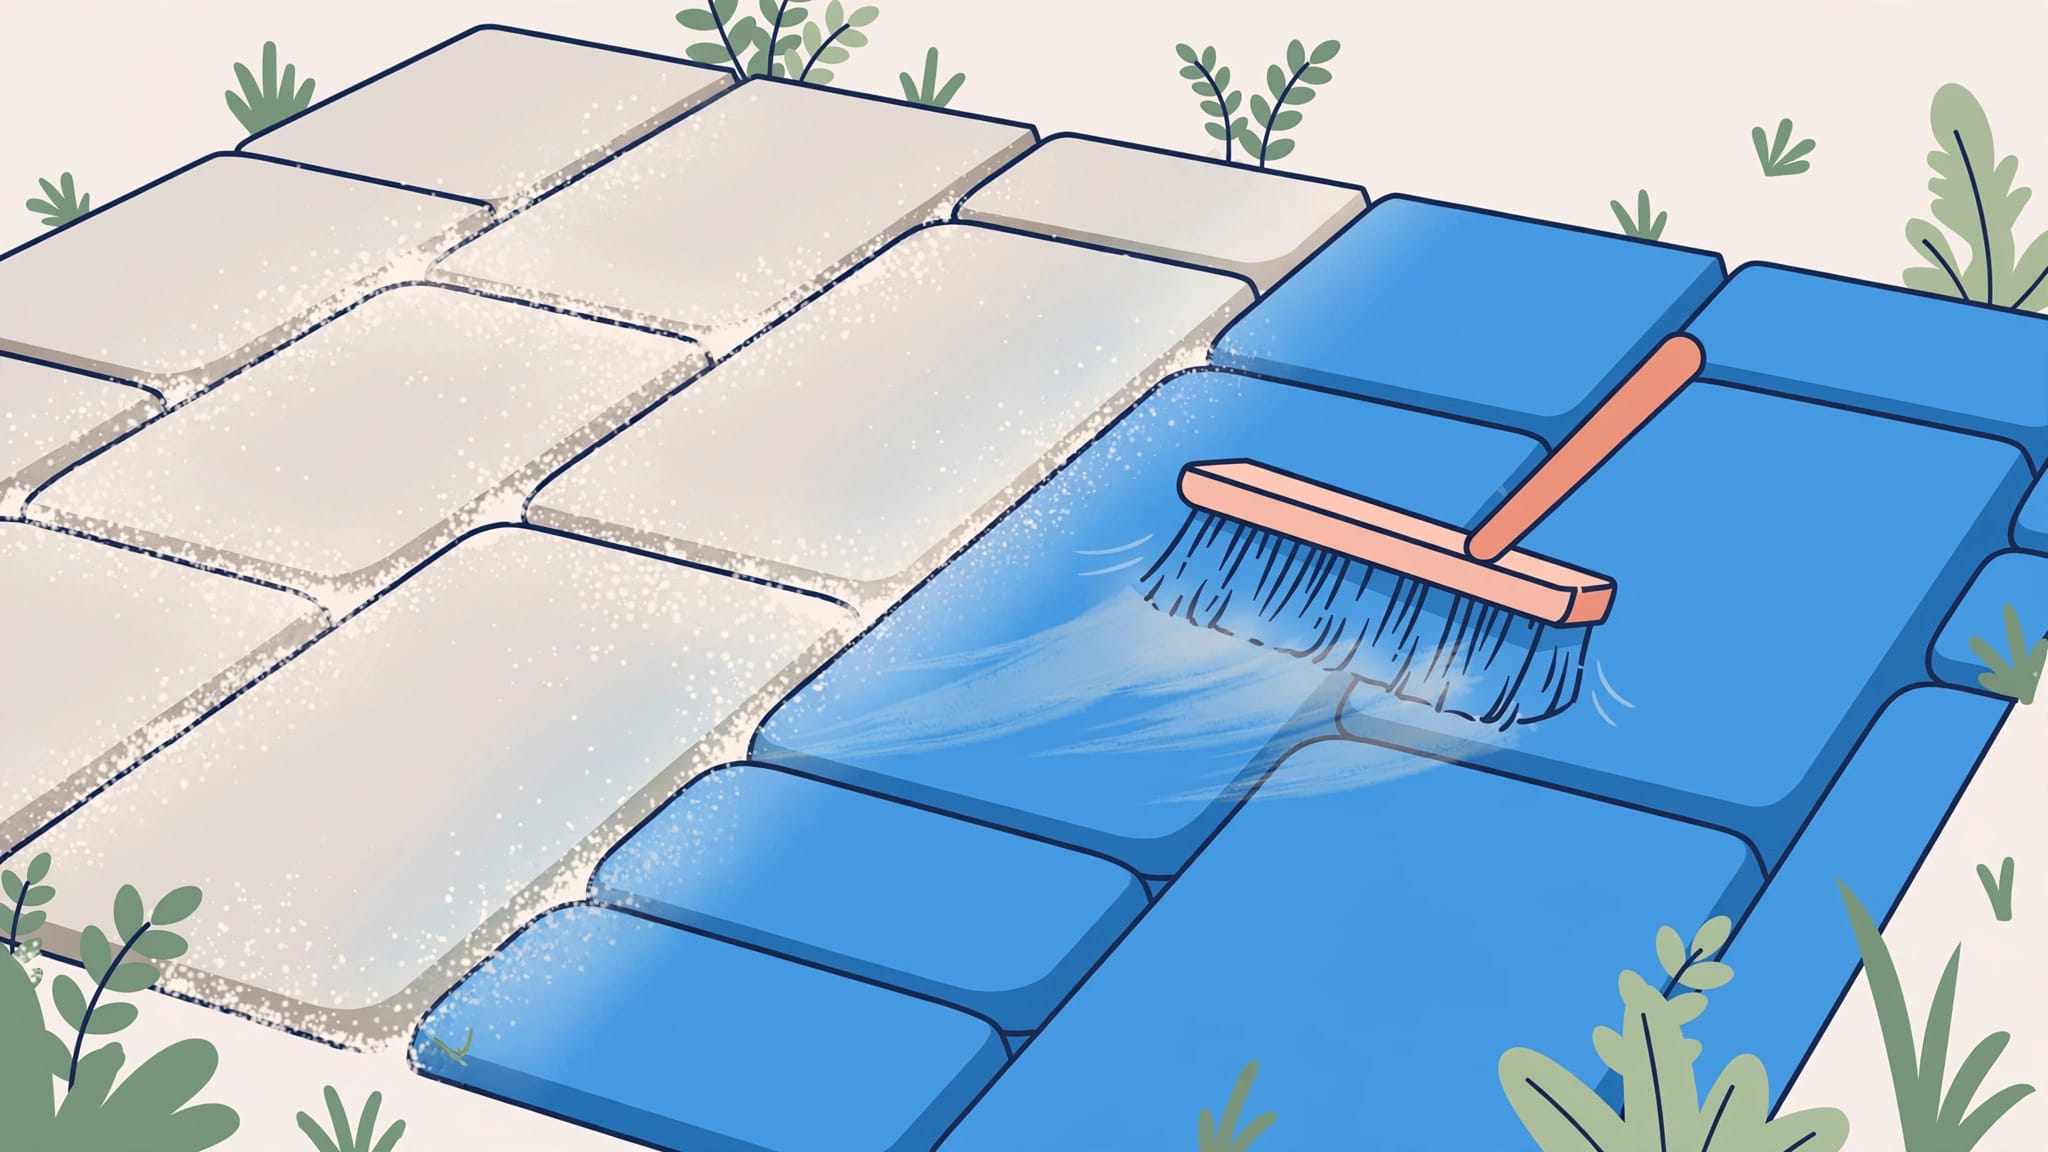
Your new patio should look clean and finished, not covered with white haze. I approach polymeric sand haze removal by identifying the residue before choosing a cleaner.
The right treatment can restore your pavers without damaging their color or washing out sound joints. Don’t seal over the haze, because that can turn a surface cleanup into a coating-removal job.
Start by checking when the film appeared, what sand was installed, and whether the pavers have already been sealed.
Key Takeaways
- Identify sand residue, mineral deposits, and cloudy sealer before treating the surface.
- Follow the waiting periods for both the joint sand and the selected cleaner.
- Test a hidden area, then inspect it after drying before cleaning the entire patio.
- Address trapped residue or failed sealer before applying another coating.
Identify the White Film Before Cleaning
A white surface doesn’t tell me enough by itself. I check the installation history and the condition of the joints first.
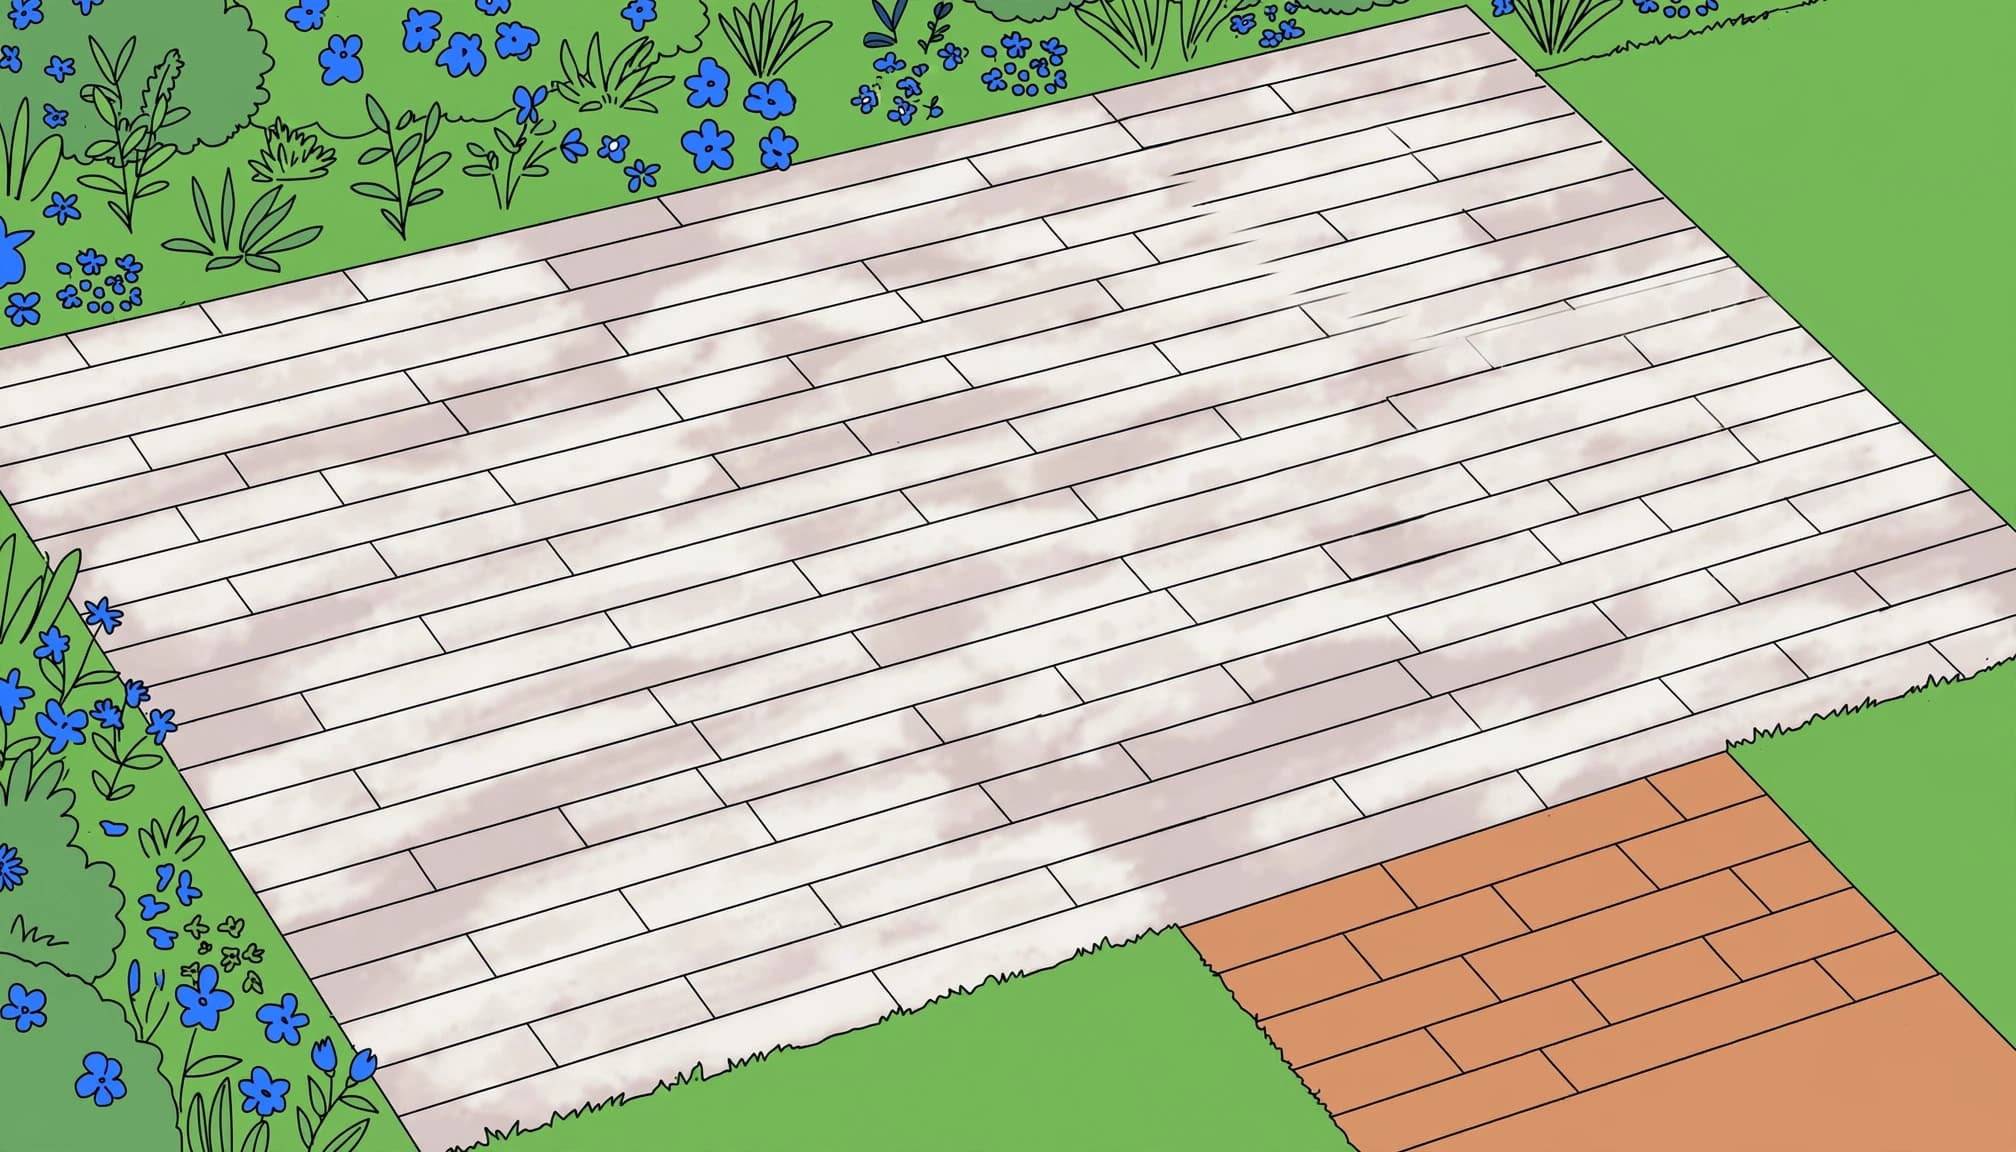
Polymeric sand residue on the paver face
Polymeric sand contains binders that activate when watered. Dust left on the paver face can bond as water activation triggers the polymer binder, leaving a milky or gray film.
Damp pavers can cause the same problem before cleanup is complete. Moisture starts activating material wherever it lands, including on textured surfaces and paver edges.
I look for a film that appeared immediately after sanding and watering. That timing supports a sand-residue diagnosis, especially when affected areas follow the installation pattern. Raised deposits may indicate heavier buildup rather than a thin film.
Efflorescence or cloudy paver sealer
Efflorescence is mineral salt deposited at the surface as moisture moves through masonry. It can resemble polymeric sand haze, but the source is different.
If sealer was applied, I also check for trapped moisture, coating buildup, and poor adhesion. Cloudiness that develops after rain deserves a coating assessment before chemical cleaning.
Let the surface dry before judging its appearance. Photograph it while wet and again after drying. A film that remains visible on dry pavers needs further inspection, but appearance alone doesn’t identify the cause.
Match the Cleaner to Your Paver Material
A cleaner suitable for one patio may damage another. I identify the paver material and any coating before selecting a treatment.
Use this comparison to narrow the options.
| Paver surface | Cleaning approach | Main concern |
|---|---|---|
| Concrete pavers | Manufacturer-approved paver haze cleaner | An acid-based paver cleaner can etch the surface or alter its appearance |
| Clay brick pavers | Cleaner approved for that brick product | Unapproved chemicals can affect color or finish |
| Limestone or travertine | Cleaner approved for that specific stone | Acid can etch calcium-based stone |
| Sealed pavers | Assess the coating and residue location first | Cleaner may damage the finish without reaching trapped haze |
Clay pavers can vary in color and finish, so confirm the cleaner is approved for that specific product.
The safest choice is a haze cleaner approved for both the residue and the surface.
Techniseal’s Paver Restorer technical sheet provides product-specific dilution guidance. For this paver restorer, the US sheet lists one part product to one to four parts water, depending on the application. Don’t transfer that range to another cleaner or a different regional formulation.
I don’t recommend a vinegar solution as a general homeowner fix, and muriatic acid is an unsuitable shortcut. A household dilution doesn’t establish compatibility with your pavers.
A roof cleaning chemical or soft wash mixture also isn’t a substitute for a haze remover. Those treatments address different cleaning problems.
Check the Waiting Period Before Starting
Newly installed pavers need extra care. The joint sand’s curing period and the cleaner’s waiting period are separate requirements.
For example, Gator Efflorescence Cleaner instructions require freshly installed Gator Polymeric Sand to cure for 48 hours above 59°F. For Gator Polymeric Sand, wait at least 60 days after installation before using the cleaner.
Those instructions don’t establish a universal schedule for every sand or cleaning product. They show why a firm-looking joint doesn’t automatically mean the patio is ready for chemical treatment.
Cured sand can still be too new for the selected cleaner. Follow both waiting periods before treating the surface.
I ask for the sand bag, installation date, and cleaner label before scheduling removal. If you don’t have those details, contact the installer or manufacturer.
Keep sprinklers, rain exposure, temperature, and shaded areas in mind when reviewing curing conditions. A product’s stated cure time depends on its required conditions being met. Don’t replace those instructions with a general 28-day rule.
Safe Cleanup, Step by Step
Once the product and timing are confirmed, I begin with a controlled test. That protects your investment before a larger treatment.
Prepare and clean a hidden test area
Choose an inconspicuous section with representative pavers and joints, including materials such as clay pavers if they’re present. Techniseal’s Paver Restorer product guide calls for testing approximately 4 square feet.
Wear the protective equipment required by the cleaner’s label. That commonly includes chemical-resistant gloves and eye protection. Keep children and pets away, and protect nearby plants, metal, and painted surfaces.
Measure the dilution rather than guessing. Use the exact directions for the product in your container. Pre-wet the pavers only when instructed, and keep cleaning solutions from entering pools, drains, or planting beds.
Use a haze cleaner or paver restorer only if its label confirms it’s suitable for your pavers. Never mix cleaners, especially acid products and chlorine-based treatments.
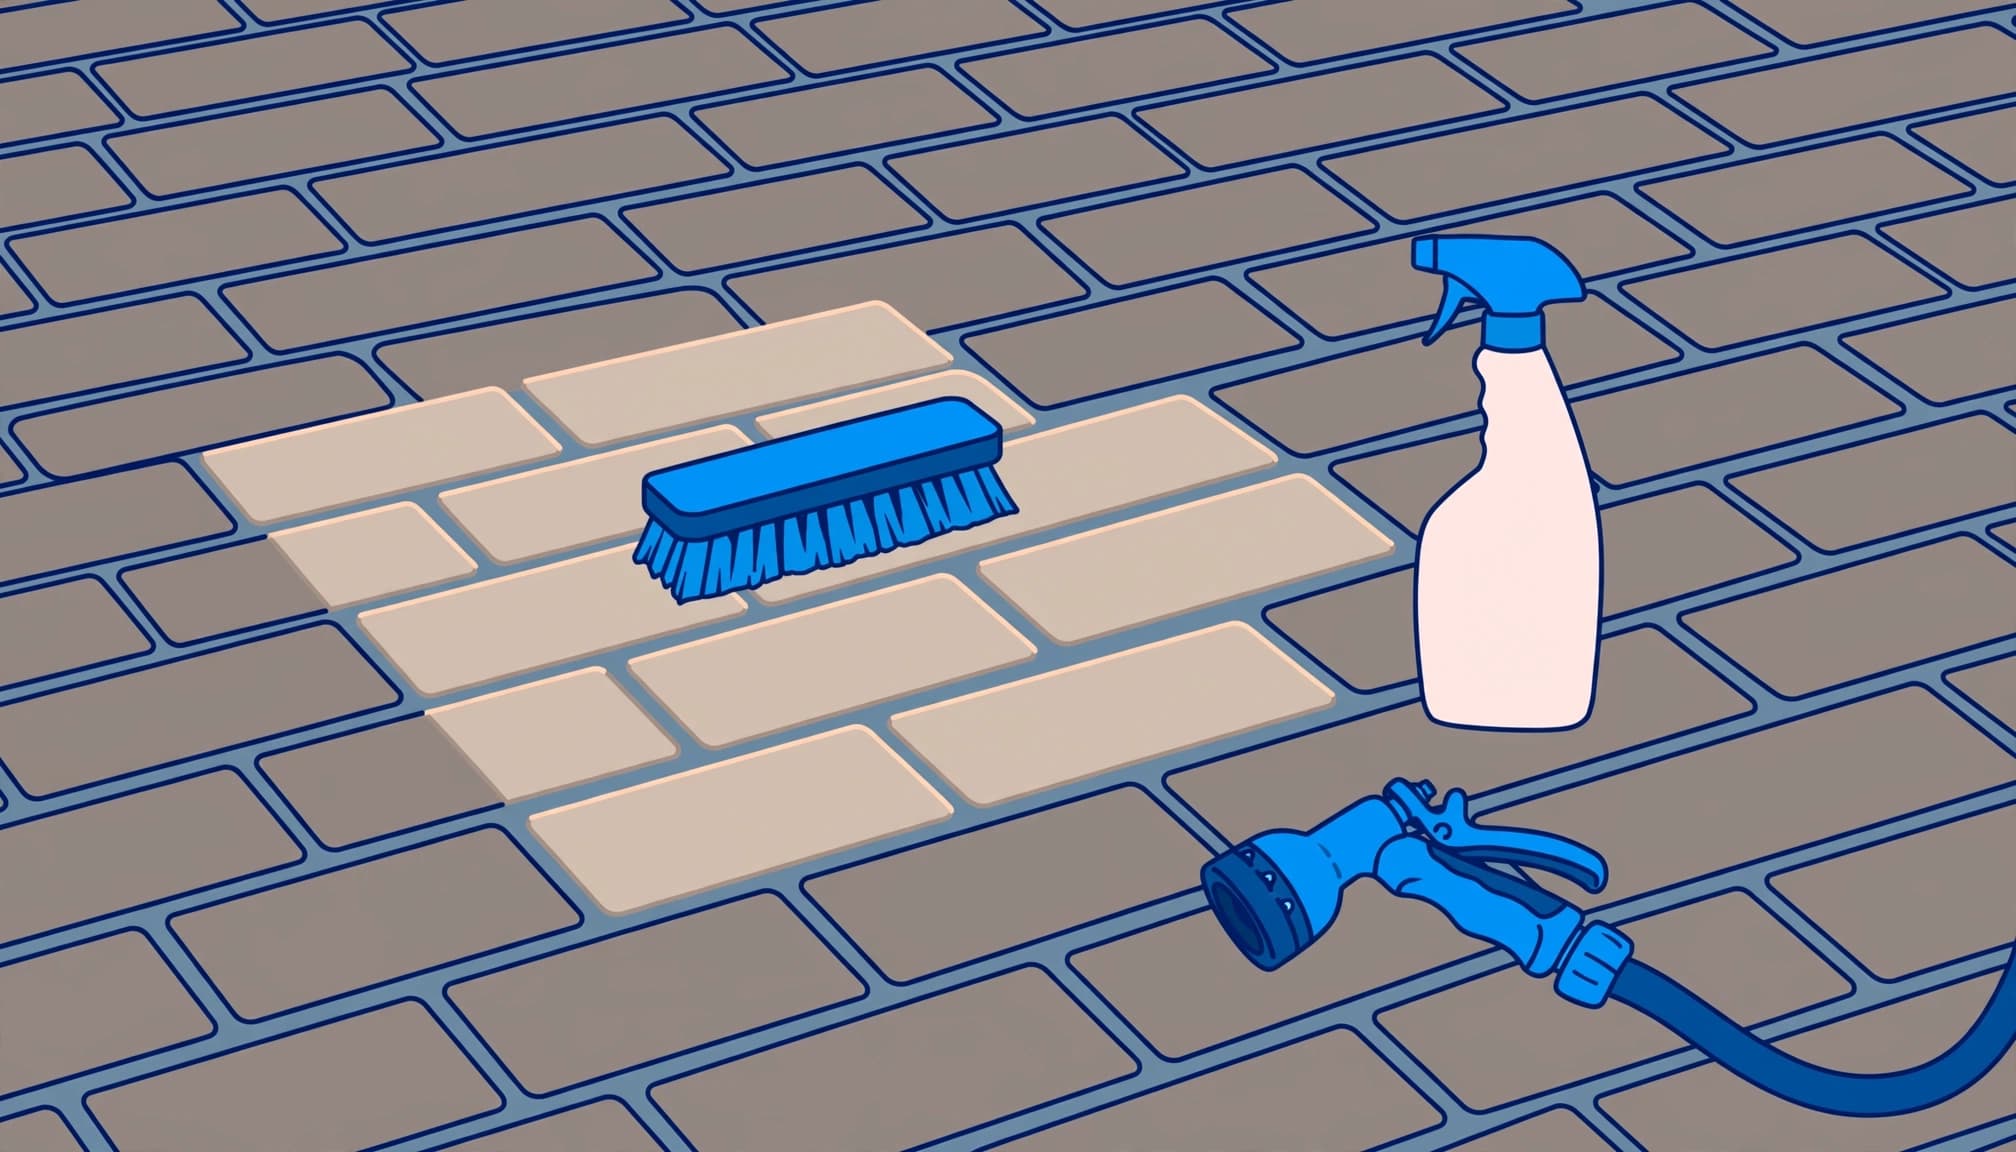
Agitate, rinse, and inspect after drying
Apply the cleaner evenly within the test area. Follow its stated dwell time rather than leaving it longer for extra strength.
Use a stiff bristle brush to gently work the paver faces, following the product guidance. Avoid abrading the surface or grinding into the joints. Don’t let the cleaning solution dry on the surface.
Rinse thoroughly using the method required by the manufacturer. Control the water so it removes loosened residue without cutting into the joint sand.
Then let the section dry completely. Check the color, texture, remaining film, and joint condition. Wet pavers can hide residue and make damaged areas harder to recognize.
If the result is clean and unchanged, continue in manageable sections using the same method and paver restorer. Stop if the pavers become lighter, rougher, streaked, or uneven.
Handle Stubborn Residue Without Damaging the Joints
A heavy, cured deposit may need professional treatment rather than repeated applications of a stronger solution.
I don’t increase chemical strength beyond the label or use an incompatible acid-based paver cleaner. Persistent residue is a reason to reassess the material, haze cleaner, and diagnosis instead of repeating applications.
Pressure washing also requires restraint. A pressure washer with a narrow nozzle held too close can mark the paver face and remove sound joint material. Review the precautions for cleaning around polymeric sand joints before using equipment.
There isn’t one pressure setting or waiting period that suits every installation. Follow the sand manufacturer and paver supplier’s requirements.
Avoid hot water, wire brushes, and metal scraping tools as shortcuts. Aggressive treatment can create damage that cleaning won’t correct.
After rinsing, inspect the paver joints for displaced sand. Missing or weakened sand needs assessment before sealing. If the joints remain soft or continue washing out, pause the restoration and address the installation problem first.
Address Haze Trapped Under Paver Sealer
Surface cleaning won’t reach residue beneath an intact coating. I first determine whether the cloudiness belongs to the sealer or the paver underneath.
Check the original sealer and its condition
Find the paver sealer product name, application date, and number of coats if possible. That information helps distinguish trapped residue from moisture-related cloudiness or coating incompatibility.
Tacky patches, peeling, heavy buildup, and persistent milky areas can indicate a compromised finish. The signs that old sealer needs stripping help identify when another maintenance coat is the wrong approach.
A failed coating may need removal with a compatible sealer stripper before the underlying haze can be treated. The right product depends on the existing coating and paver material.
I don’t recommend a random solvent or another coat to conceal the problem.
Repair the surface before resealing
Once the coating problem is resolved, check for remaining sand residue, mineral deposits, and damaged joints. Each requires the appropriate correction.
Drying matters just as much as cleaning. In Southwest Florida, humidity, shaded patios, and afternoon rain can extend the drying period. A dry-looking paver face may still have damp joints or moisture below it.
Driveway sealing should wait until residue is removed, joints are repaired, and the required drying and curing periods have passed. A compatible breathable sealer may help moisture vapor escape, but it can’t correct poor preparation.
I check the forecast and product requirements before treating the restored surface as ready.
Prevent Polymeric Sand Haze During Installation
Prevention starts before the first bag is opened. Paver faces and joints must meet the sand manufacturer’s dryness requirements.
I pay close attention to morning dew, shaded areas, and recent rainfall. Moisture can activate the binder before the material is properly placed and cleaned.
Install the sand to the specified joint depth, compact as directed, and remove all remaining surface dust before watering. Textured surfaces, including clay pavers, need extra attention because fine particles collect in their recesses.
Hanover’s polymeric sand installation guidelines recommend blowing dust off the paver surface without directing a leaf blower into the joints.
Keep the airflow across the surface rather than digging out freshly placed sand. Then inspect the pavers again before water activation.
Follow the exact watering instructions for your sand. A light mist isn’t a universal rule. Too little water can leave weak joints, while excessive or poorly controlled watering can move binder onto the paver faces.
Finally, protect the installation during its required curing period. Don’t rush sealing to make the patio look finished. Clean faces, properly activated joints, and suitable weather are what produce a dependable result.
Frequently Asked Questions
How can I tell polymeric sand haze from efflorescence?
Haze that appears soon after sanding and watering may be polymeric sand residue, while efflorescence is mineral salt deposited as moisture moves through masonry. Let the pavers dry and check the installation history; appearance alone doesn’t confirm the cause.
Can I use vinegar or muriatic acid to remove the haze?
I don’t recommend either as a general-purpose fix because an improvised solution may be incompatible with your pavers. Use a cleaner approved for both the residue and the specific paver material.
How long should I wait before cleaning newly installed pavers?
Follow the cure time for the joint sand and the waiting period for the selected cleaner; these are separate requirements. Check the product instructions and required temperature and moisture conditions before starting.
Can I seal over polymeric sand haze?
No—sealing over haze can trap residue and make cleanup a coating-removal job. Remove the haze, inspect the joints, and allow the pavers to meet the sealer’s drying and curing requirements first.
Restore the Pavers Before Sealing
Successful polymeric sand haze removal starts with the correct diagnosis and a tested cleaning method. Stronger chemicals and more water pressure can create repairs instead of solving the original problem.
I recommend protecting the paver face, preserving sound joints, and resolving any coating failure before resealing. Your new patio should look finished without hiding residue beneath another layer.
If the haze persists or the sealer is already cloudy, Get a Quote for professional cleaning and restoration before adding more product.
